When I was about ten years old, I remember how excited I was to get the Fall JC Penney catalog in the mail. My mom would let me go through it and pick out all the clothes I wanted for back-to-school.
One year, I picked an outfit that I loved. It was tie-dye. Pastel tie-dye.
Head. To. Toe. Tie. Dye.
Pastel tie-dye shirt.
Pastel tie-dye pants.
and a pair of pastel tie-dye Keds.
They all matched. I kid you not.
At the time I thought I looked SO good. Now, I know that I looked like a hot mess. I was ten. It happens.
I have a sneaking suspicion that ombre may go the way of tie-dye after a few years. It’s trendy now, but I think all the ombre fashion may not look so awesome ten years from now. Moral of the story: don’t let your kids purchase a head to toe ombre outfit. In twenty years, they’ll be blogging about how bad it was.
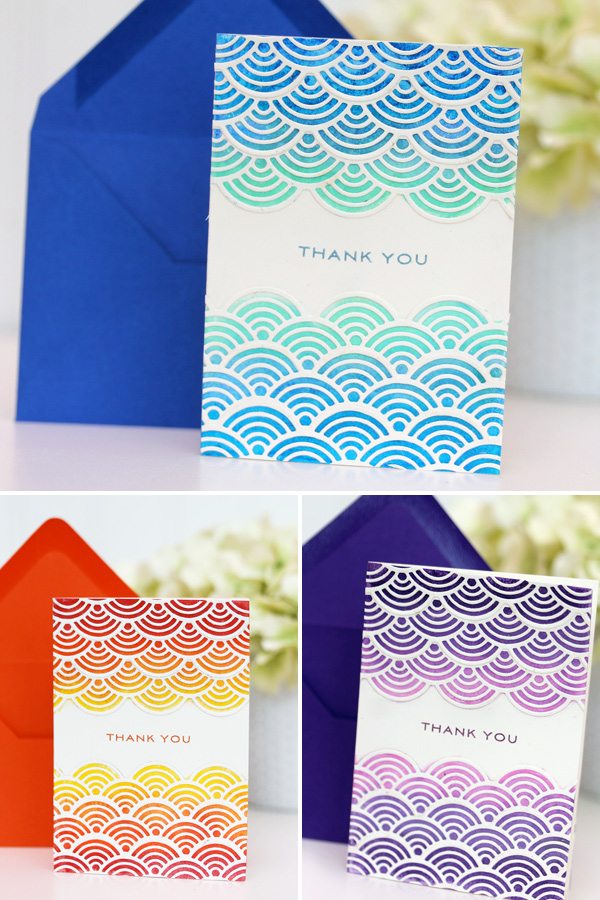
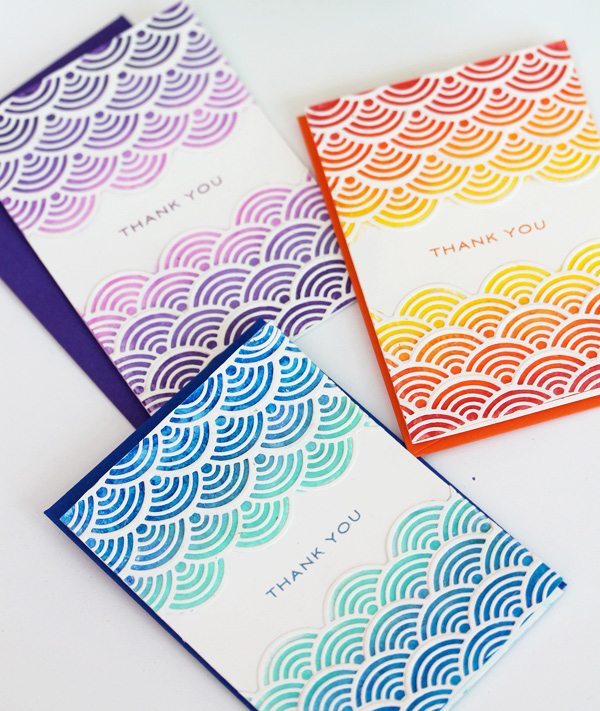
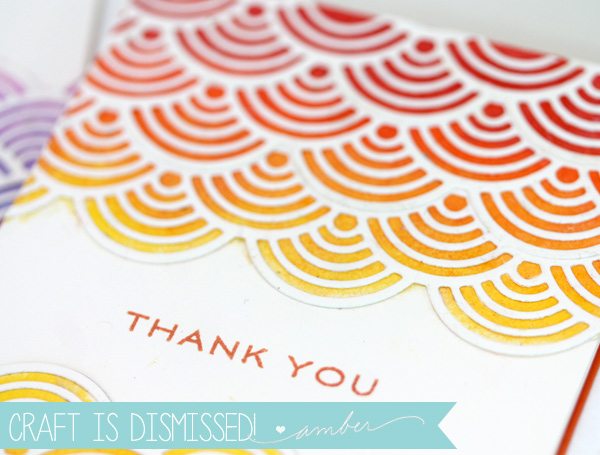
Good thing is that I think ombre has some longevity when it comes to stationery. Ombre always looks good on paper. Especially when you get to layer on one of the awesome new dies from Lil Inker Designs. The Fanfare Scalloped Border die is the stuff of crafting dreams. Oh…what? You don’t dream about crafting? Don’t lie. You know you dream about crafting.
Today the entire Lil Inker Design team…and me, are getting together to share project using the newly released product. I came up with this:
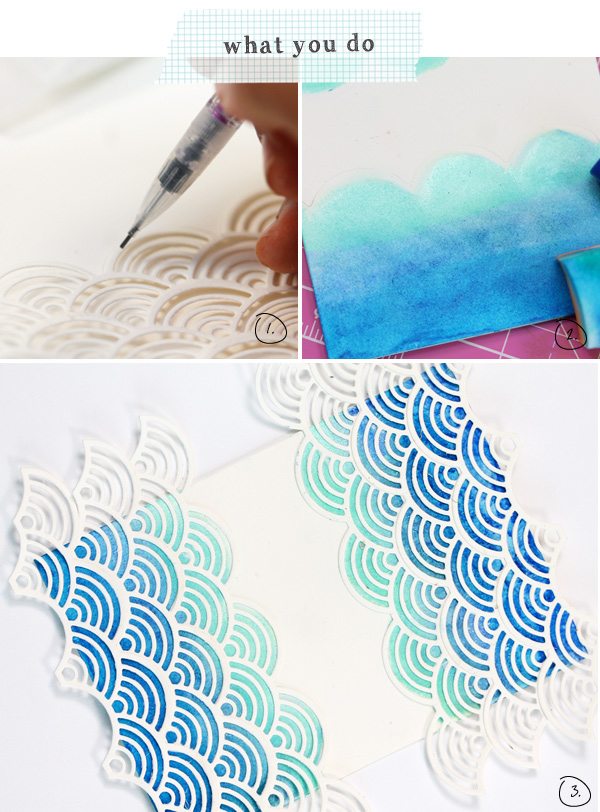 {1} After adhering together three rows of the Fanfar Scallop Die, place it on your card front and trace the edge with a pencil.
{2} Using your pencil line as a guide, fill in the area with a gradient of Gelato colors. Blend the Gelatos together using a sponge
{3} Adhere your die cut into place using your pencil line as a guide. Trim away the excess.
For more Lil Inker inspiration, stop by Alicia Thelin’s blog and to see the entire collection of newly released products, visit the Lil Inker Store.
SUPPLIES:
Lil Inker Fanfare Scalloped Die | Faber Castell Gelatos Gift Pack | Papertrey Ink Inside & Out Thank You





пин ап – пин ап
cialis without a doctor prescription [url=https://tadalafileasybuy.shop/#]cialis without a doctor prescription[/url] TadalafilEasyBuy.com
пин ап вход: https://pinupkz.life/
пин ап зеркало – пин ап зеркало
pinup 2025: https://pinupkz.life/
пин ап казино – пин ап казино зеркало
Kamagra Kopen Online [url=https://kamagrakopen.pro/#]kamagra gel kopen[/url] kamagra gel kopen
пин ап казино: https://pinupkz.life/
пин ап казино – пин ап казино официальный сайт
пин ап казино официальный сайт: https://pinupkz.life/
пин ап – пин ап зеркало
TadalafilEasyBuy.com [url=https://tadalafileasybuy.shop/#]cialis without a doctor prescription[/url] TadalafilEasyBuy.com
https://apotekonlinerecept.shop/# Apotek hemleverans recept
apotek pa nett: Apotek hemleverans idag – Apotek hemleverans recept
Kamagra kaufen ohne Rezept [url=http://kamagrapotenzmittel.com/#]Kamagra Original[/url] Kamagra online bestellen
https://kamagrapotenzmittel.shop/# Kamagra Original
Apotek hemleverans idag: apotek online – apotek online
https://apotekonlinerecept.shop/# Apotek hemleverans idag
Apotek hemleverans idag: apotek online recept – apotek pa nett
kamagra [url=http://kamagrapotenzmittel.com/#]Kamagra kaufen[/url] Kamagra Gel
http://apotekonlinerecept.com/# apotek pa nett
Kamagra Oral Jelly: Kamagra Oral Jelly kaufen – Kamagra kaufen
https://apotekonlinerecept.shop/# apotek pa nett
Beste online drogist [url=https://apotheekmax.com/#]Online apotheek Nederland met recept[/url] Online apotheek Nederland met recept
kamagra: Kamagra online bestellen – Kamagra online bestellen
Apotek hemleverans idag: Apotek hemleverans recept – apotek online
https://kamagrapotenzmittel.shop/# Kamagra online bestellen
When dad needed memory care, these attorneys provided expert guidance on protecting important family assets.