This week has been full of variety…I sorta love that. A little baking. A little glassware. It’s a guessing game of what I might post next!
Well, if you saw the video I posted last Friday on the Damask Love Facebook Page, you got a peek at the goodies that I’m featuring in today’s post. Last week, I received my box of “12 Months of Martha” supplies and went straight to the craftroom to film the reveal. (If you didn’t get a chance to see the video, you should probably head over and take a look. I may or may not have filmed the majority of the video with paper confetti stuck to my face. I keep it classy, people.)
This month, my box of Martha included tons of jewelry making supplies. Turns out, Martha Stewart just released a huge line of jewelry crafting tools and supplies that are exclusively available at Michael’s. Go check em out…me thinks you’ll love em!
Now before we continue, lemme tell you: I am not…I repeat, NOT a jewelry maker. I’ve made a few pieces of jewelry in my life – most of which looked like accessories straight out of Mrs. Doubtfire’s wardrobe. Then there was that Mother’s Day pin I made when I was five…something that surely came off the “FREE” table at Oscar the Grouch’s yard sale.
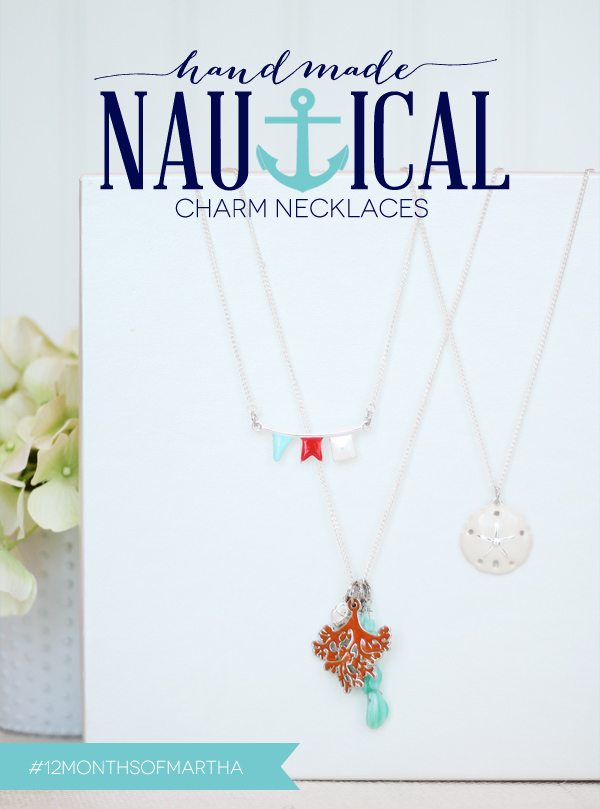
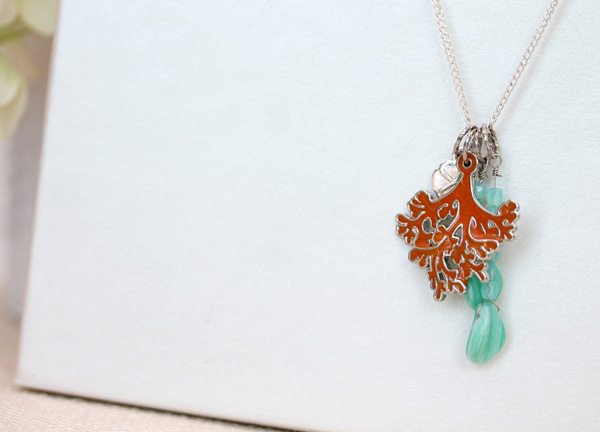
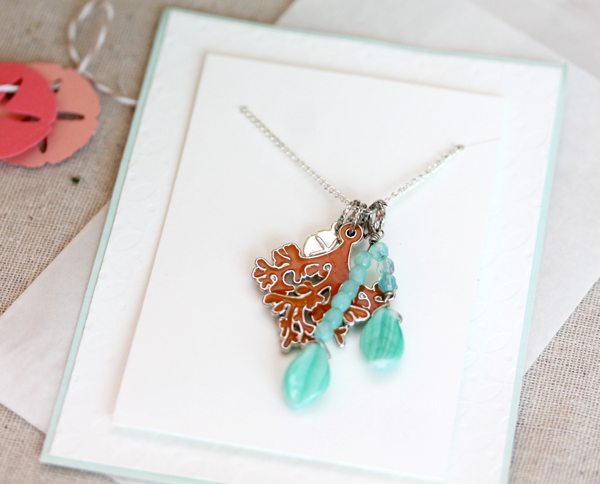
My approach here was to keep it simple, which I think worked out well. The charms from the Martha Stewart Jewelry Collection are beautiful and make for perfect necklaces. For these, I went with a nautical theme and there are lots of nautical themed charms to choose from.
To add color to the charms, I used the Jewelry Enamel Paints that are a part of the collection…and I was really hooked. They are not difficult to use at all. They do take a while to dry, which was a little difficult for an impatient crafter like me!
 {1} To use the jewelry enamel, you’ll need jewelry enamel in your choice of color as well as the jewelry enamel activator. Add one part of each component to the silicone mat.
{2} Use the silicone tip brush to mix the paint with the activator until they are well blended to create one smooth color.
{3} Use the silicone tip brush to paint your choice of metal charm.
{4} Allow the finished charm to dry for 24-48 hours.
Note: As the enamel dries, it will first become tacky to the touch so be careful and put in out of the way to avoid smudges. Once it is completely dry, the enamel will be hard and smooth.
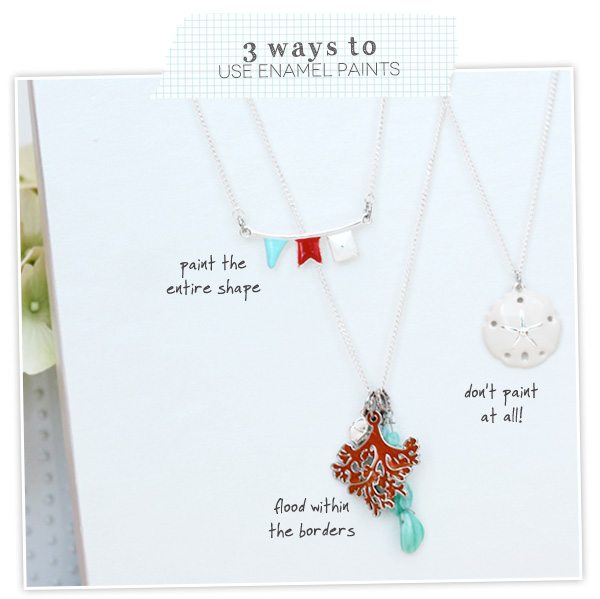 You have lots of options when it comes to how you use the enamel paints.
{paint the entire shape} You don’t need to worry about staying in the lines on this one. Just plop the enamel paint into place. If you go this route, I’d suggest doing your painting on top of the silicone mat. That way, if some paint drips off, your clean up will be easy.
{flood within the borders} Here, you’ll need to take a bit more care in applying the paint so that it stays within the borders of the charm.
{don’t paint at all!} several of the charms available in this jewelry line are already painted, which means you just need to add them onto a chain put a clasp in place. Easy!
 Well. You had to know it was coming. It’s a wonder I haven’t tried to design packaging for my husband. Something tells me that he would not be a fan of the ribbon and bows.
Being the paper lover that I am, I’m always looking for ways to use my paper-crafting tools for non paper-crafting projects like these necklaces.
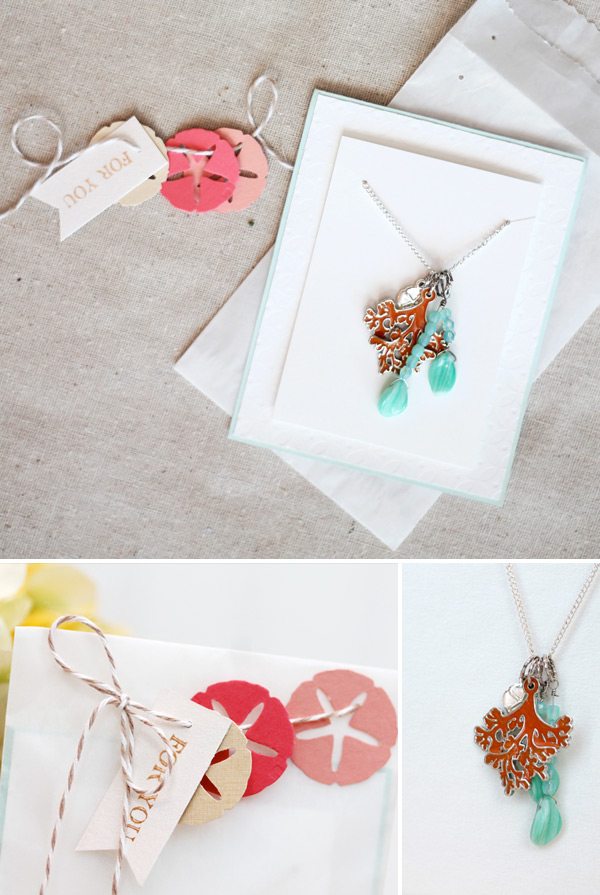
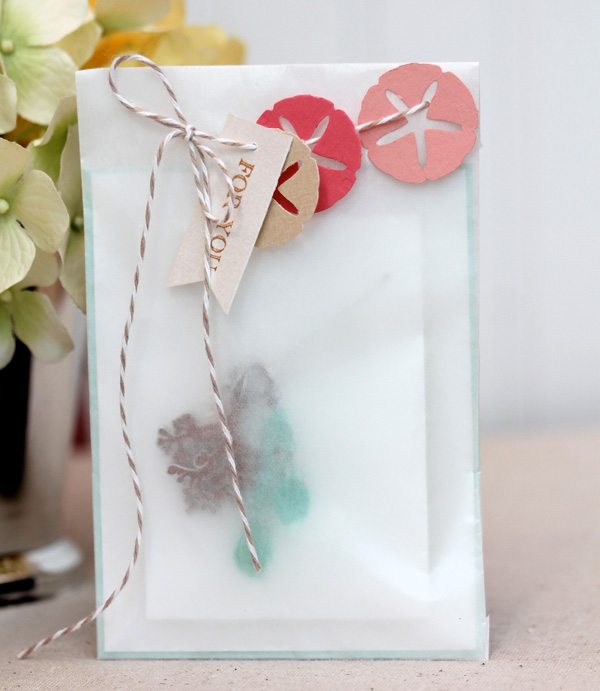
For this packaging, I created a layered flat card and punched holes in the top-most layer to hold the necklace. This card fit perfectly into a glassine bag, which I embellished with a few sand dollar paper punches, a banner tag and some baker’s twine. I love how the sand dollars coordinate with the nautical theme.
Now it’s time for you to chime in! Have you seen the new Martha Stewart Jewelry Collection? Have you ever made jewelry before? On Monday’s post, I’ll be sharing a totally different way to use these supplies!
SUPPLIES & RESOURCES
Video tutorials for using Martha Stewart Jewelry Collection | Amazing samples of jewelry created by the Martha Stewart staff | Martha Stewart Sand Dollar/Starfish Double Punch



Thanks for revealing your ideas. A very important factor is that pupils have an option between government student loan and also a private student loan where it is easier to opt for student loan debt consolidation loan than over the federal education loan.
My brother recommended I would possibly like this blog. He was once entirely right. This submit truly made my day. You can not consider just how a lot time I had spent for this info! Thank you!
Thanks for your writing. I would like to say that the health insurance brokerage also works well with the benefit of the coordinators of a group insurance policy. The health broker is given a summary of benefits searched for by individuals or a group coordinator. What any broker may is search for individuals or maybe coordinators which will best go with those needs. Then he reveals his referrals and if both sides agree, the broker formulates binding agreement between the two parties.
The subsequent time I learn a blog, I hope that it doesnt disappoint me as much as this one. I imply, I do know it was my option to read, however I really thought youd have something fascinating to say. All I hear is a bunch of whining about one thing that you would fix when you werent too busy on the lookout for attention.
I like the valuable info you provide in your articles. I will bookmark your weblog and check again here regularly. I’m quite sure I?ll learn plenty of new stuff right here! Good luck for the next!
WONDERFUL Post.thanks for share..extra wait .. ?
There are definitely a variety of details like that to take into consideration. That may be a nice point to carry up. I offer the thoughts above as basic inspiration but clearly there are questions just like the one you convey up the place an important thing will likely be working in sincere good faith. I don?t know if finest practices have emerged around things like that, but I am positive that your job is clearly identified as a fair game. Both girls and boys really feel the impression of just a second?s pleasure, for the rest of their lives.
We stumbled over here coming from a different website and thought I might as well check things out. I like what I see so now i’m following you. Look forward to finding out about your web page again.
Hello! I know this is somewhat off topic but I was wondering if you knew where I could find a captcha plugin for my comment form? I’m using the same blog platform as yours and I’m having problems finding one? Thanks a lot!
This article is absolutely incredible! The author has done a fantastic job of conveying the information in an compelling and informative manner. I can’t thank him enough for offering such valuable insights that have certainly enlightened my awareness in this subject area. Hats off to her for crafting such a gem!
It is truly a nice and useful piece of information. I am satisfied that you simply shared this helpful information with us. Please stay us up to date like this. Thank you for sharing.
Thank you for another informative website. The place else could I am getting that type of information written in such an ideal approach? I have a undertaking that I’m simply now running on, and I have been at the look out for such information.
I would love to add if you do not surely have an insurance policy otherwise you do not take part in any group insurance, you could possibly well take advantage of seeking the aid of a health agent. Self-employed or individuals with medical conditions generally seek the help of any health insurance agent. Thanks for your post.
hi!,I love your writing very a lot! share we communicate extra about your article on AOL? I need an expert in this space to resolve my problem. May be that is you! Looking forward to peer you.
Pretty nice post. I just stumbled upon your blog and wished to say that I have really enjoyed browsing your blog posts. After all I will be subscribing to your rss feed and I hope you write again soon!
This design is steller! You definitely know how to keep a reader amused. Between your wit and your videos, I was almost moved to start my own blog (well, almost…HaHa!) Fantastic job. I really enjoyed what you had to say, and more than that, how you presented it. Too cool!
Hola! I’ve been following your blog for some time now and finally got the bravery to go ahead and give you a shout out from Kingwood Tx! Just wanted to mention keep up the good job!
I’ve observed that in the world these days, video games will be the latest phenomenon with kids of all ages. Periodically it may be not possible to drag young kids away from the games. If you want the very best of both worlds, there are several educational activities for kids. Interesting post.
Thanks for the sensible critique. Me & my neighbor were just preparing to do some research about this. We got a grab a book from our local library but I think I learned more from this post. I’m very glad to see such wonderful info being shared freely out there.
I am really impressed along with your writing skills and also with the structure for your weblog. Is this a paid topic or did you customize it yourself? Either way stay up the nice high quality writing, it?s rare to peer a nice weblog like this one these days..
We absolutely love your blog and find nearly all of your post’s to be just what I’m looking for. Would you offer guest writers to write content to suit your needs? I wouldn’t mind writing a post or elaborating on a number of the subjects you write related to here. Again, awesome weblog!
I mastered more interesting things on this losing weight issue. One particular issue is a good nutrition is especially vital if dieting. A massive reduction in fast foods, sugary ingredients, fried foods, sweet foods, beef, and white flour products could possibly be necessary. Having wastes bloodsuckers, and toxic compounds may prevent desired goals for losing fat. While certain drugs for the short term solve the situation, the awful side effects usually are not worth it, and they also never present more than a temporary solution. This is a known incontrovertible fact that 95 of fad diet plans fail. Many thanks sharing your ideas on this web site.
I’m truly enjoying the design and layout of your website. It’s a very easy on the eyes which makes it much more enjoyable for me to come here and visit more often. Did you hire out a designer to create your theme? Superb work!
Today, with all the fast way of living that everyone is having, credit cards get this amazing demand throughout the economy. Persons coming from every field are using the credit card and people who not using the card have made arrangements to apply for even one. Thanks for sharing your ideas in credit cards.