Of all the holiday parties – cookie exchange parties are king . An excuse to celebrate the season, hang out with friends and get hopped up on sugar. Obviously the getting hopped up on sugar is the real winner. If you’re not convinced that a cookie exchange party is the way to go, well sit tight and buckle in friends because I’m about to walk you through the crafter’s approach to cookie exchanging. I collaborated with my girl Kori Clark to create an pretty sweet collection of printables that will make it easy to handcraft your own party…and to make this party even easier to create, I cut each of the printables using the Print Then Cut feature of my Cricut Explore. With the Explore, I was able to knock out all the elements of this party in about two hours. That means you really don’t even need to start assembling this shindig until the day of – which is perfect for my sisterhood of procraftinators out there.
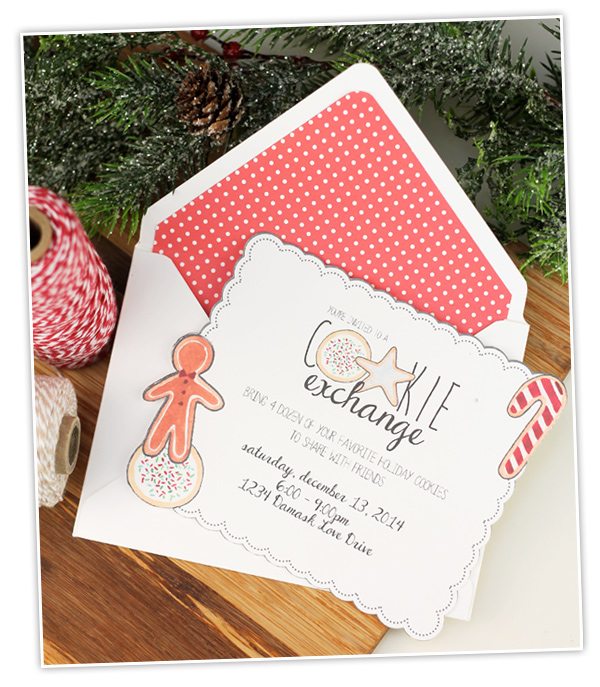
- Paper invitations for the win: Unless you know something I don’t, you’ll want to invite some people to your party. Otherwise, you’re gonna be sitting around by yourself staring at a pile of cookies …and that’s just really awkward. But hey – I don’t know how you roll. For a handcrafted party, you gotta go with paper invitations. That’s how real crafters do it, right? Thankfully, the Explore makes it easy to mass produce invitations that rival anything you’d find at a stationery boutique. How cute are those cookie images that Kori illustrated! The scalloped edges and cookie cut-out shapes on this design are as simple as Print, Cut & Done. If you tried to cut these out yourself…well…bless your heart. And your thumbs.
- Personalize It: Of course, you’ll need to add your personal party details to the invitation printable. This is very easy using Cricut Design Space. Just upload the printable design, then use the Text function to type in the details of your party. Then make sure to “flatten” the text so that it is printable. Next, select both the text and the design and click “Attach.” This way they will print out together as one piece.
- Cookies Please: It’s not a cookie exchange unless your guests bring cookies, right? So be sure to instruct your guests to bring a few dozen of their favorite recipe. I suggest six cookies per guest, plus another one to two dozen for sampling. So, if you’re expecting 10 peeps, each person should bring six or seven dozen munchies.
- Recipe Please: You’ll also want to have the recipe for each cookie at the party. Ask your guests to email their recipe to you a few days ahead of time…and if they tell you it’s some secret family recipe from Great Grammy Jojo…tell them they’re uninvited. And put coal in their stocking.
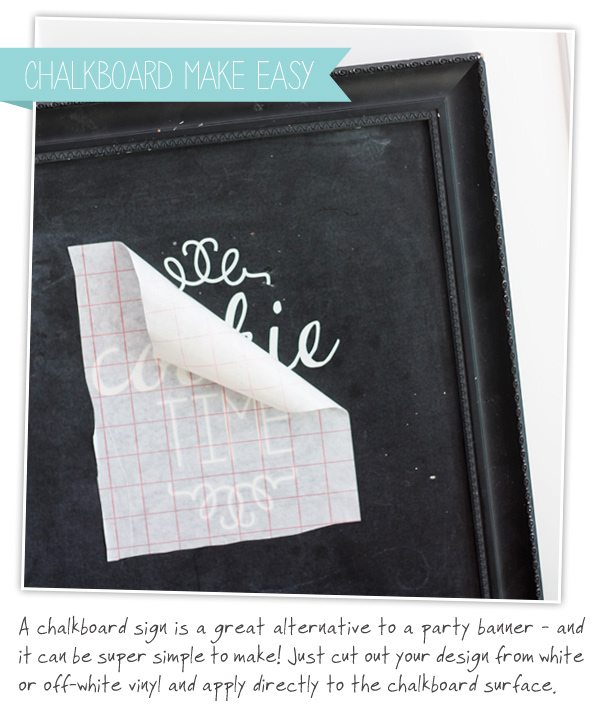
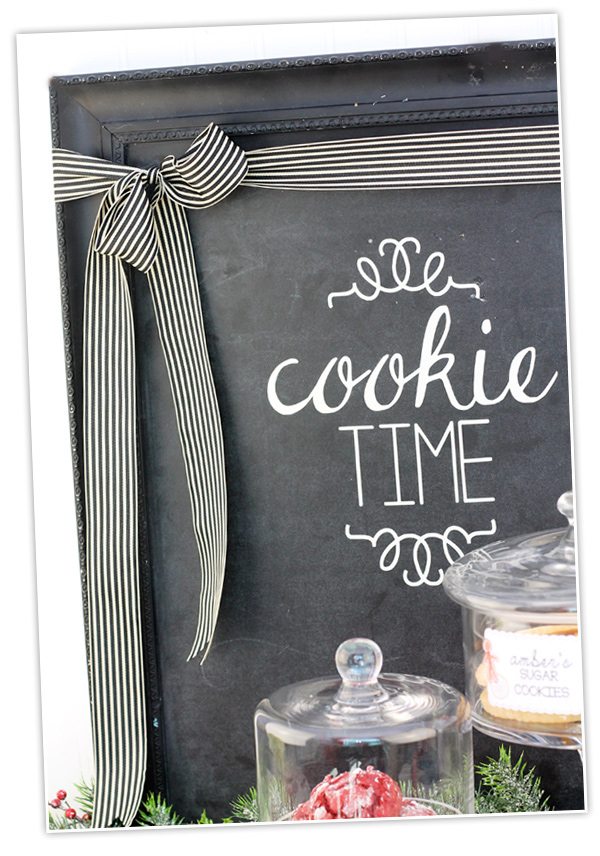
 Keep it Simple: Keep the decor simple…because anything too elaborate means your sanity may well go flying out the window. I remember when I die-cut 65 snowflakes for a party. I think I’d rather sit on a cactus that do that again. Each of the decorative elements for your cookie exchange party can be created on your Explore in just a few minutes…and while the Explore does the work, you can bake up some cookies. Or take a nap. I vote for the nap. A simple chalkboard sign can go a long way to adding pizzazz to your party without the work or assembly of a traditional party banner. Here’s what I mean:
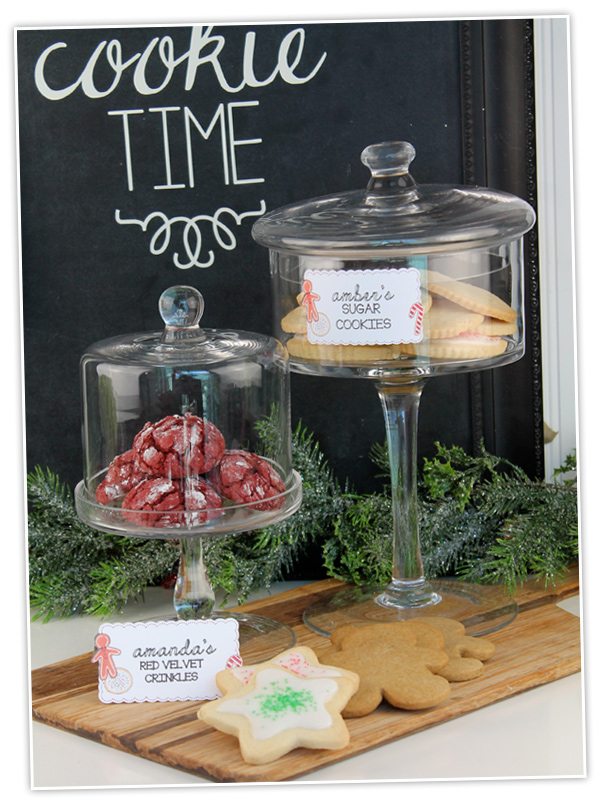
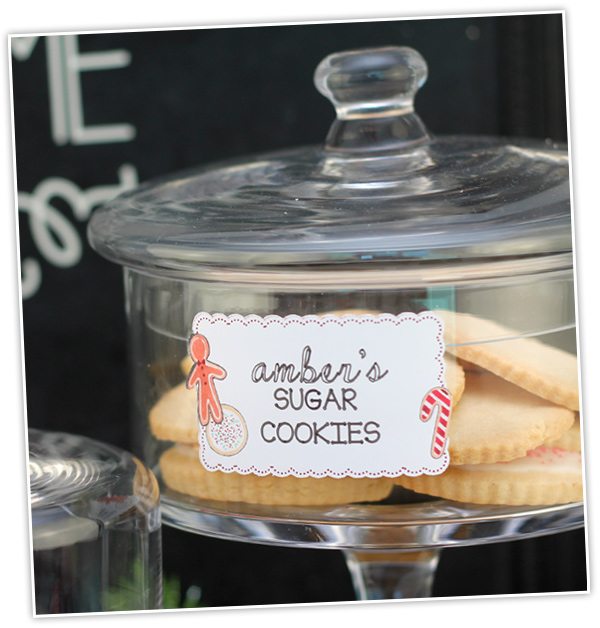
- Give Credit: Make sure every cookie is labeled…with an adorable label of, course. For these labels, I printed some onto paper before cutting them out with my Explore and also printed a few onto Printable Vinyl which made it simple to peel and stick them directly onto a glass apothecary jar. The writing function of the Cricut Explore made it so fun and easy to personalize the labels. I love how the machine can do so many things!
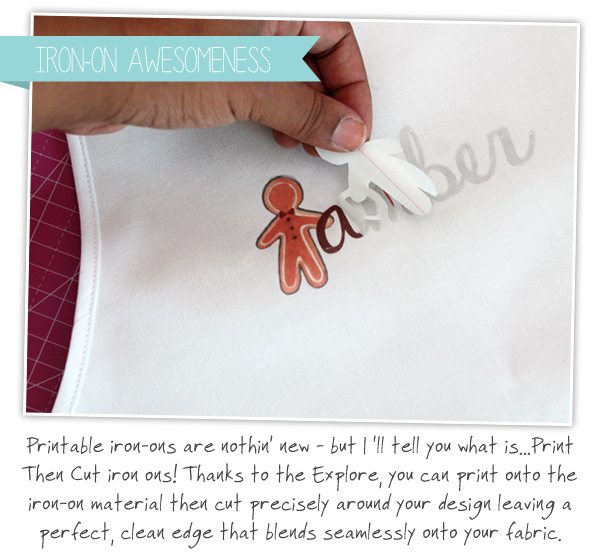
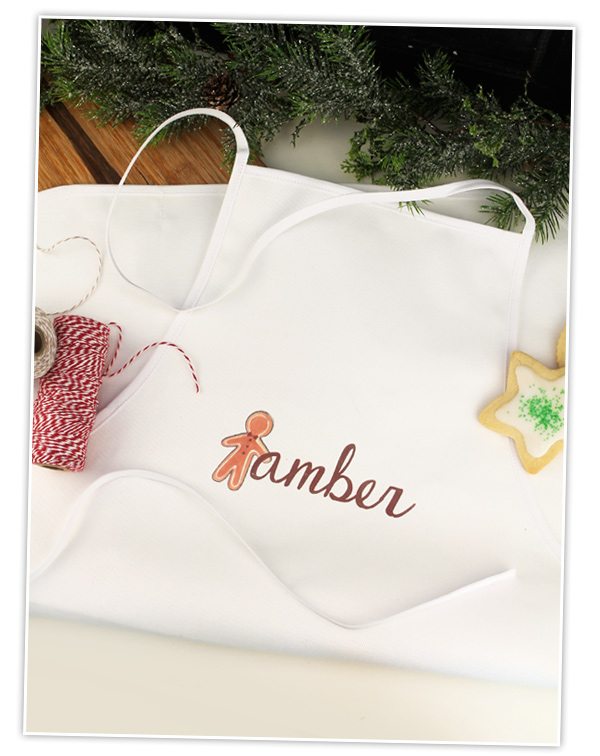
- What’s your name again?: Be sure that all your guests get to know each other…in style. Forgo traditional name tags for something a little more festive and fitting with the theme. Considering this IS a cookie exchange afterall – howsabout some personalized aprons for each guest! You can grab aprons from your craft store and they’re pretty inexpensive (a pack of three will usually cost you about 6 bucks)…and while you are there, snag some printable iron-on material. You can use the printable iron-on with your Cricut Explore’s Print Then Cut feature. The great thing about this is that the Explore will cut your design out precisely, which means no excess edges around the image. Once ironed on, it’ll blend seamlessly into the fabric and look more like a screen print.
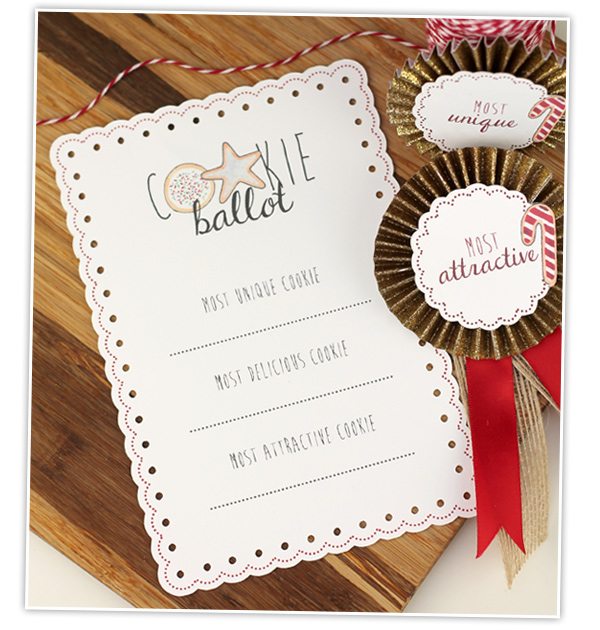
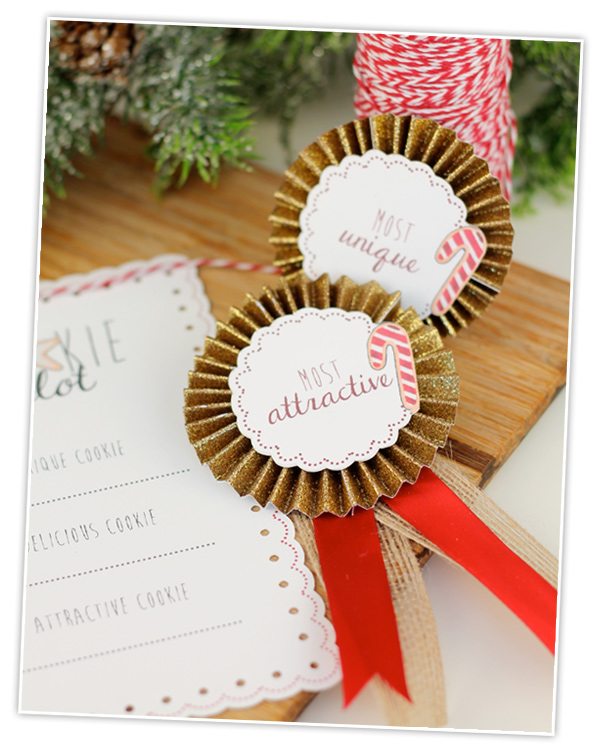
- Friendly Competition: What’s a party without competition and a little opportunity for some good ol’ fashioned trash talkin’? Print and cut some of these adorable ballots that will let your guests vote on their favorite cookies. We’ve even got labels that you can use to quickly create award ribbons for the winners. Each winner gets bragging rights all year long.
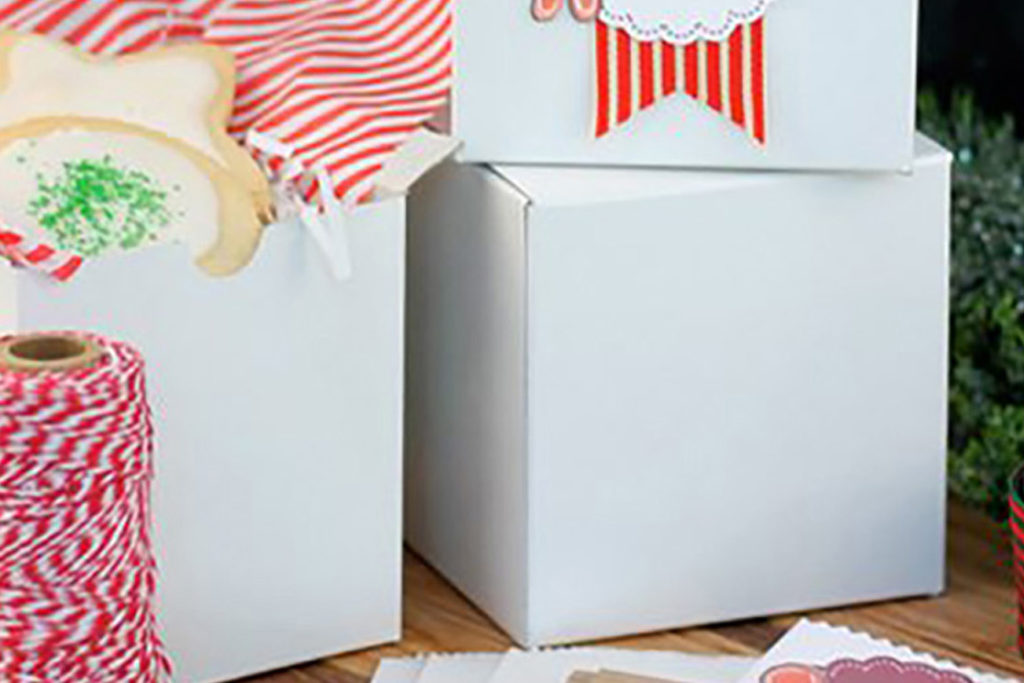
- Get ‘Em Crafting: Since this is a handcrafted cookie exchange, why not get the guests involved in a little crafting of their own? Set up a little packaging station so they can carry home their cookies in style. It’s also a great way to package up leftovers as gifts for other people who couldn’t make the party. I printed out the “Enjoy” label onto Printable Sticker paper and added a few more packaging goodies like baker’s twine, ribbon, gift boxes and waxed tissue paper.
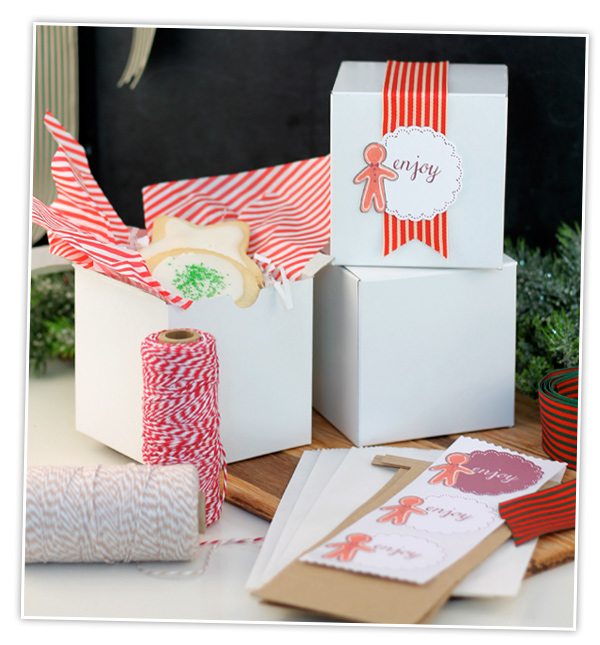
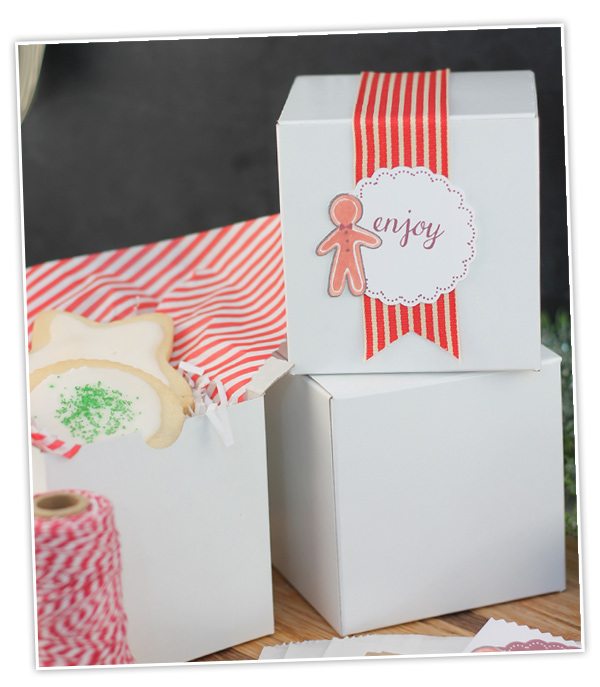
- …but you gotta get the he** outta here: That’s the whole point of party favors, right? To remind your guests that it’s time to get going?! I kid, I kid. You’ll want to send your guests off with a little somethin’-somethin’ but considering they are already leaving with a buttload of cookies, there is no need to go overboard in the party favor department. Lucky for you, I’ve come up with something simple, cute and totally useable…a mini recipe book filled with all the recipes served at the party! Remember when you had everyone email you their recipe? Well, take those and print them four to a page, then assemble them into a mini recipe book. Totally cute and totally functional. The Print Then Cut cover for this recipe book makes it even easier to assemble.
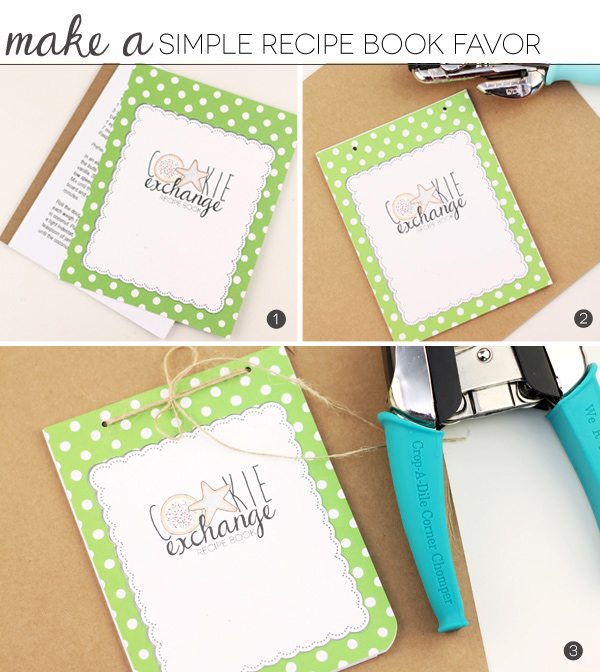
- Print Then Cut the Recipe Book cover image and adhere to a 4.25 x 5.5″ piece of patterned paper. You’ll also need to print out quarter-page sized recipes to include in the recipe book
- Punch two holes in the top of the recipe book
- Attach all the pages together with twine and round the corners using a corner rounder tool.
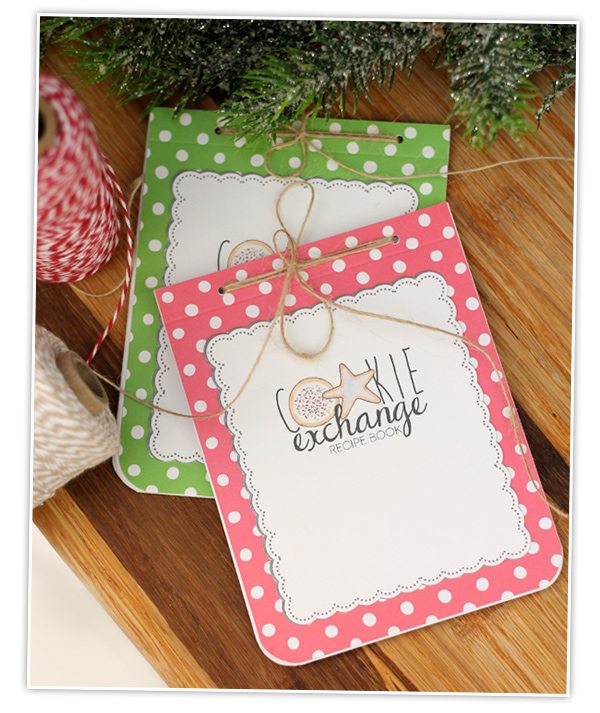 Did you have a good time at our little cookie exchange party? Are you ready to host your own? If so, you can head over to Kori’s blog to pick up all of the printables for this soiree. Her illustrations brought this party to life and will definitely do the same for yours!
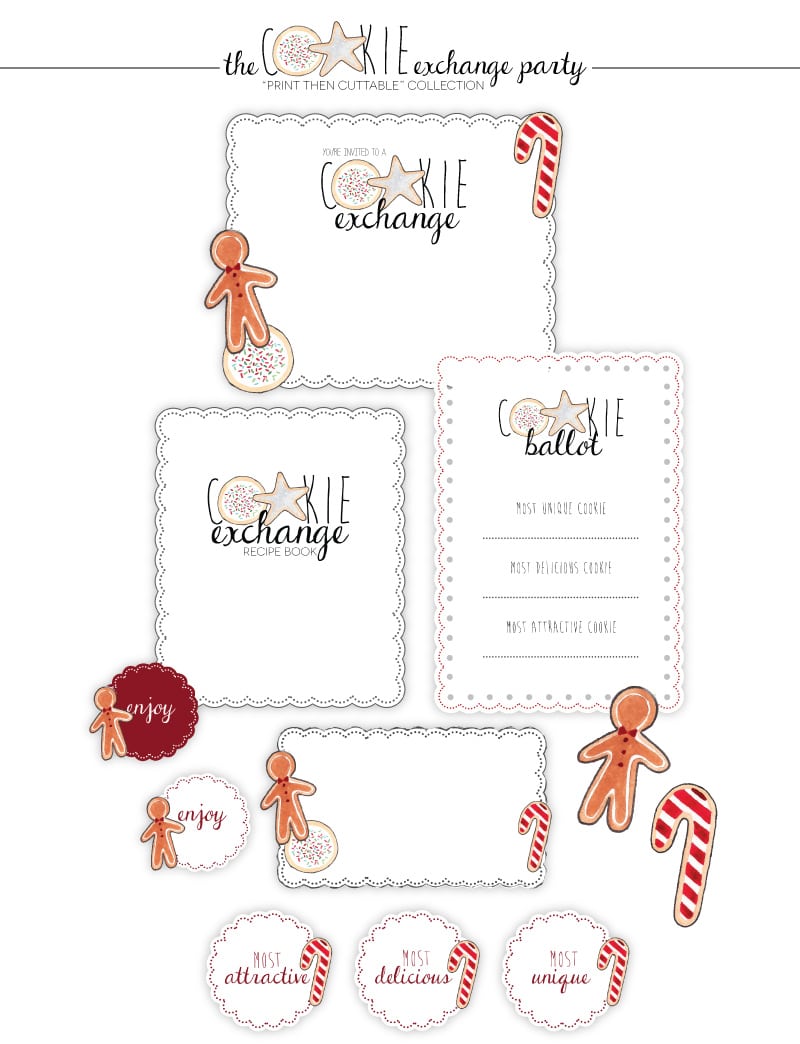 Visit www.koriclark.com for the downloadables of each of these images in the Cookie Exchange collection!





I’m not really into to baking but this makes me want to hold a “Cookie Exchange” right now 😀
Thank you!!
It is such an effective topic, well there are authentic CIPD assignments available for providing great quality assessments affordably online to achieve top grades.
such cute ideas!! I’ve been to cookie exchange parties before, but nothing this fun, thanks for sharing 🙂
I love all of your ideas, Amber! My family has a cookie exchange every year so it will be fun to incorporate your fun ideas and Kori’s cute printables into our festivities this year. Thank you both so much!
Amber, thank you so much for another wonderful idea. I love your posts, and I think I would love to have the recipe for those sugar cookies, they are my absolute favorite!
Thanks! Perfect ideas for a cookie exchange especially the recipe book.
I love your cookie exchange ideas – you provided every detail to make a fantastic party!
I really enjoy reading your posts. You make it feel very personal and I am always laughing or smiling as I read it.
Thank you for sharing this cool idea!
WOW! It’s been a dream of mine to host a cookie exchange party and your ideas and those darling printables make this party the best I’ve ever seen! Thank you so much for sharing all your wonderful ideas! I always enjoy reading your postings, but I’ll have to say that this one is surely one of my most favorite!
Amber, after reading your blog posts I always have something new and creative to try. Plus I always have a smile on my face-sit on a cactus- you are a funny lady! Enjoy your day. Lisa
Hi Amber!! Oh, cookies are a must for any holiday! I LOVE your personalized apron. I love Aprons in general, they are just fun and so very useful for crafting, cooking, cleaning,etc.
So stinkin’ cute. Love your ideas and blog.
No wonder you won!!!! WOW!!!!
These are the greatest! I’ve put up a link to them in one of my blog posts… I hope thats ok!
Thanks so much for the walk through.
Very soon this site will be famous among all blogging and site-building visitors,
due to it’s pleasant posts
Start by uploading the invitation printable design to Cricut Design Space. Make sure the design is in a compatible file shell shockers format (such as JPEG, PNG, or SVG).