Miniature projects are cute and all – but let’s be honest, “giant” is better.
Last time I looked, whenever someone donates a large sum of money, they don’t write out a miniature check. That would be seriously anti-climactic. They write out giant check. So with that in mind, I’m going to change up the Valentine’s Day card game. We’re going big, people. No more minis.
If you saw yesterday’s tutorial on glitter tape ombre, you probably noticed that pretty, pretty card …but what you probably did not notice is that the dimensions of that card are 8.5″ x 11″ – making it a big mamma jamma piece of stationery.
I created that card with a sheet of 11×17 cardstock that I folded in half, then dressed up with my handmade glitter tape ombre heart embellishments. To give my giant card somewhere to live, I decided a giant envelope was in order. Luckily, Paper-Source carries a big selection of 9″ x 11.5″ envelopes and I picked up a few different colors.
Now – if you know me, you know I love a liner. An envelope without a liner with like KFC without the biscuit! (Wonder what the heck I’m talking about …read this post and it’ll all make sense). Making a liner for a giant envelope liner is easy, but it will take a little bit of strategy since you’re working on a larger than life project.Here’s a super quick and easy walkthrough on creating beautiful liners for your own giant valentines
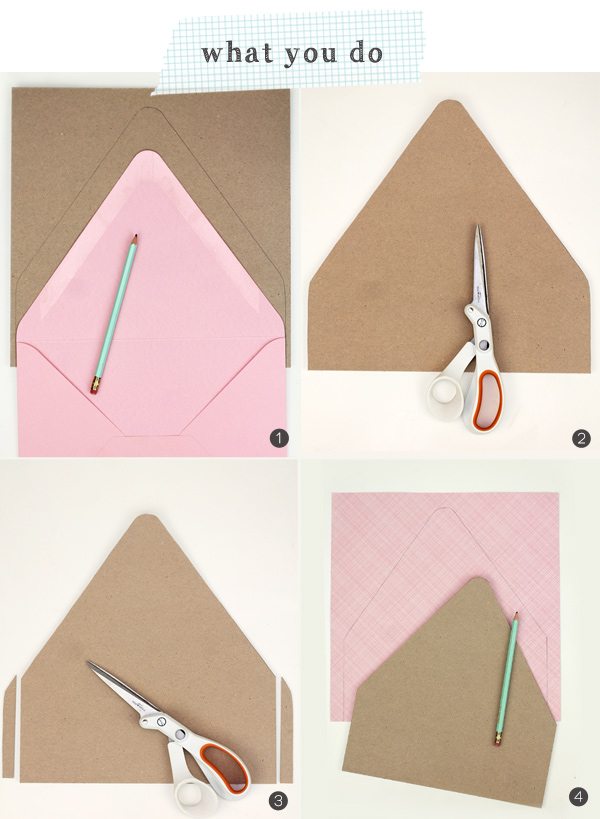 {1} Trace the envelope onto chipboard as shown. you’ll want to trace the edge of the entire flap and as much of the body of the envelope as will fit on the 12 x 12 chipboard.
{2} Cut out the chipboard with scissors.
{3} Cut away 1/2″ from the side of the chipboard shape as shown. This will now serve as your giant envelope liner template.
{4} Using the template, trace the shape on to your choice of patterned paper. You’ll then cut out your patterned paper, slide it into the envelope and adhere it to the envelope flap.
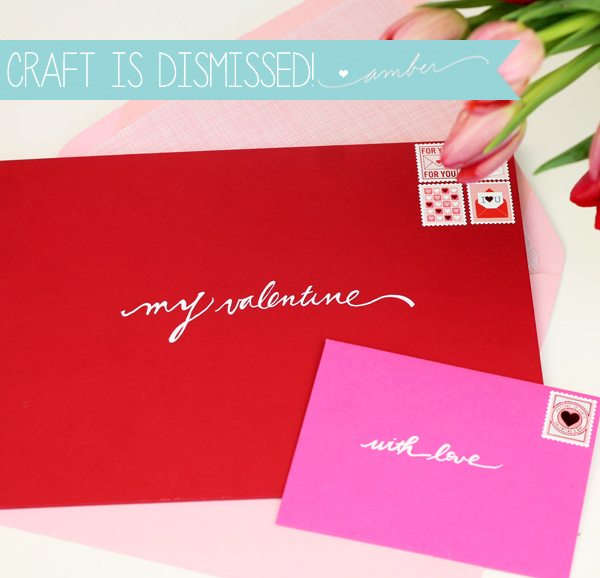
 To give you a better idea of the sizing of this project, here’s a quick comparison with a couple of commonly used envelope sizes.
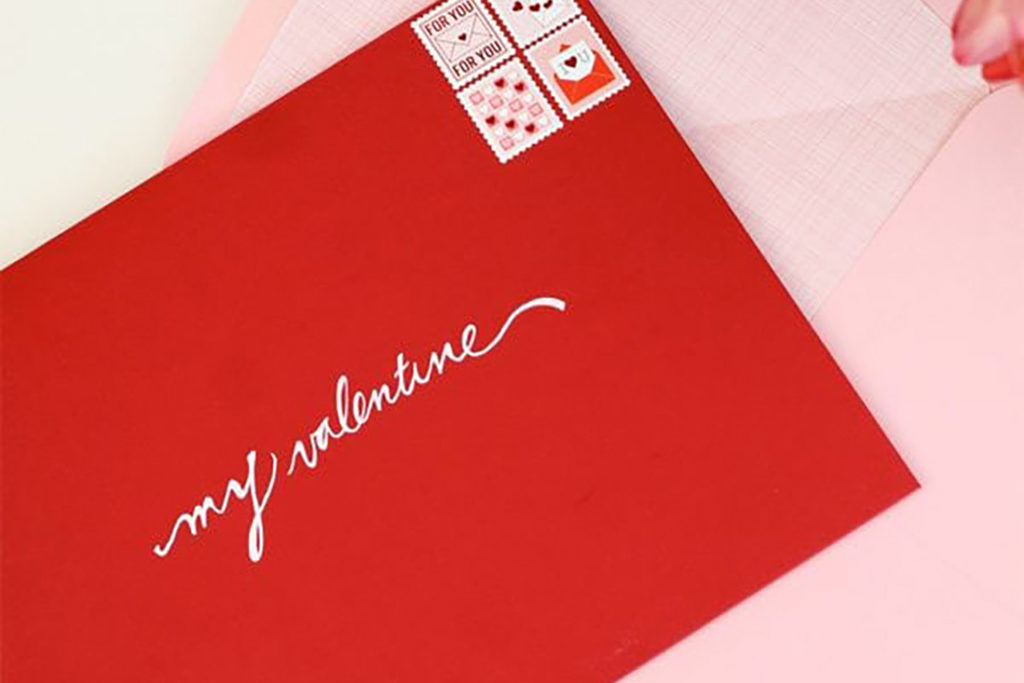
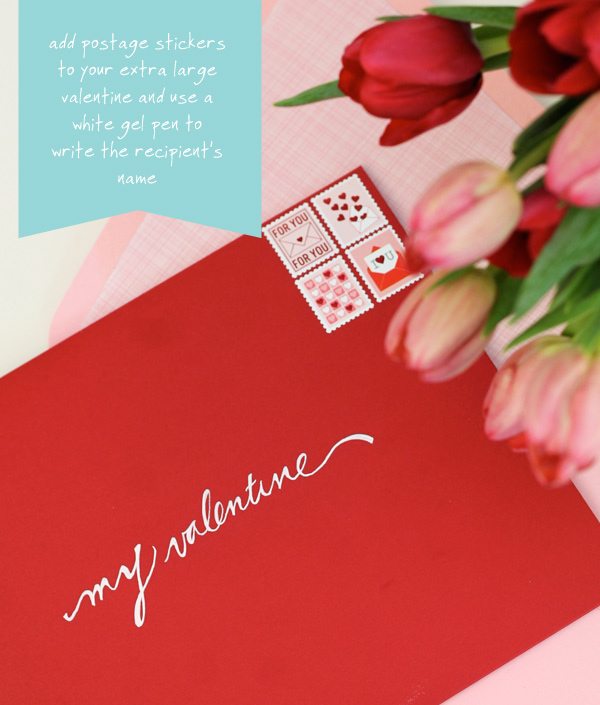
 With my envelope complete, I decided to dress it up with a few simple elements including cute little postage stickers from Martha Stewart and my white gel pen, which coincidentally is the world’s most awesome gel pen ever known to man.
Now, go make your valentine something BIG…but of course, you can use this same DIY envie liner technique to line envelopes of any size! Just be sure to create your template with chipboard and you’ll always have it on hand to jazz up those envelopes before you send them off!











They’re beautiful!
I think this is the simplest envelope liner technique I’ve seen. Thank you for sharing, I’ll definitely be giving it a try! 🙂