You are either gonna love me or hate me for this one. I hope it’s the former – but if it’s the latter, I won’t even be mad, because I get it. I totally get it. The internet is replete with donuts. There is no shortage of donut DIYs. So. Many. Damn. Donuts. But alas, I still love them. They haven’t quite reached mason jar levels of market saturation. But it’s getting there. Before the interweb explodes in a volcano of sprinkles and frosting, I’m gonna squeeze in this donut DIY. Because it’s awesome and needs to be made by everyone and their mother. Because your mother loves donuts too. She told me.
Tote bags are such a fun thing to craft, because in the end you have something totally useable and completely unique that no one else has. There’s a good chance you’ll see more totebags in the future. Damask Loves totebags. Consider yourself warned.
Here’s what you’ll need:
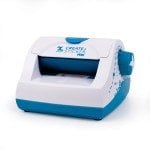
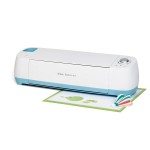
- A Xyron Create-a-Sticker Machine
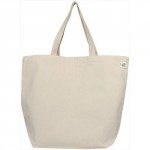
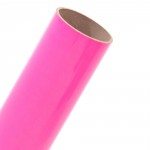
- A good quality tote bag (this one is my go-to for crafting) with ironed on letters. You can either use your Cricut Explore to cut iron-on vinyl or you can purchase pre-cut iron on letters like these.
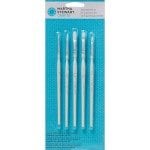
- Foam dauber and small paint brush
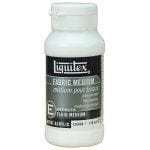
- Fabric Medium
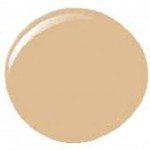
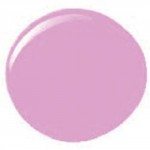
- Martha Stewart Satin Paint in Poodle Skirt and Putty
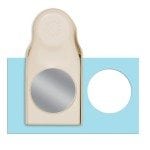
- Martha Stewart Extra Large 2.5″ Circle Punch
- 1/2″ Circle Punch
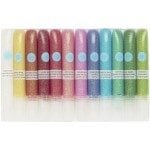
- (not shown) glitter glue
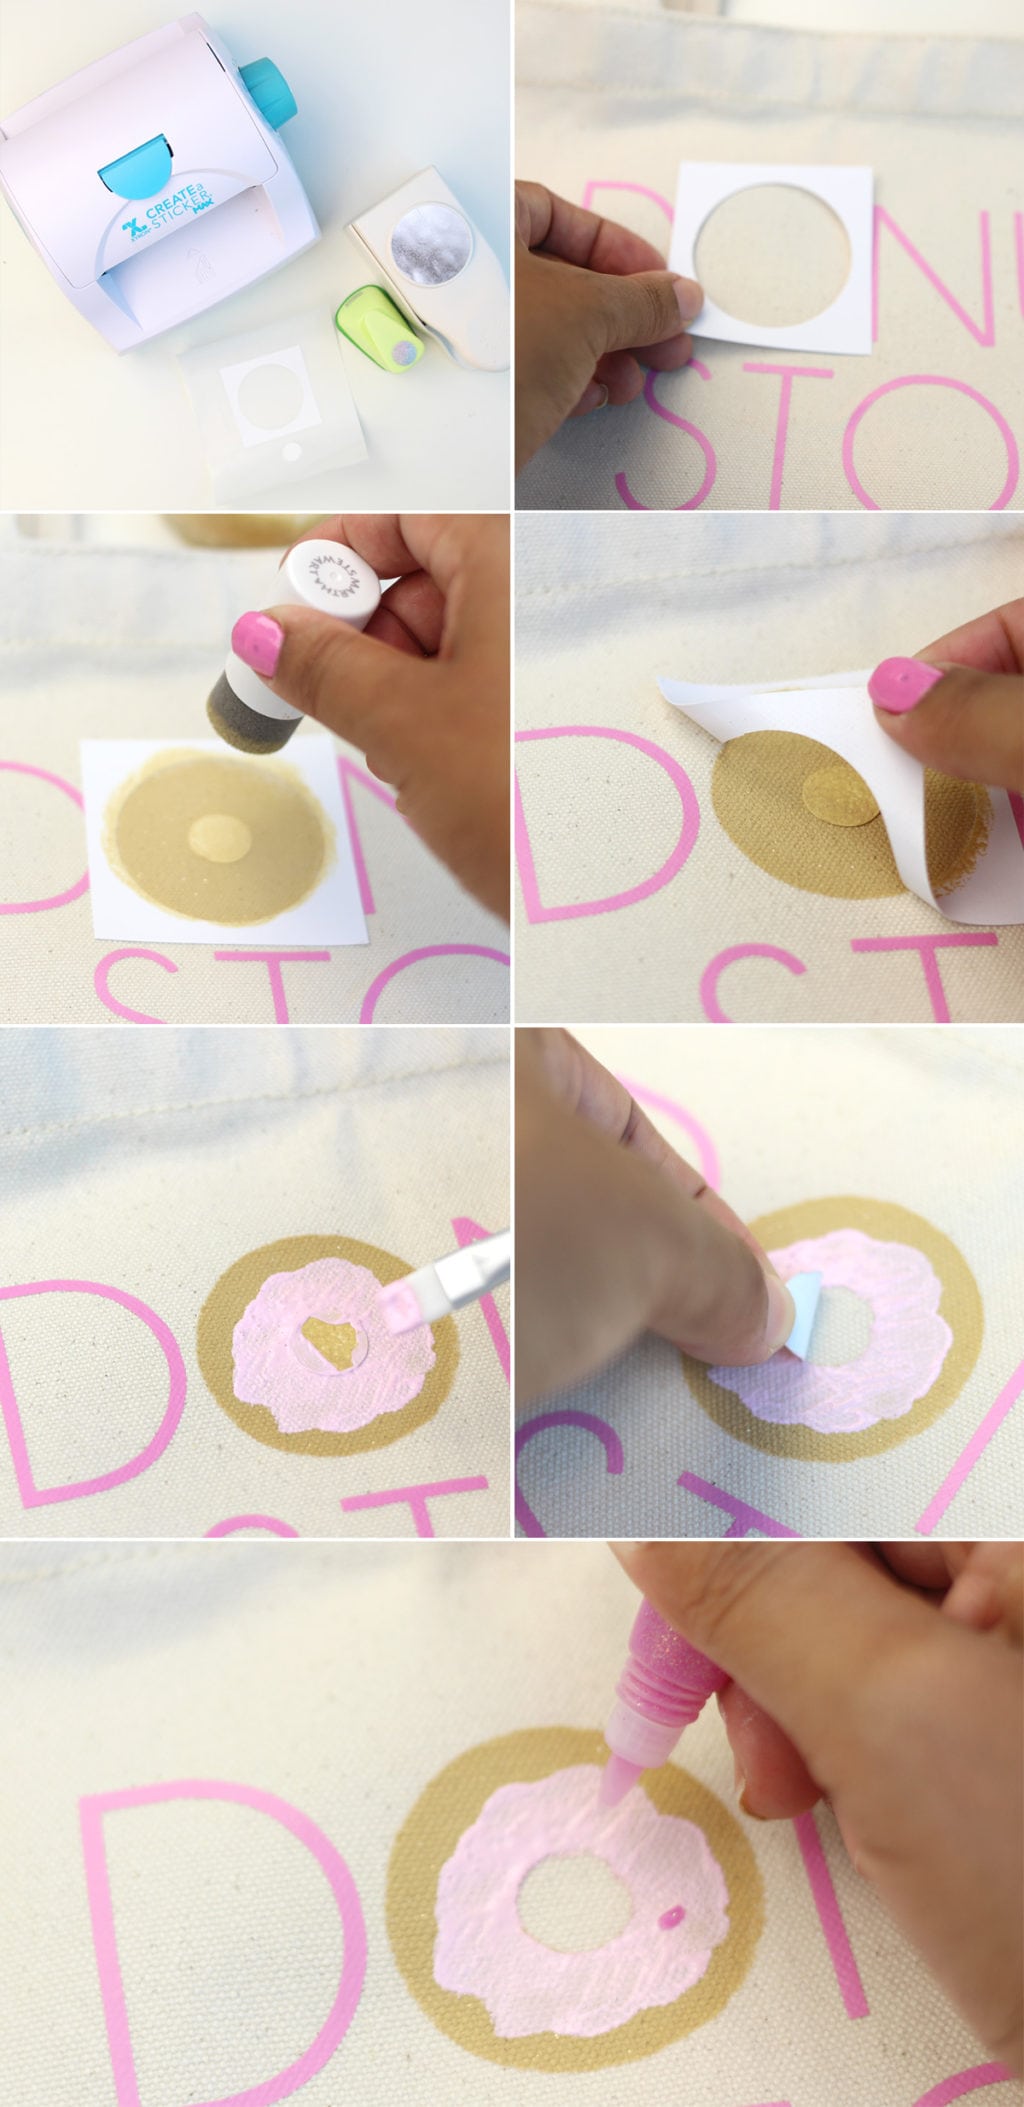
There’s really not much work that goes into putting this bag together, since the iron letters do most of the work for you. All you need to do is paint that cute little donut into place and you’re done!
- Punch a large circle and small circle from white cardstock and run them through the sticker maker as shown
- Adhere the stickers to the bag as shown
- Use the foam dauber to apply brown paint
- Peel back the larger circle border, but leave the center sticker
- Paint pink “frosting”
- Peel back the center sticker
- (optional) use glitter glue to add sprinkles
Donut you love this tote so bad?! I’m obsessed with it. Donut be afraid to give this project a try. You’ll be the coolest crafter in town. Promise.







пин ап: https://pinupkz.life/
pinup 2025: https://pinupkz.life/
пин ап казино зеркало – пинап казино
пин ап казино: https://pinupkz.life/
пин ап казино – пин ап
https://apotheekmax.com/# Online apotheek Nederland zonder recept
https://apotheekmax.shop/# de online drogist kortingscode
https://kamagrapotenzmittel.com/# Kamagra Gel
https://kamagrapotenzmittel.shop/# Kamagra online bestellen
Apotheek Max: Apotheek online bestellen – Online apotheek Nederland zonder recept
online apotheek: Apotheek Max – Apotheek Max
http://apotekonlinerecept.com/# Apotek hemleverans idag
1