
My mom reads my blog everyday. Not because she’s a crafter, but because it’s her way of making sure I’m still alive. She’s a worrier and likes to check in everyday, but if I don’t pick up her phone call she checks the blog. If there is a post, all is well. If I haven’t posted in a while, then clearly I have fallen off the face of the planet.
Well, I’m about to let you in on a little secret:
If I miss a few days of blog posts, don’t worry. I’m probably taking a little breather but will come back strong.
Now, if I post something with a shamrock on it…then it’s time to worry. If I post shamrocks, there is only one explanation. I’m being held hostage by a leprechaun.
I just don’t do shamrocks. I don’t really know why, but I don’t. As far as I’m concerned, shamrocks are in the same boat as googly eyes. I don’t know what to do with either one. While I haven’t welcomed four-leaf clovers into my craftroom, that doesn’t mean I don’t have a few St. Patty’s day inspired projects to share with you.
St. Patrick’s Day projects don’t have to feature beer mugs and clovers, right? I’m coming at St. Patrick’s Day with my gilded gold guns ablazin’. If you just combine some gold with a snazzy rainbow, you automatically have something festive without being overdone.
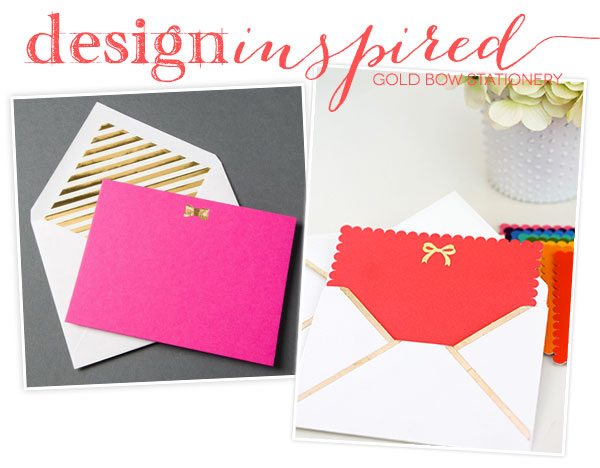
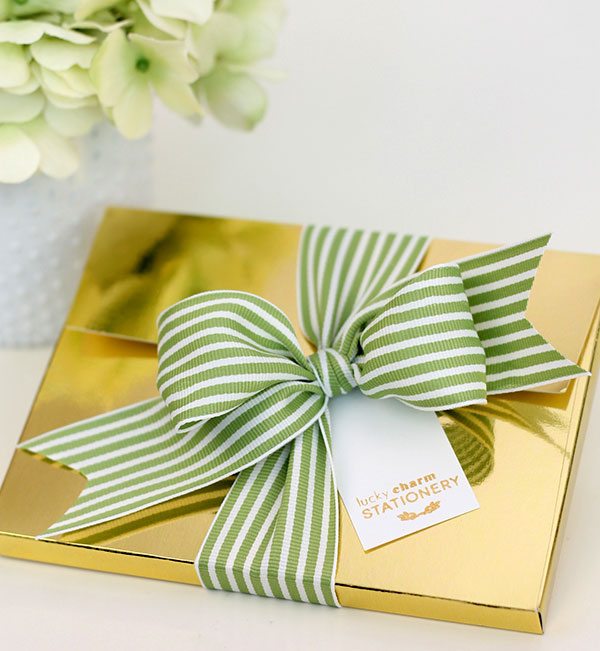
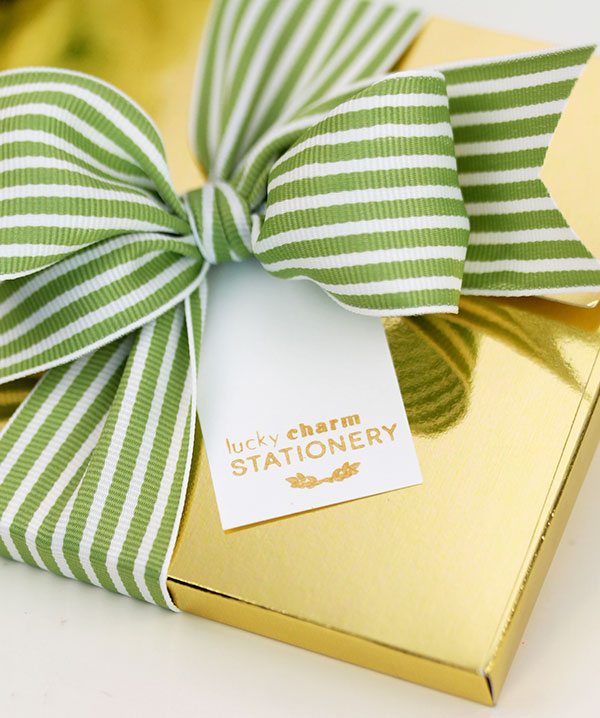
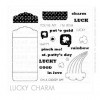
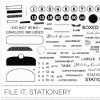
Today’s project is my elegant take on St. Patricks Day, with a hefty bit of inspiration from this stationery set by Kate Spade.
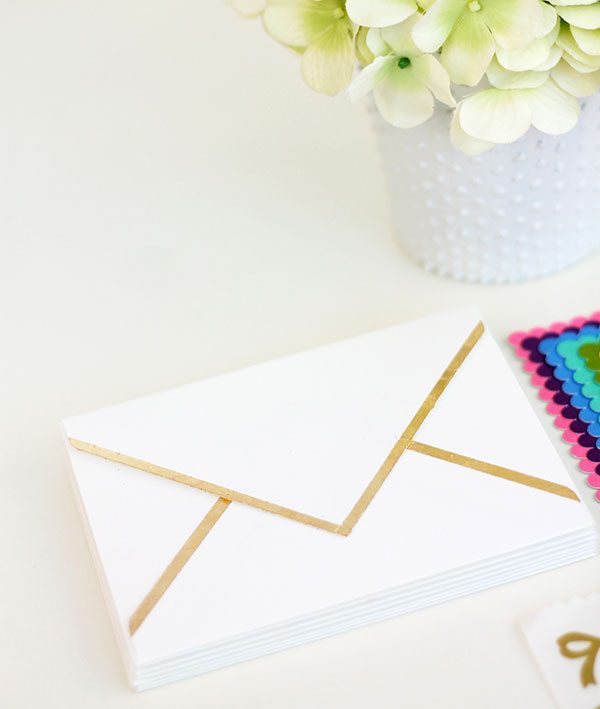
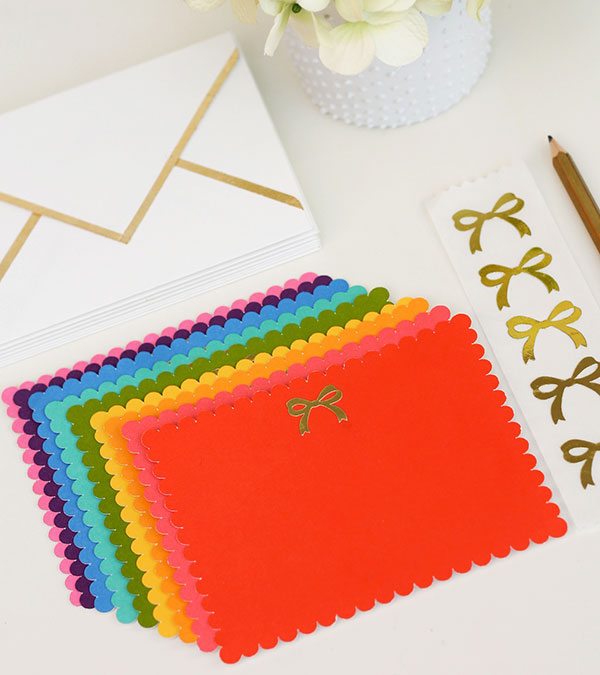
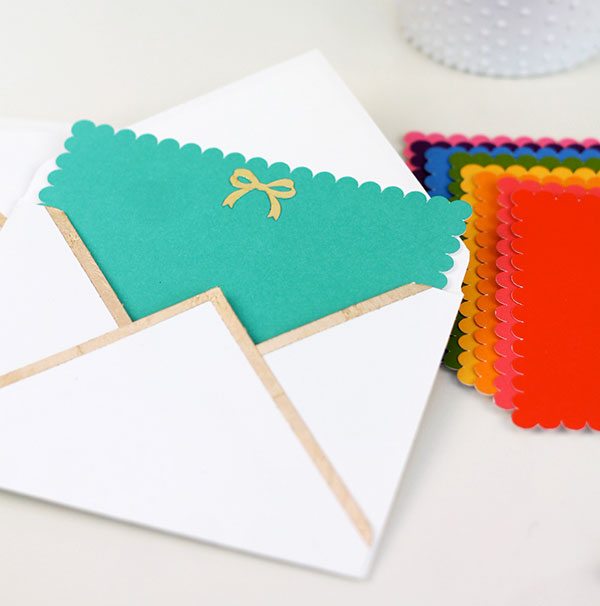
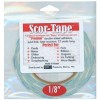
Truth be told, I think I might have Miss Spade beat on this one…but you be the judge. In lieu of her lined envelopes, I created envelopes edged in gold foil using Martha Stewart’s Gold Foil Sheets and the We R Memory Keepers Envelope Punch Board.
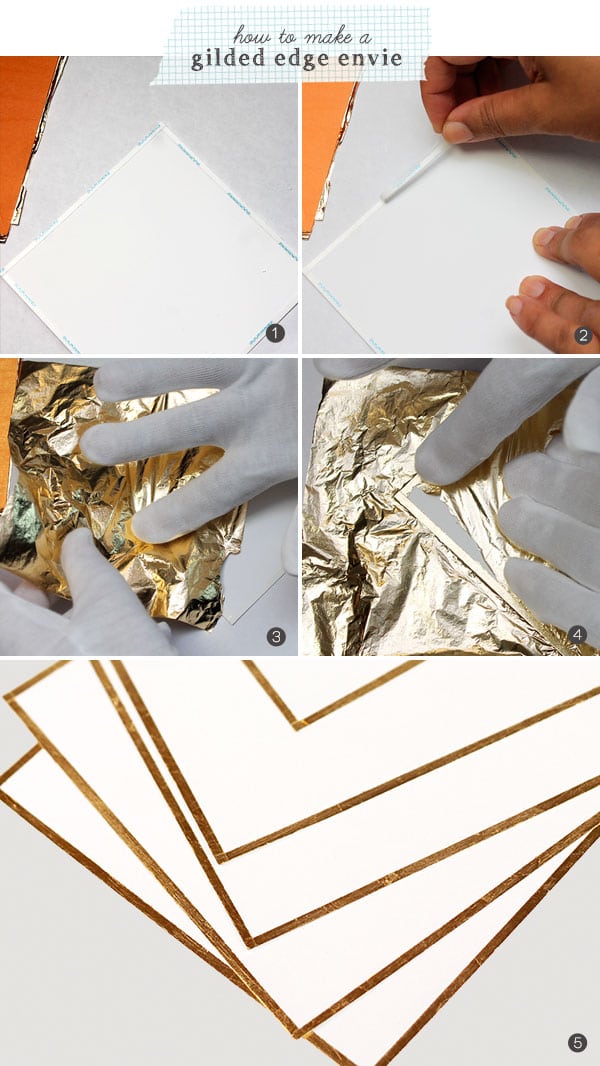
{1} Cut cardstock to size then place strips of 1/8″ double sided adhesive on all four edges.
{2} Remove backing from the adhesive
{3} Gently apply gold foil on top of exposed adhesive and pat into place. Gilding gloves make this easy and keeps the foil from sticking to your hands.
{4} Gently pull away foil by rubbing with the tip of your finger to remove. You can use this foil for creating more gilded edges.
{5} Your finished product will look like this, and all that’s left is to punch your cardstock in the Envelope Punch Board
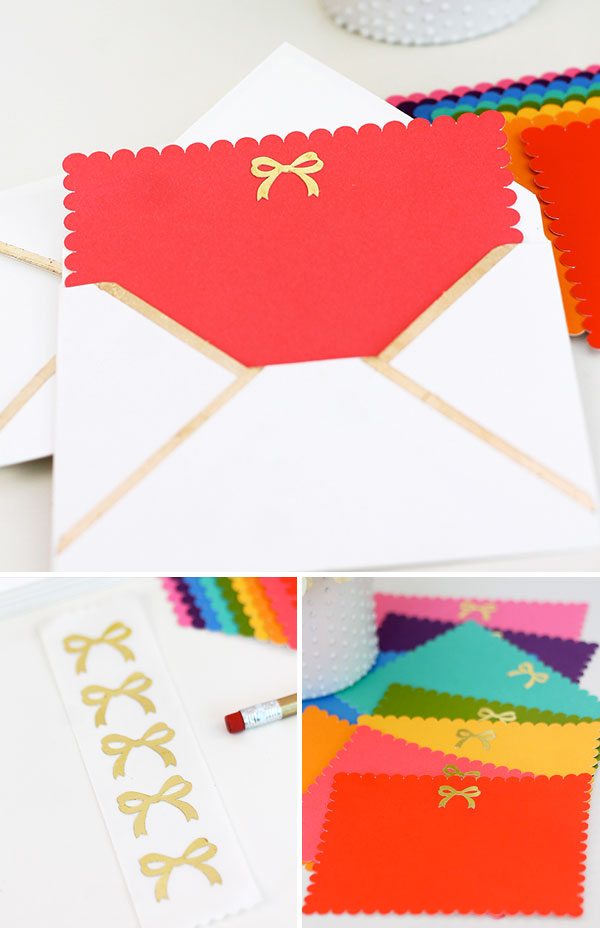
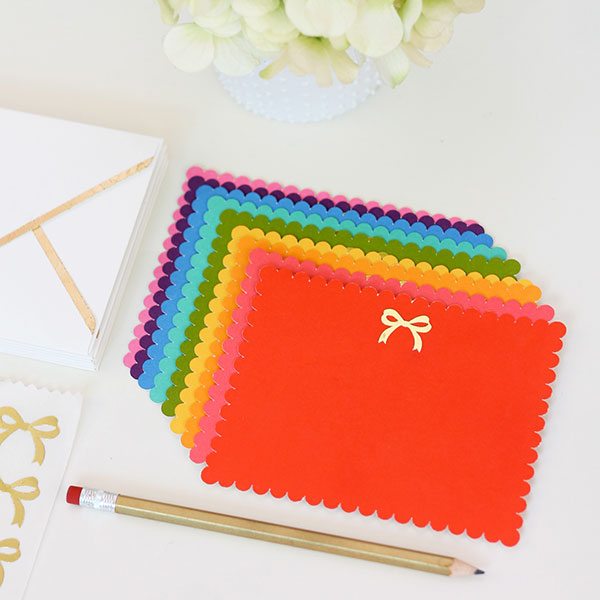 For the notecards and tiny gold bows in this set, I broke out my brand new Cricut Explore for it’s inaugural run. For the longest time, I’ve wanted to create scalloped-edge flat notecards and these turned out perfectly! The little bows measure 3/4″ across and I was pleasantly impressed with how cleanly the machine cut out these tiny images.
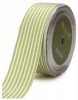
 To finish off this stationery set in a little St. Patty’s Day style, create a metallic envelope by following THIS Damask Love Tutorial. Top it off with a pretty green bow and you’ll have something that rivals any pot o’ gold.

So what’s your vote? Do you have a favorite in this gold bow stationery showdown? Oh…and while we’re on the subject of voting…you should probably come back to Damask Love tomorrow for a very fun post that I can’t wait to share. The post will go up a little later than usual, so don’t worry about me. I’m fine. As long as those leprechauns don’t take me hostage.


https://apotekonlinerecept.shop/# apotek pa nett
http://apotekonlinerecept.com/# apotek pa nett
Kamagra Oral Jelly kaufen: Kamagra online bestellen – kamagra
Kamagra kaufen [url=http://kamagrapotenzmittel.com/#]Kamagra Gel[/url] Kamagra kaufen ohne Rezept
http://kamagrapotenzmittel.com/# Kamagra Original
http://kamagrapotenzmittel.com/# Kamagra Gel
Apotek hemleverans recept: Apoteket online – Apotek hemleverans idag
https://apotekonlinerecept.shop/# Apoteket online