Consider this the official call for the paper calendar squad…or maybe you’re just tired of using that itty bitty digital calendar on your phone! Either way, this DIY photo calendar is about to become your favorite EASY craft project to get your life and schedule in order. Not only does it help keep you organized, but it also doubles as a personalized desk accessory that shows off your favorite memories. The best part? You can print the entire thing right at home on the Canon PIXMA TS8820, which handles thicker cardstock with ease and delivers vibrant photo-quality prints that make your calendar look anything but boring.
This easy DIY calendar is simple enough to put together in an afternoon, but polished enough to gift for birthdays, holidays, or even teacher appreciation. All you need is cardstock, your favorite photos, and a printer that makes both documents and photos shine (pssst: that’s where the Canon PIXMA TS8820 comes in).
And because we’re calendar besties, I’ve created THIS free template so you can jump right into printing without the guesswork. Ready to get organized and crafty? Let me walk through how to make your own personalized calendar step by step.
Materials You’ll Need:
- Free Calendar Template (click here to download!)
- Canon PIXMA TS8820 Printer
- White Letter Sized Cardstock
- 4×6 Canon Glossy Photo Paper
- Double Sided Tape or Adhesive Tape Runner
- Decorative stickers and washi tape

First up, you’ll need to print the calendar which you can find HERE, then it’s time to print out those photos. While I love taking photos with my Canon camera, most of my pics end up living on my phone for a while. Good news: it’s super easy to print directly from your mobile device to your Canon PIXMA printer using the Canon PRINT app.
Select “Photo Print” from the icon menu and you’ll be prompted to select the photos you want to print. It’s really pretty simple!
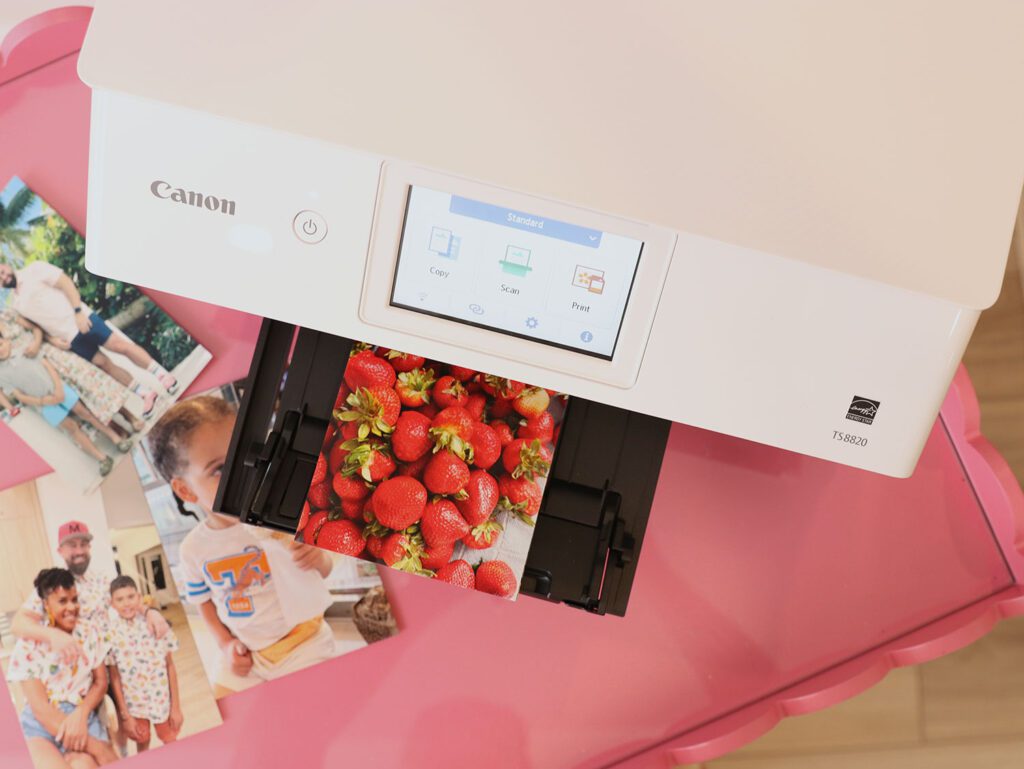
The Canon PIXMA TS8820 is a powerhouse printer! It prints stunning borderless photos as well as documents and once you open the box, the set up is easy! You’ll be crafting and creating in no time.
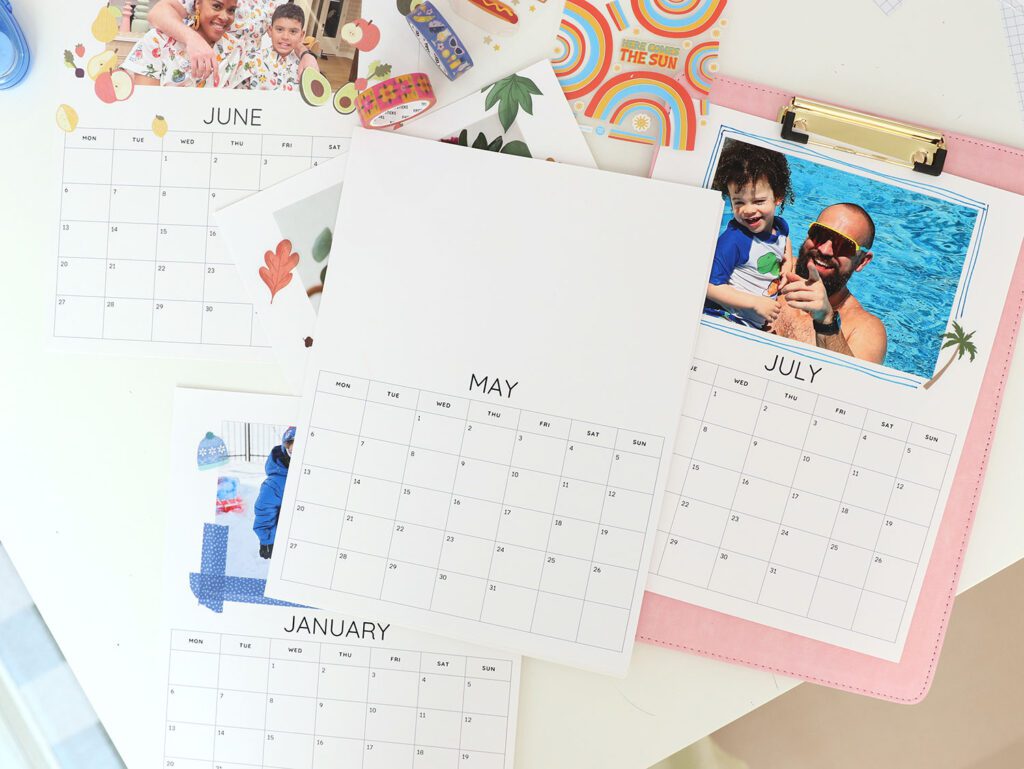
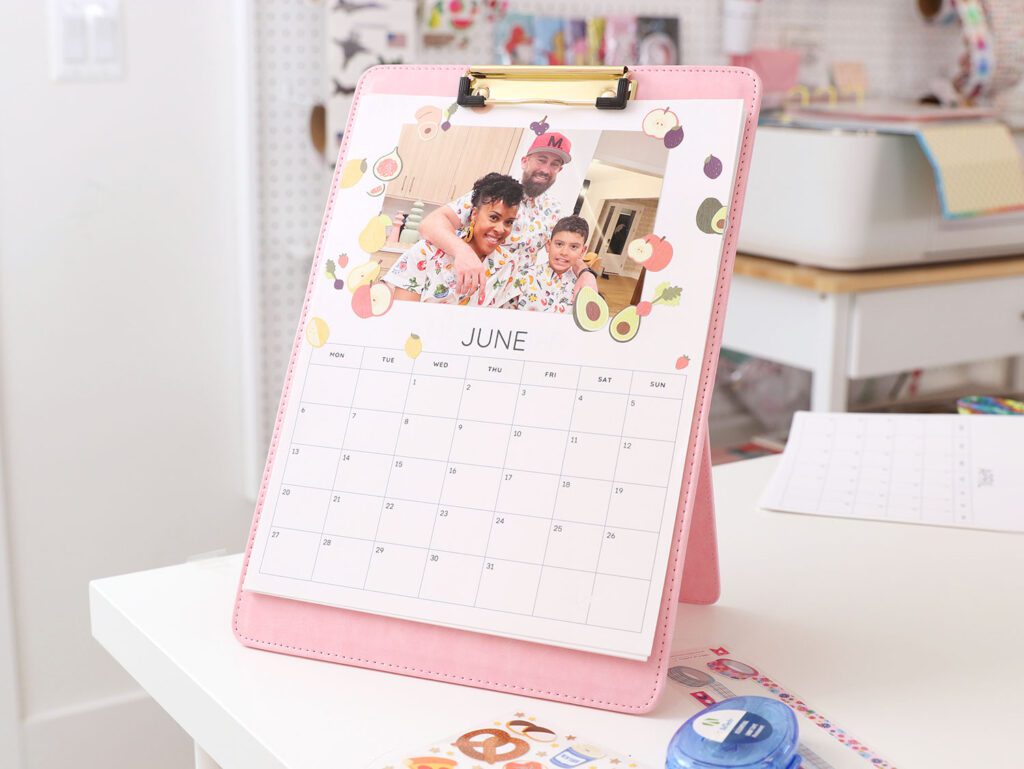
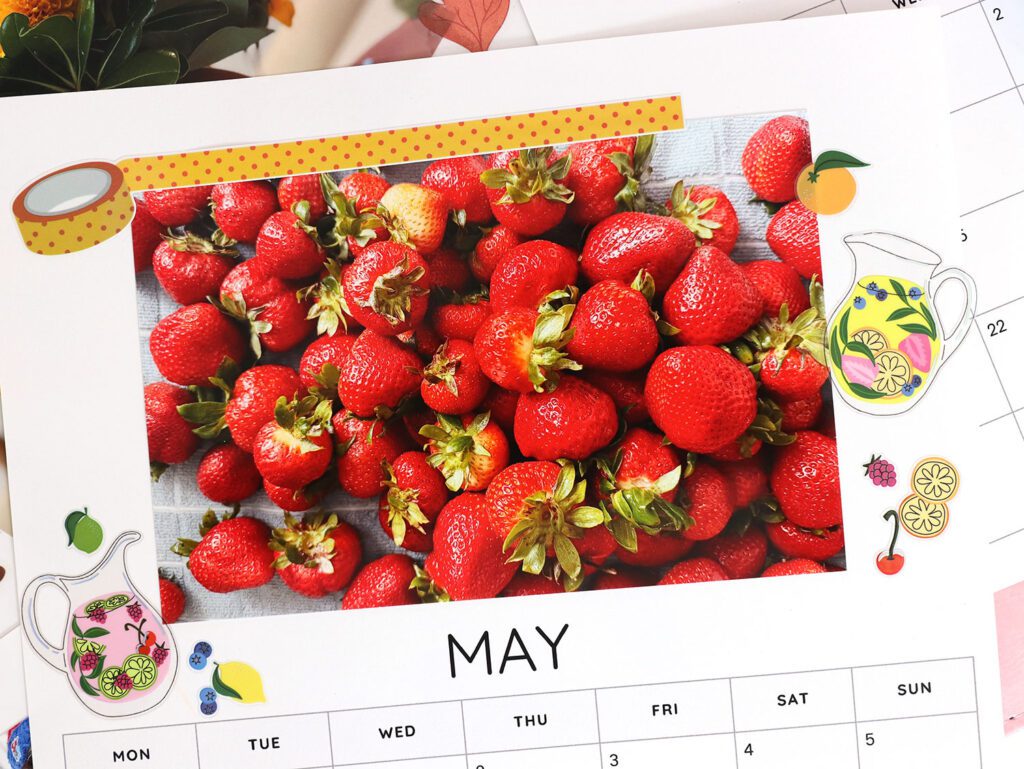
Once all your calendar pages are printed, take a sec to plan out where each photo will go. Think seasonal: swimming photos for summer, snowy snapshots for winter, or even birthday moments for the month when they happen. This little detail makes your DIY photo calendar feel extra personalized.
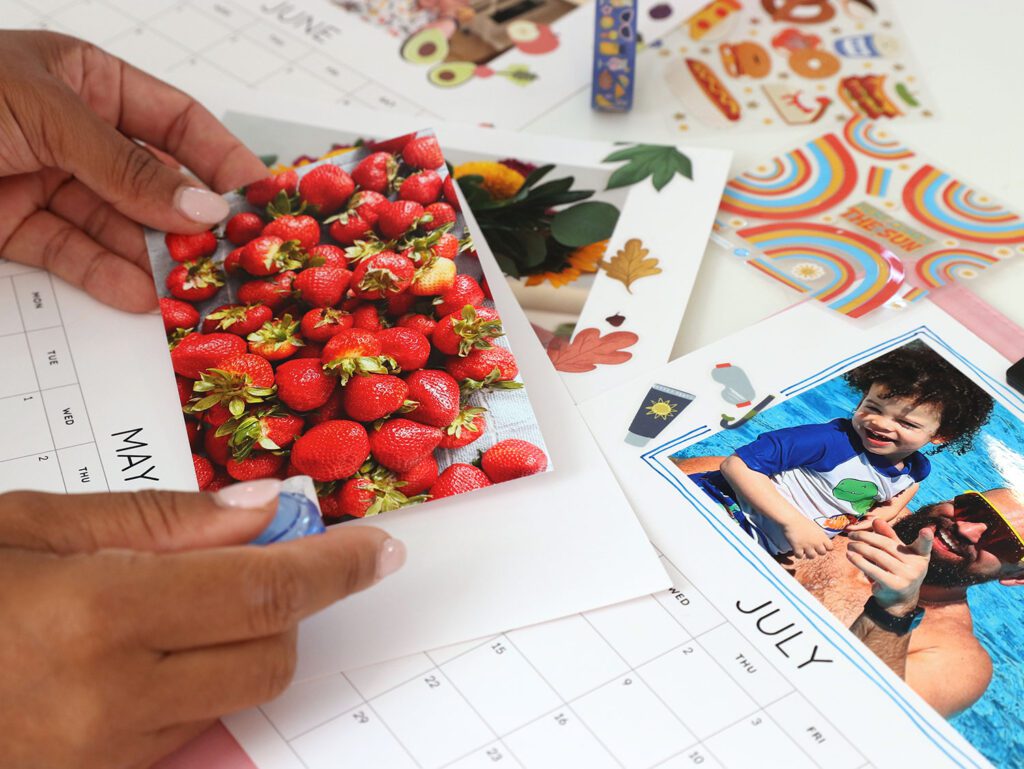
Next, grab a tape runner to secure your photos in place and add stickers or embellishments for decoration. Creating a personalized calendar is a fun, screen-free activity the whole family can enjoy, and it’s the perfect kid-friendly craft project for weekends or rainy days.
And here’s the best part: you don’t have to finish every page of your DIY photo calendar right away. Leave a few of the months without any photos so you can add new pics as the year goes on. This will make it a work-in-progress filled with fresh memories. To display, try using a clipboard easel to show off your personalized desk calendar so it’s easy to see (and admire) every day.
Sooo, whether you’re making this custom calendar as a thoughtful gift or keeping it on your own desk for a little daily joy, here’s what I know for sure: it beats scrolling through the calendar on my phone. It’s also a project that blends organization with creativity, which frankly feels like I’ve really got my act together.
Go grab your cardstock, favorite photos, and your Canon PIXMA TS8820 printer , and get ready to turn your year into something you’ll actually want to keep track of.