Today marks one month since I started my blog and I am still going strong!
Today is also my second entry into the monthly Papertrey Ink Blog Hop. The Blog Hop is a chance to visit others’s blogs and be inspired by their creations.
The theme for this month’s blog hop is Scallops.
Now, I must be honest, the first thing that comes to mind when I say the word “scallops” is my favorite seafood recipe – Scallops Provencal -utter deliciousness!
When it comes to papercrafting though, scallops have nothing to do with cuisine. In the crafting world, scallops refer to curved, decorative edges.
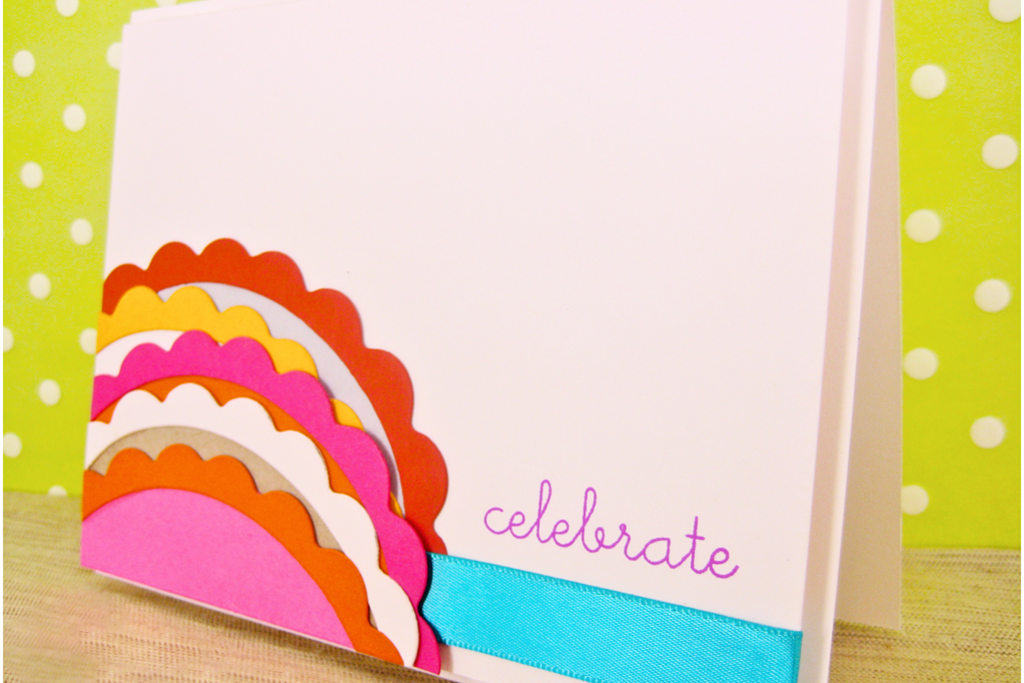
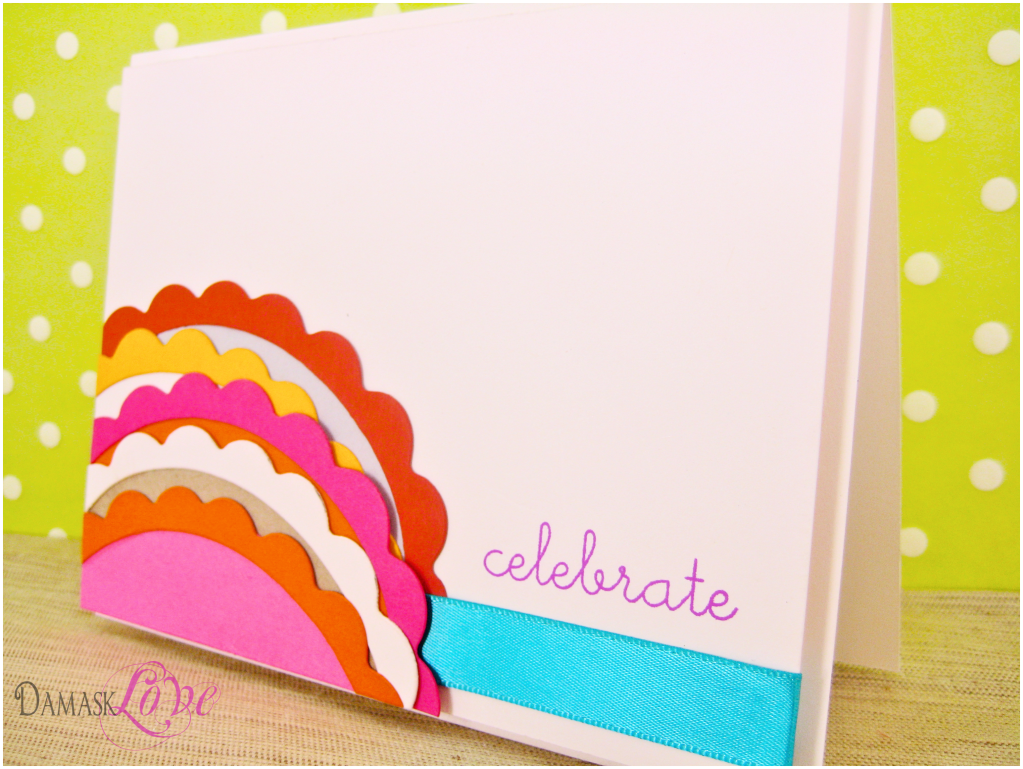
I’m excited to show-off my scallop-inspired projects, so here’s my first one:
For this card, I wanted an abstract look with bright colors. I placed the scalloped edges in a haphazard pattern, giving me exactly the look I wanted!
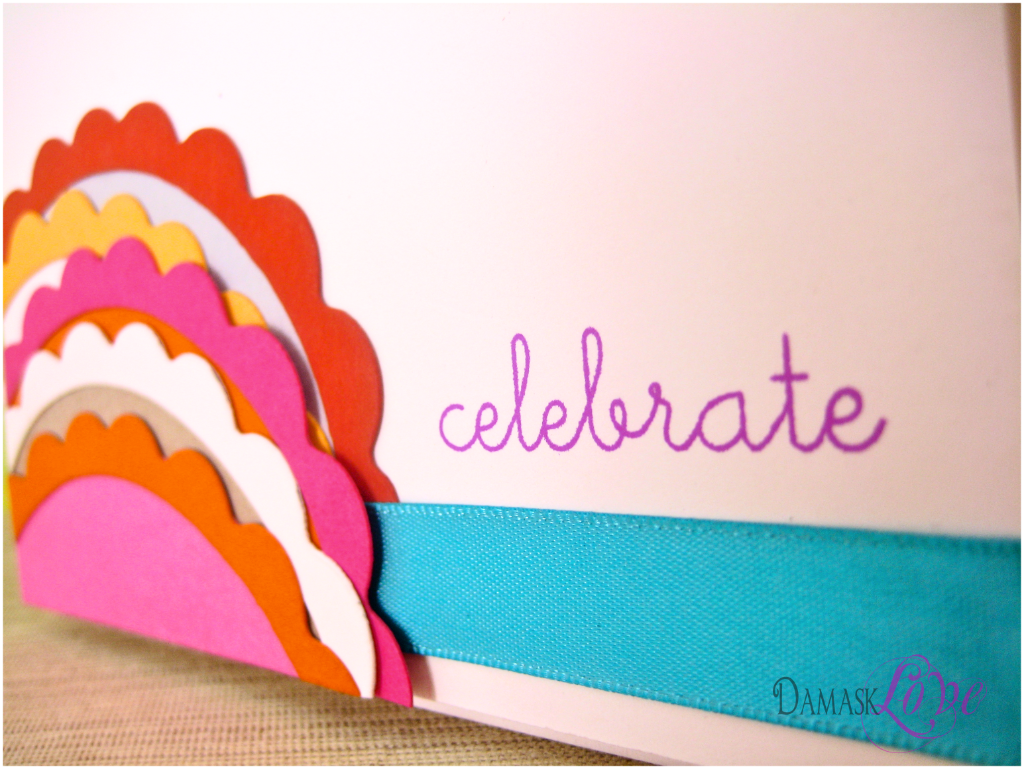
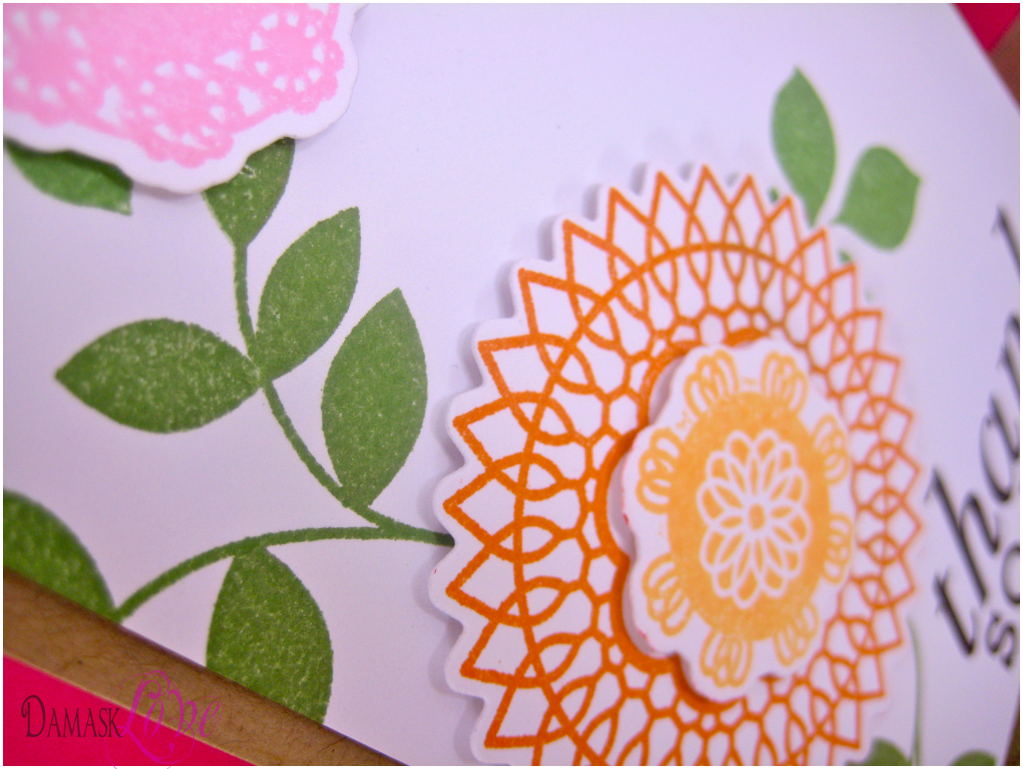
Here’s a super-duper-close-up of those fun scallops!
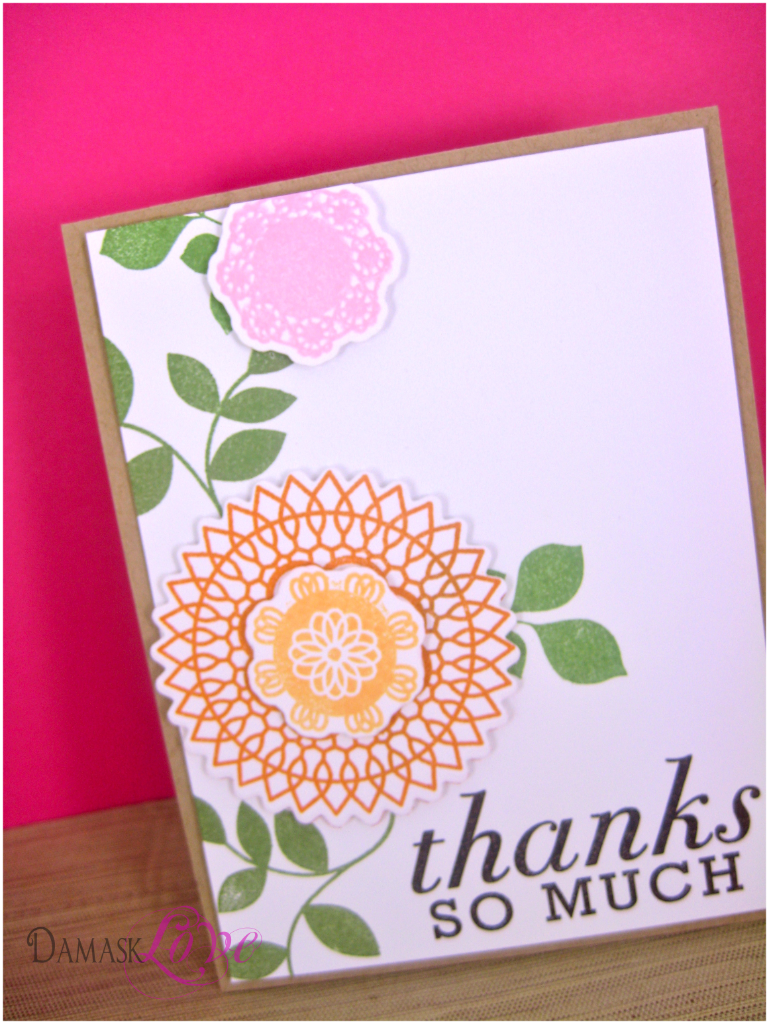
My next card is all about the scalloped edges on the new PTI Delightful Doily stamps and the Doily Details dies.
Ever since I saw these new products, I wanted to create a floral look with the doilies.
I love the suggestion of flowers on a vine without using flower stamps.
Last – and certainly not least is my favorite scallop-inspired project!
Let me start off by saying – I am absolutely IN LOVE with Dawn McVey’s Edger Die #2. The lacy edge is so sweet.
I have already used this die on several cards, but I wanted to get really creative and use this product in a fun, new way.
After some (read: a lot!) of deliberation – I was finally inspired!
I have always been a lover of servingware and I have recently been looking for a cake plate that has a fancy edge with ribbon through it.
Kinda like this:
I already own a TON of cake plates, though – so adding another to my stash would just be silly.
Instead, I decided to revamp an item in my collection to get the look I’ve been wanting!
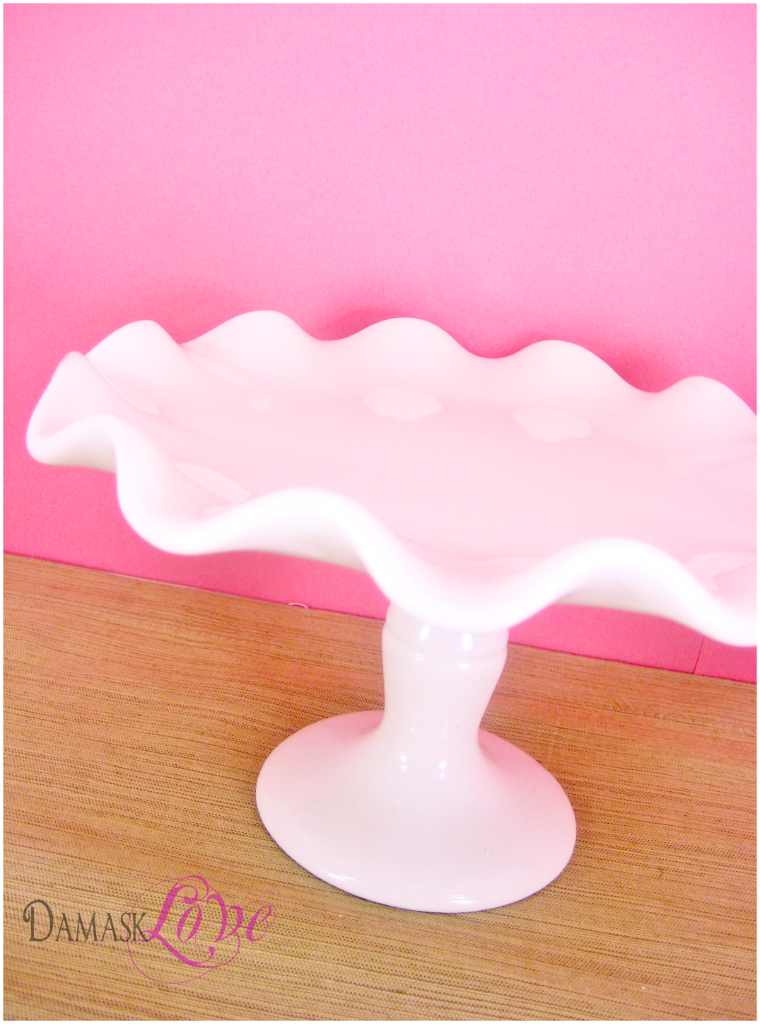
Here’s one of my cake plates – cute, but ready for a makeover.
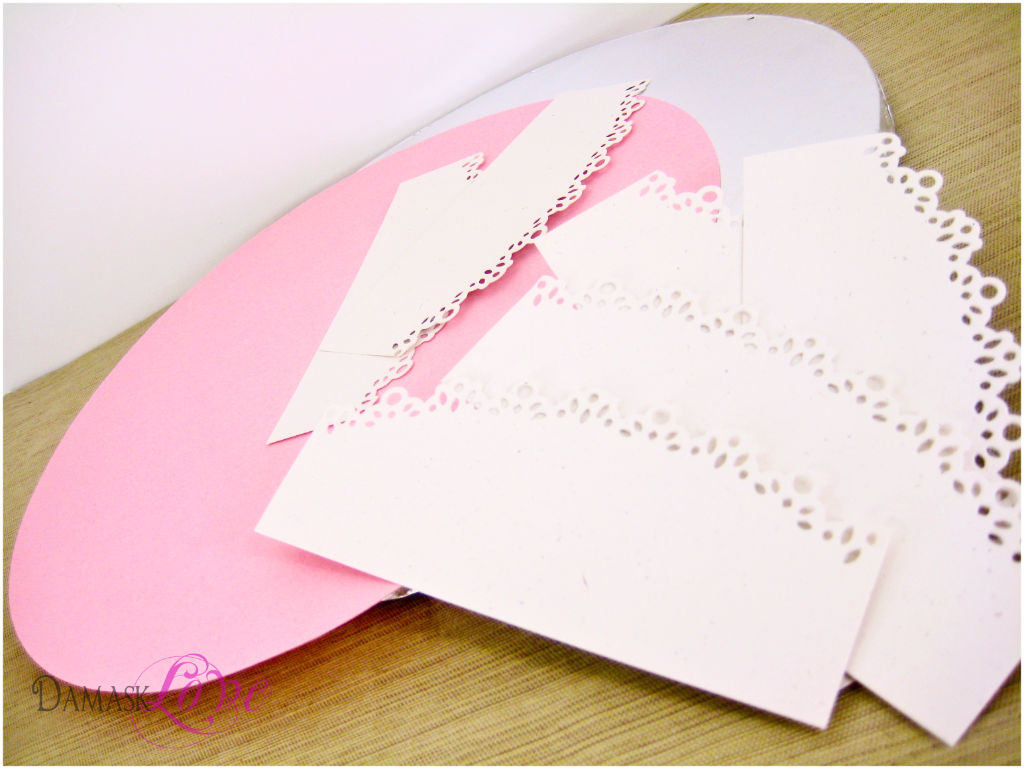
My tools for this project included:
1 – 10″ decorative cakeboard (available at Michael’s)
6 – Strips of cardstock that have been diecut with the Edger #2 die
1 – 10″ cardstock circle
Ribbon
Edge punch
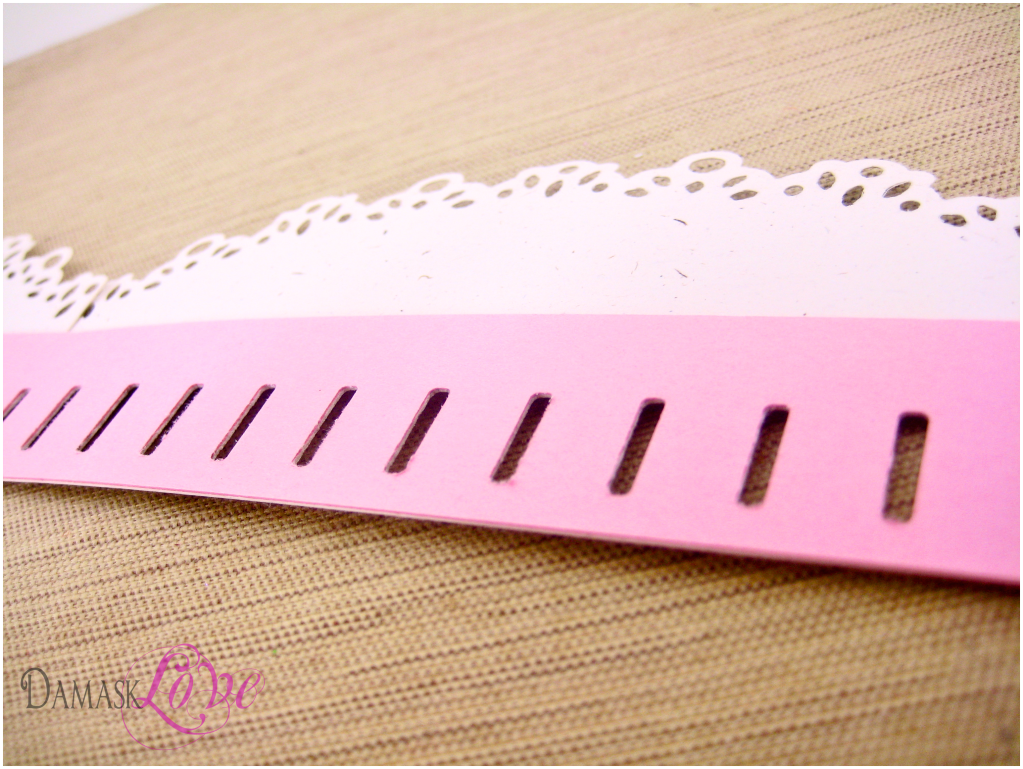
I attached the strips to a longer strip of cardstock to create one long decorative edge.
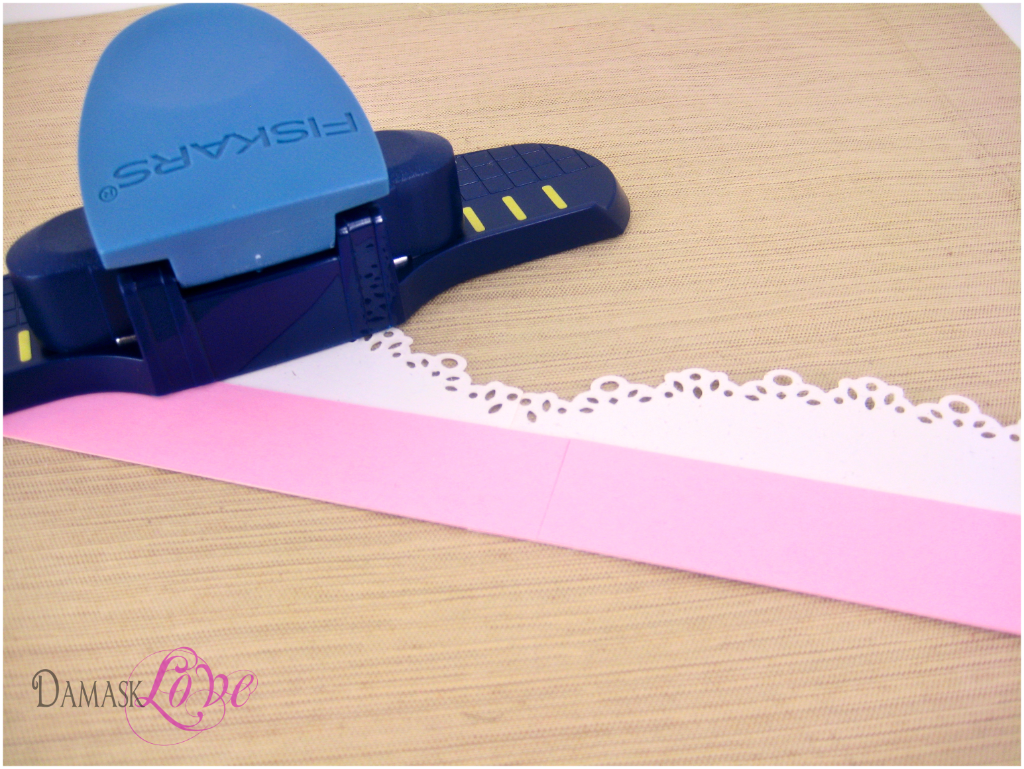
Then, with my Fiskar’s Leave It To Weaver Border Punch, I punched the entire length of the strip.
After this step, it was time to assemble!
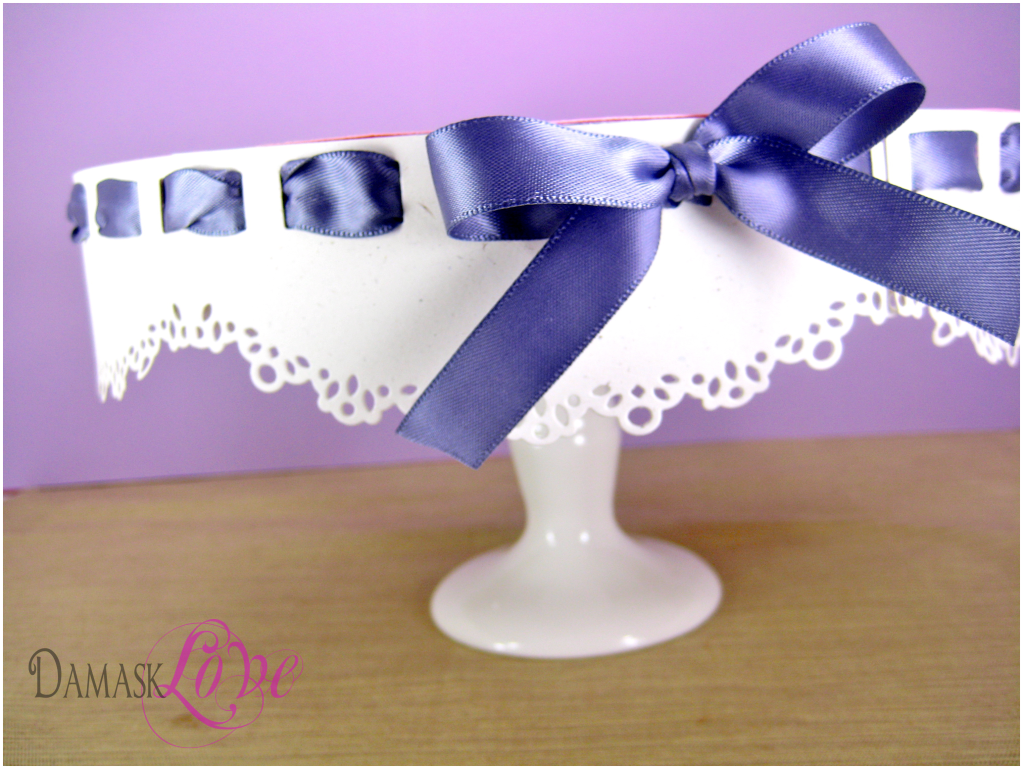
I ran a length of ribbon through the punched holes and adhered the strip to the edge of the cake board.
Then, I just used Zots to gently adhere the cakeboard to my cake plate.
This quick project is inexpensive and can be done to match the decor for any event – AND – you don’t have to go out and purchase new servingware!
All said – this project rang in at about $3.00!
Now it’s ready for cake, cupcakes, pastries or whatever sweet treat you can think up! This could be the perfect centerpiece to your Springtime table!
Thanks for stopping by for some Damask Love and Happy Blog Hopping!
Supplies (All PTI unless otherwise noted):
Celebrate:
Stamps: Fillable Frames #5
Paper: Vintage Cream
Ink:Vivid Fucshia
Other: Sizzix Big Dies – Oval Scallop, Hawaiian Shores ribbon
Thanks so much:
Stamps: Delightful Doilies, Think Big Favorites #1
Paper: Kraft, Stamper’s Select white
Ink: Stampin Up Pumpkin Pie, Apricot Appeal, Pretty in Pink
Other: Doily Details dies
Doily Cake Plate:
Stamps: none
Paper: pink cardstock (unknown), Rustic Cream
Ink: non
Other: Edger dies #2, Plum Pudding ribbon






Congrats on your blog! Love all your projects.