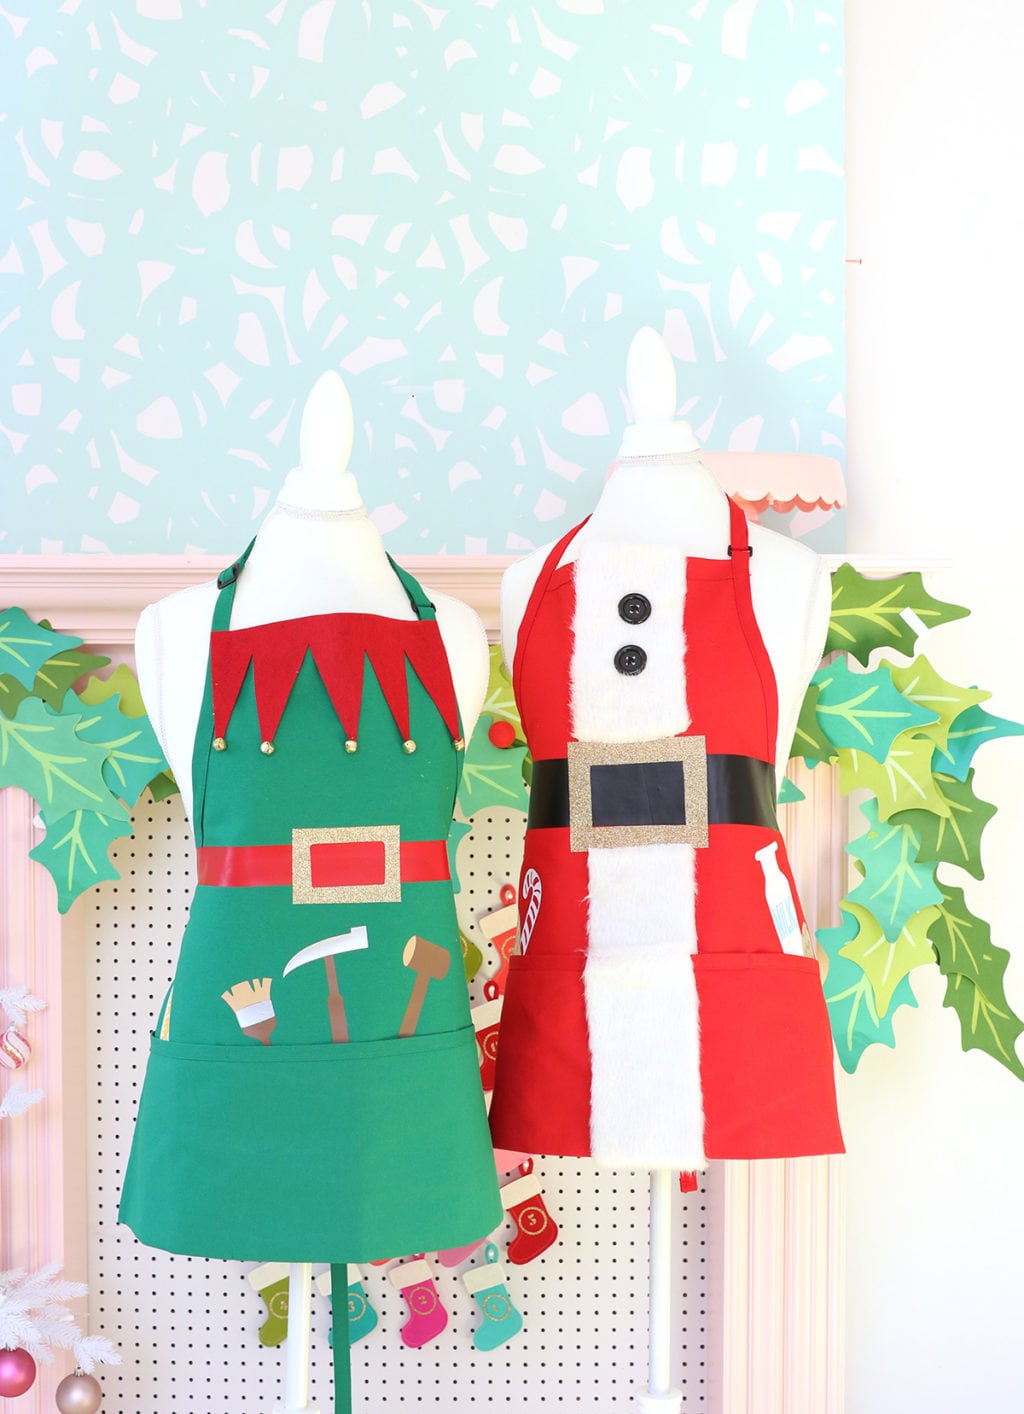
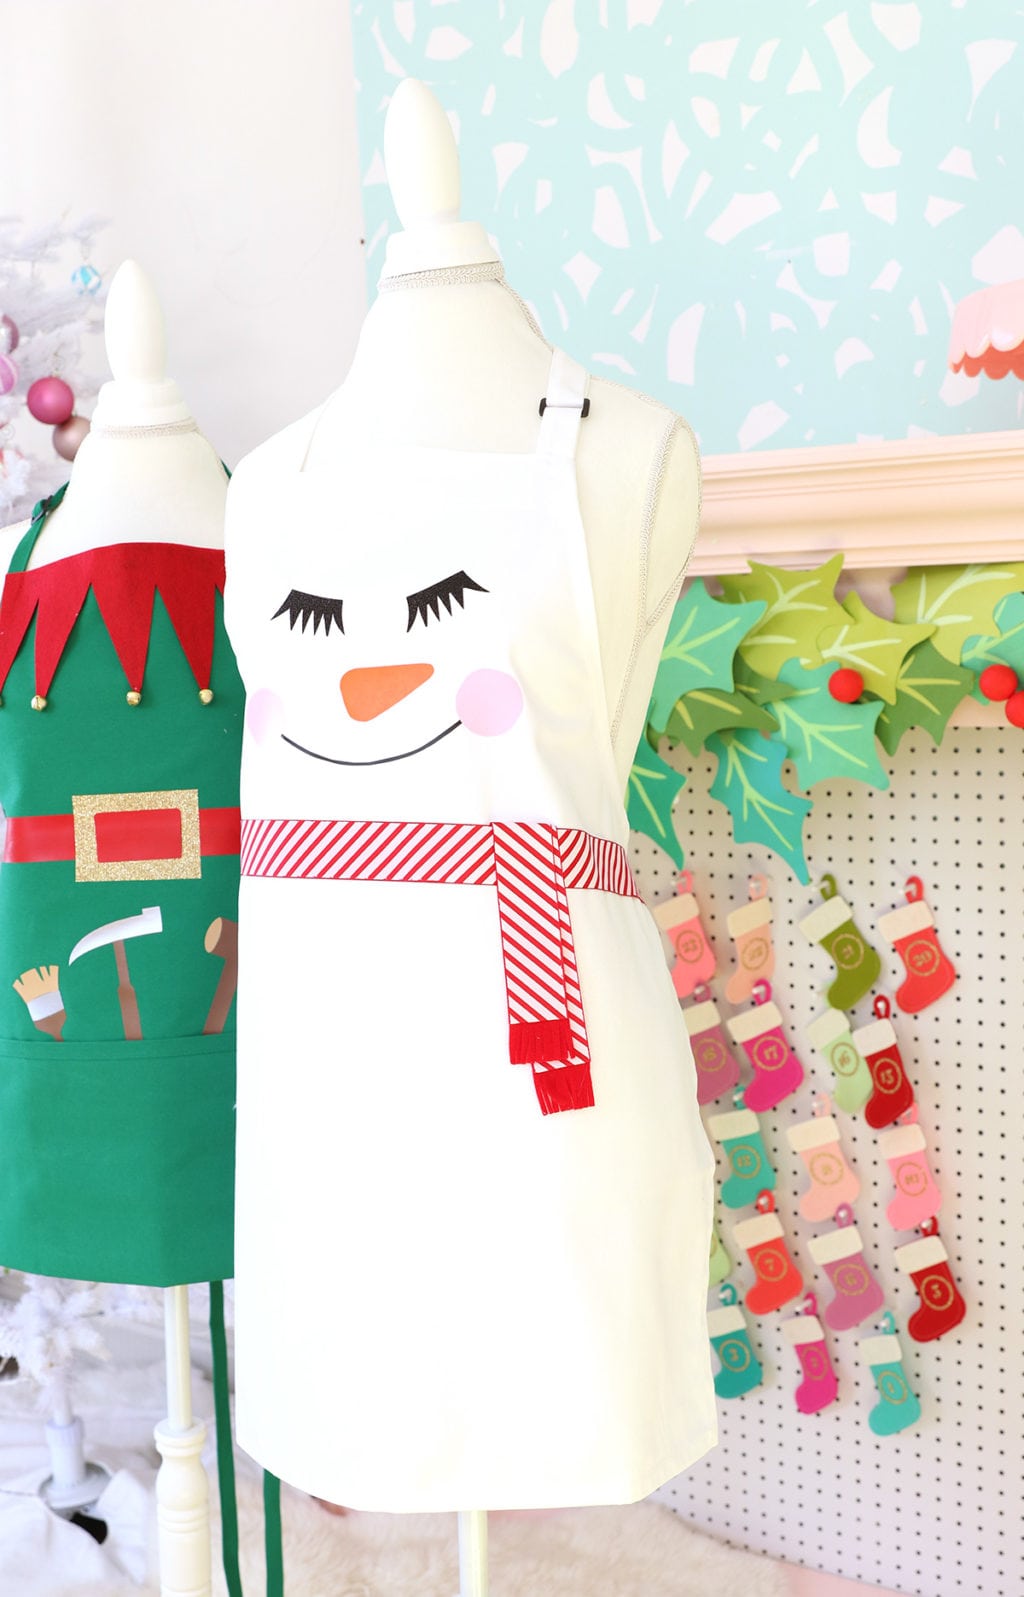
Today’s project started out as one apron – then it turned into three! I was inspired by THESE no-sew holiday aprons that I saw Orly make on Hallmark’s Home and Family Show. I decided to take the inspiration and create my own trio of aprons using some of my favorite crafting supplies!
We’ve got a lot to cover in this post, so let’s get started making some no-sew holiday aprons.

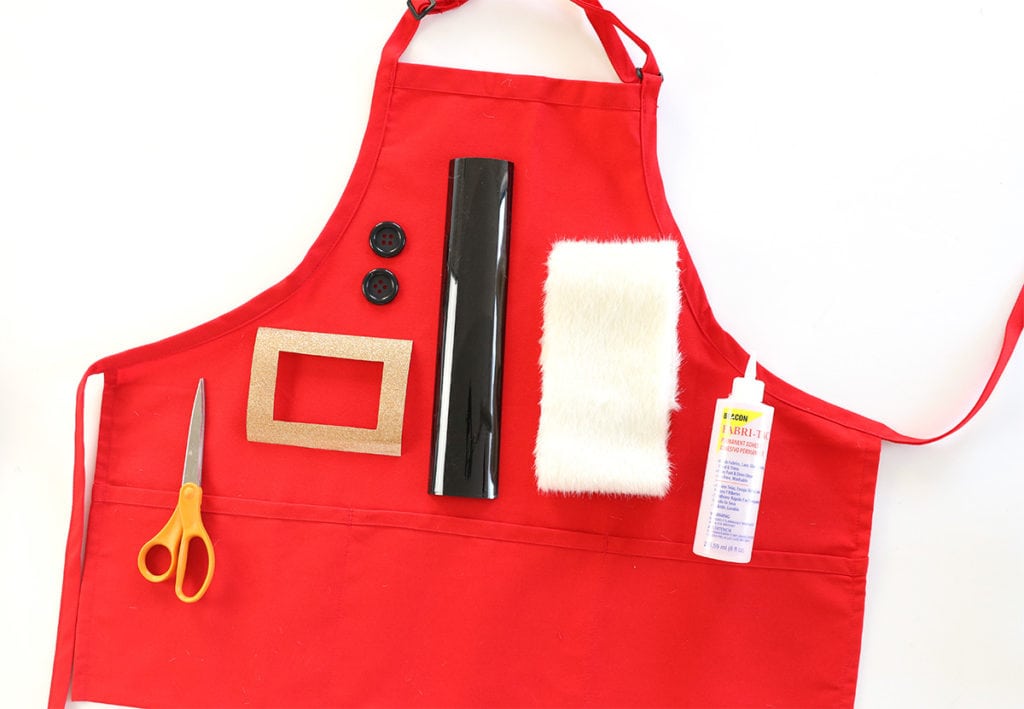
YOU’LL NEED:
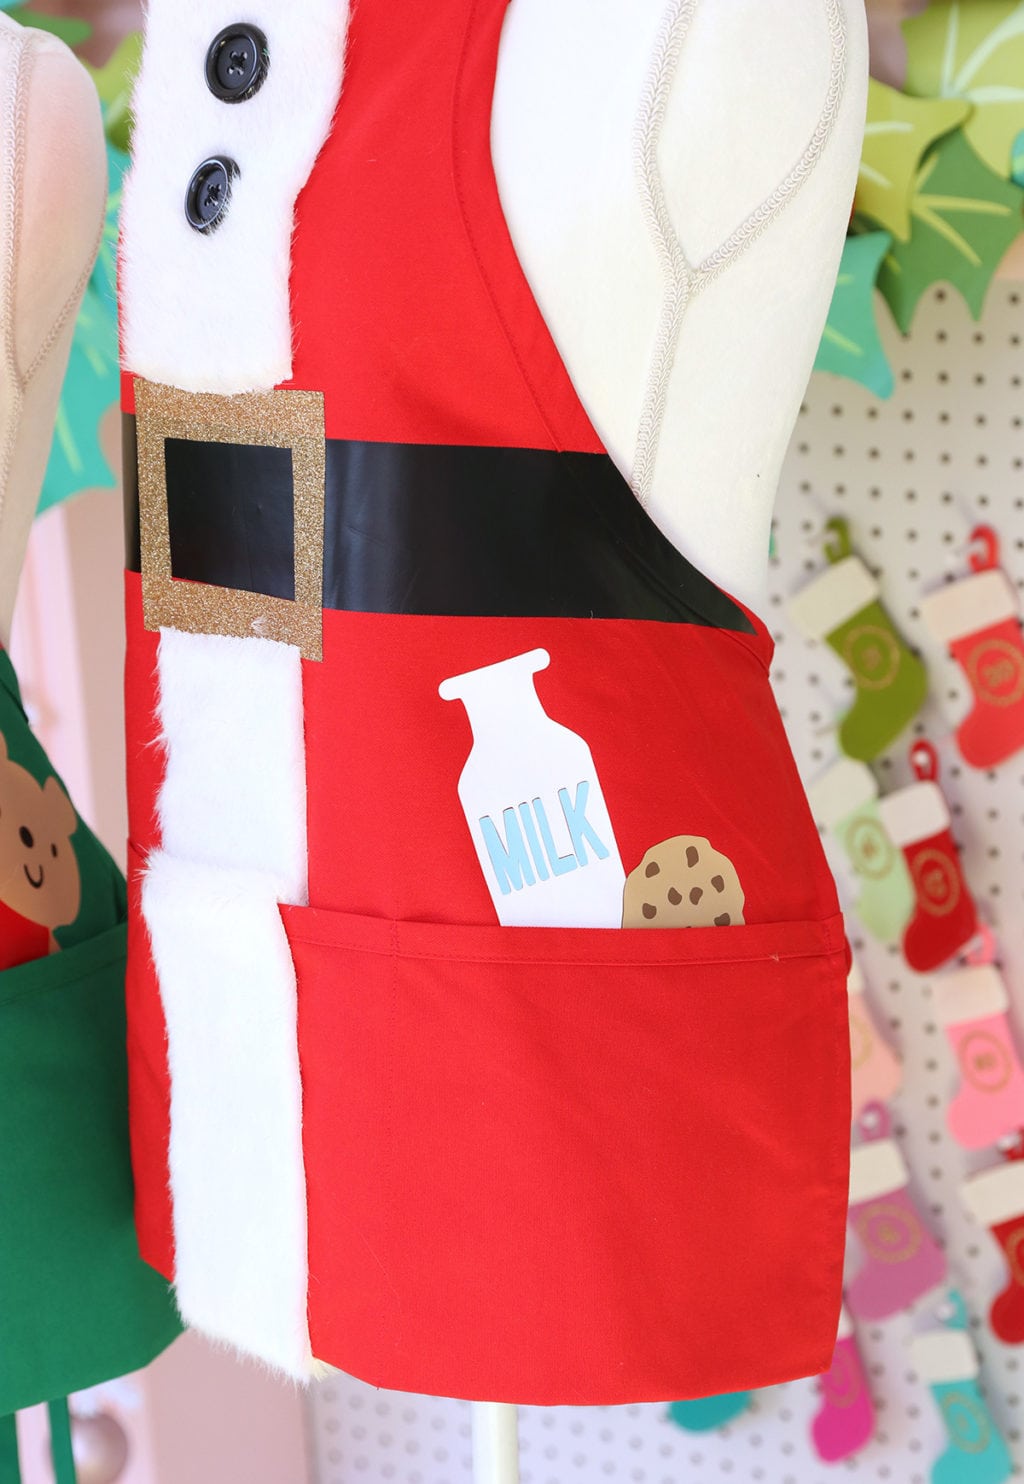
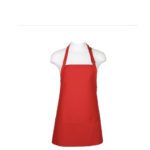
red apron with pockets // gold iron-on cut into buckle shape // wide strips of black iron-on // wide fur trim // fabric glue // scissors // large black buttons
 STEP ONE:
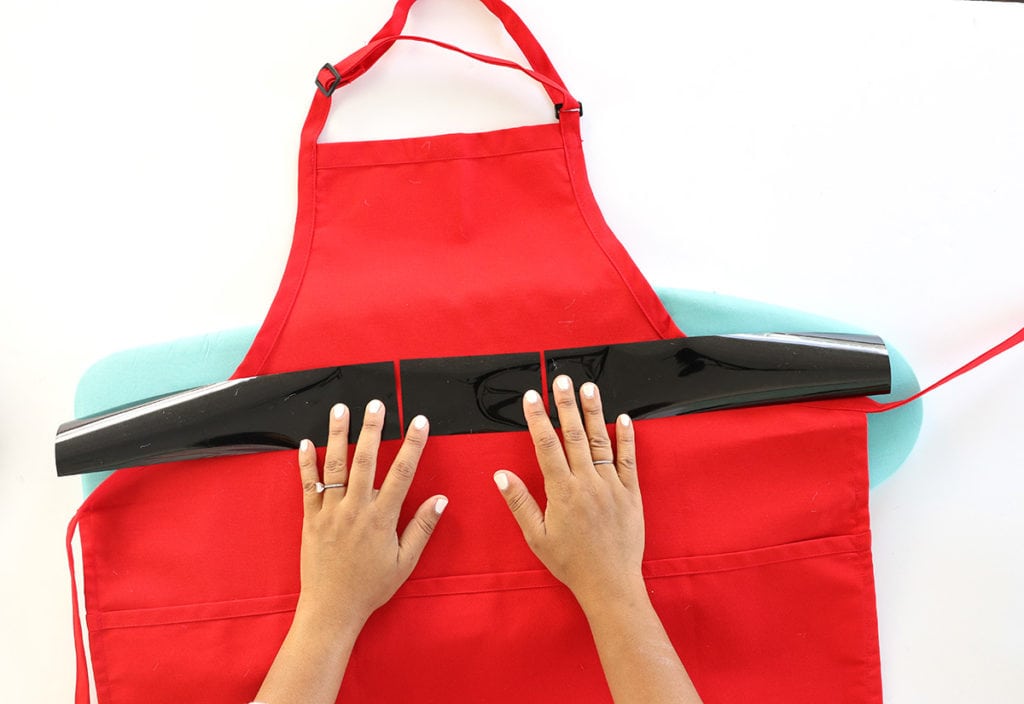
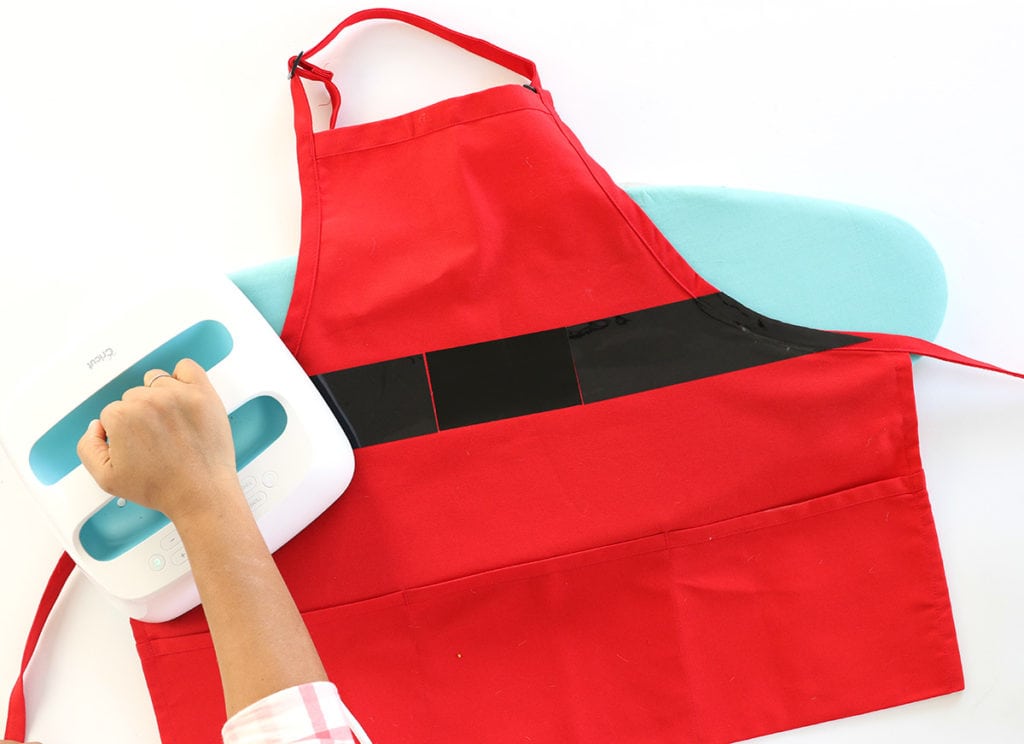
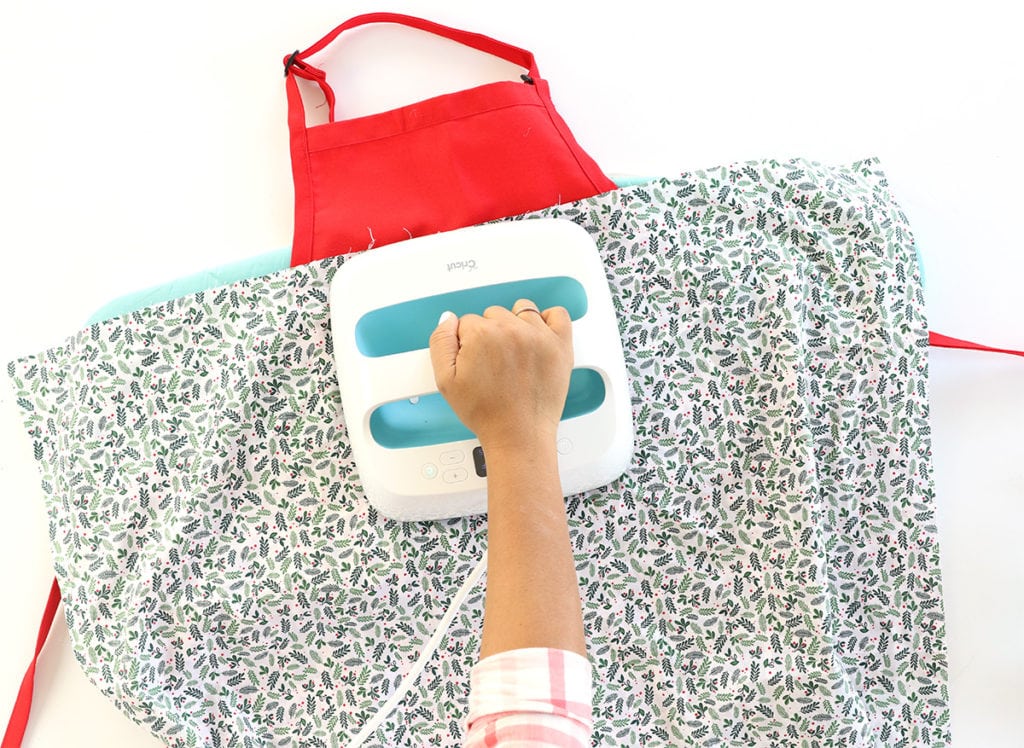
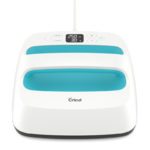
Place black iron-on material on the apron and use an iron or the Cricut EasyPress to apply the vinyl. Remember to peel off the backing of the iron-on material once you’ve ironed it into place. I used three pieces of vinyl and placed the seam in the middle. This way the gold buckle will cover the seam.
 STEP TWO
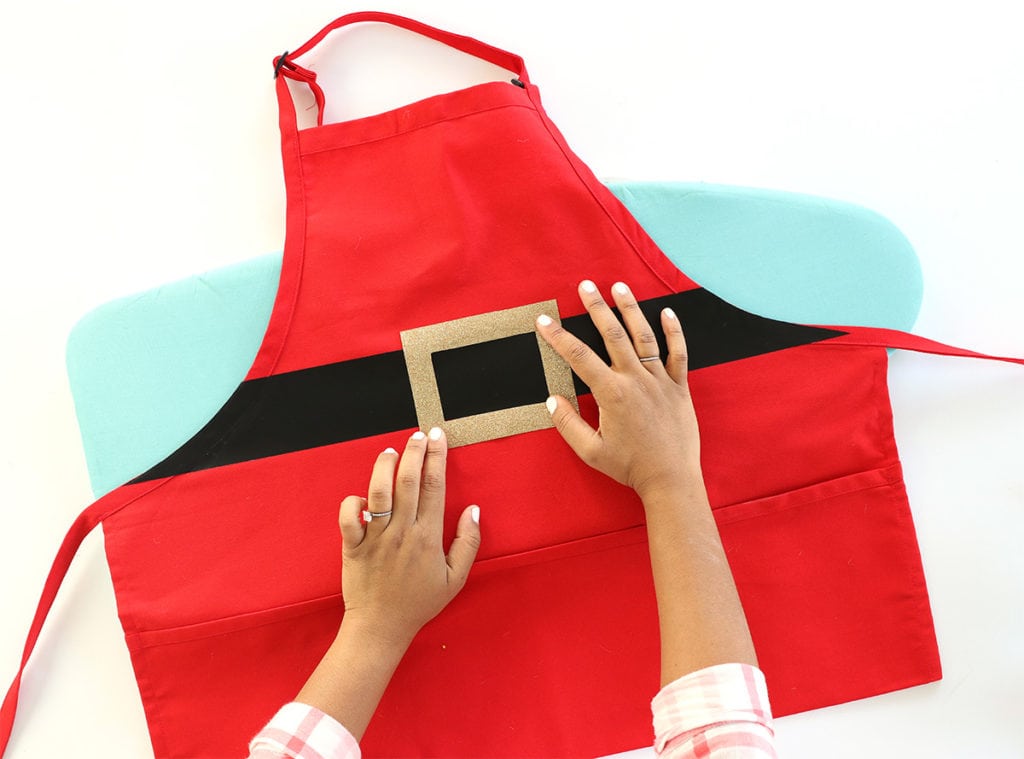
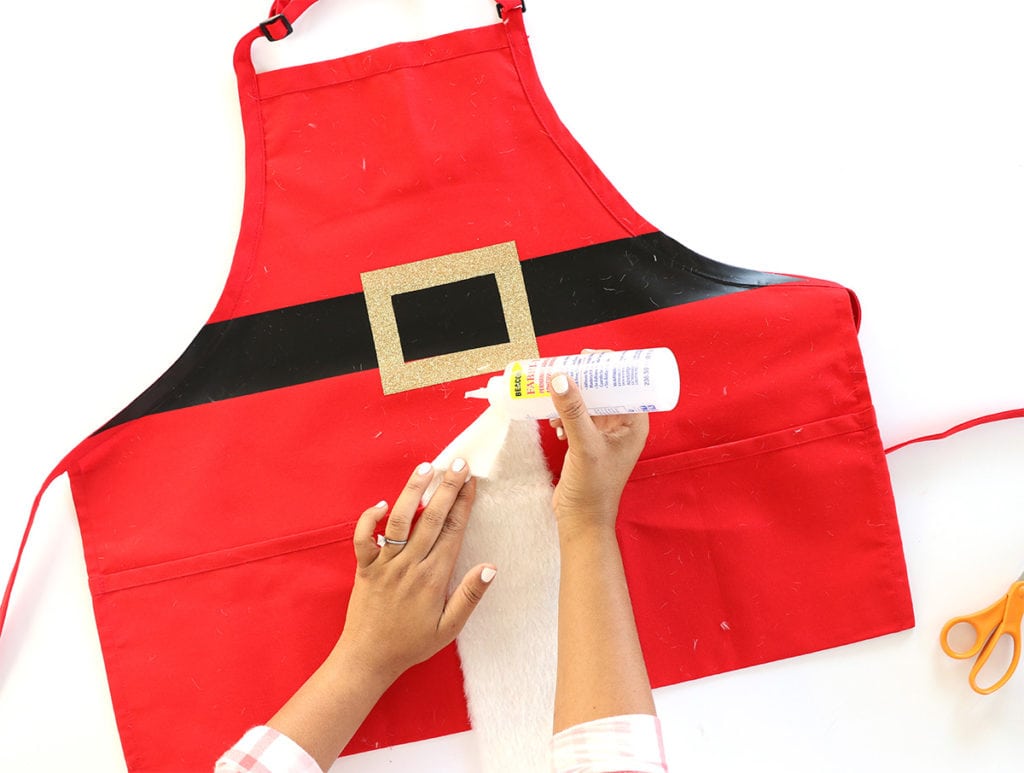
Add the gold buckle. BE SURE to place a piece of fabric over the gold buckle when applying heat. Since you are layering the gold buckle on top of the black iron-on, you’ll need to protect the black iron-on from coming into direct contact with the iron/EasyPress.
 STEP THREE:
Use fabric glue to add fur trim to the apron.
 STEP FOUR
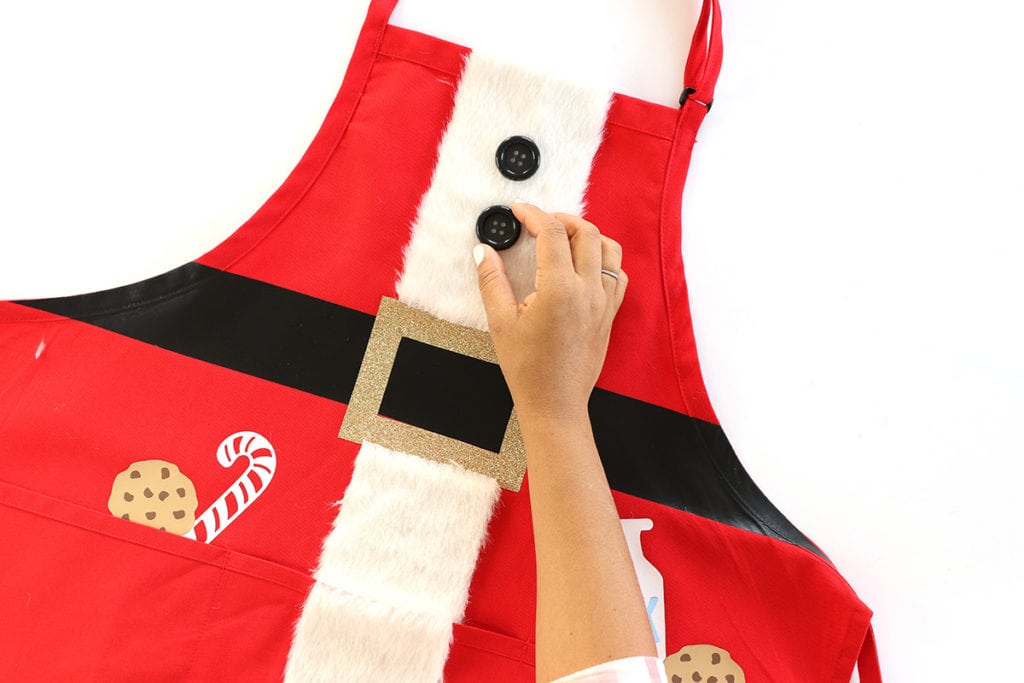
Add buttons to the fur trim. You can sew these into place or use a hot glue gun.

YOU’LL NEED:
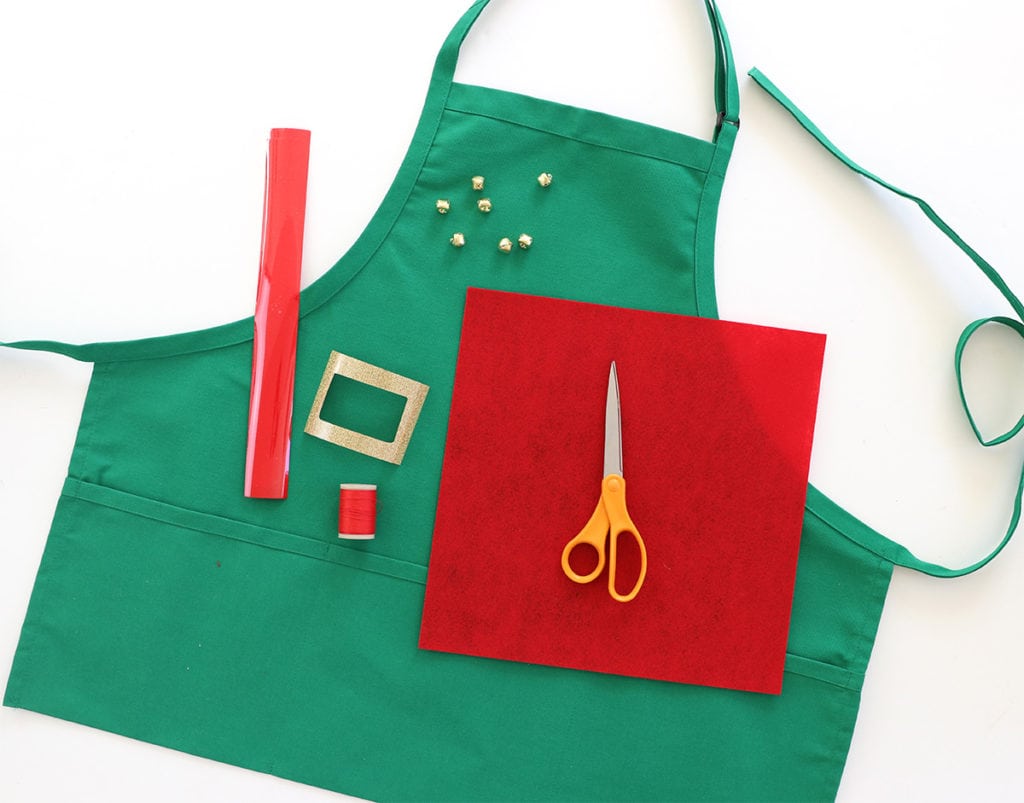
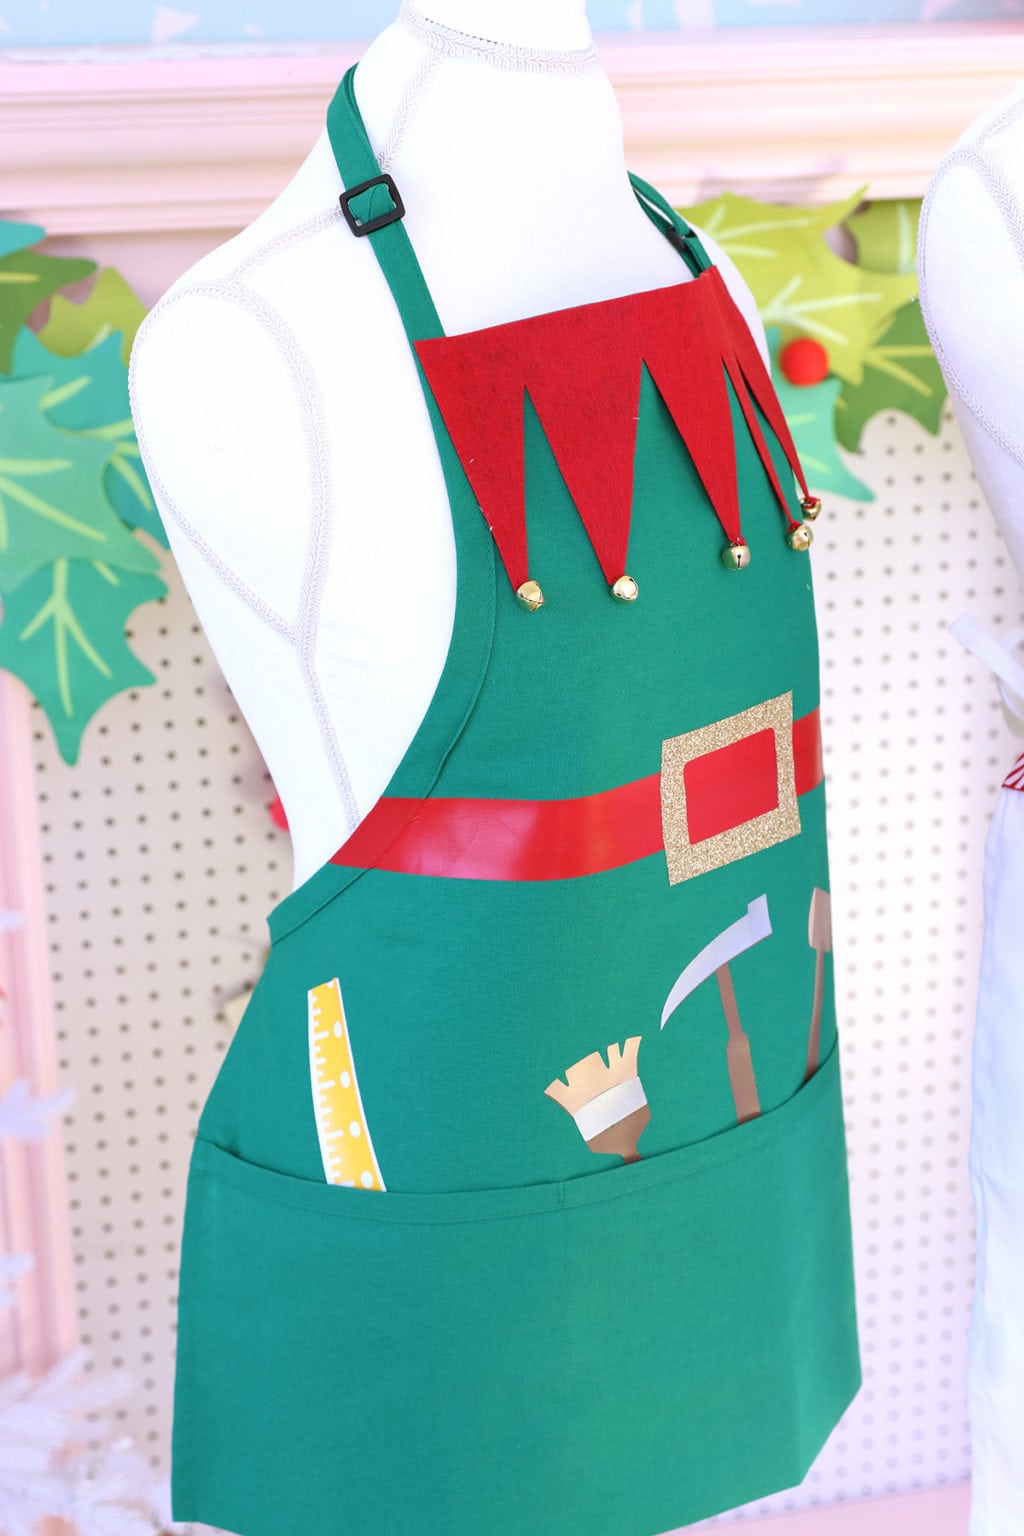
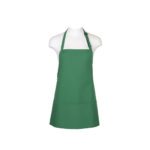
green apron with pockets // red felt // gold iron-on buckle // wide strips of red iron-on // thread and needle // jingle bells
STEP ONE:
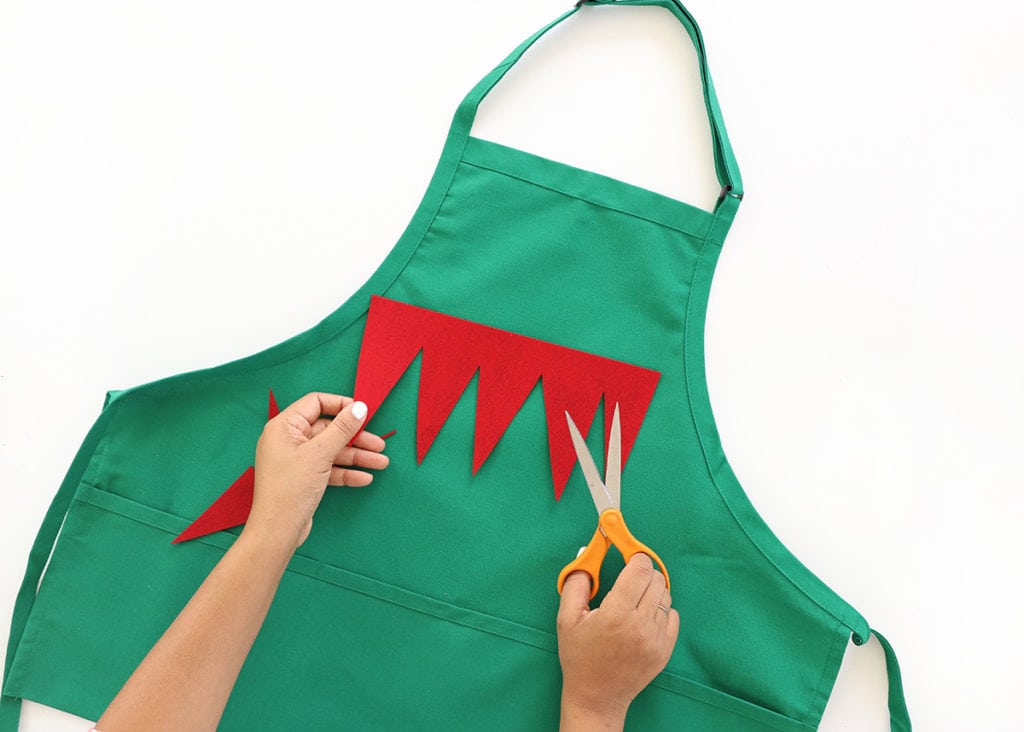
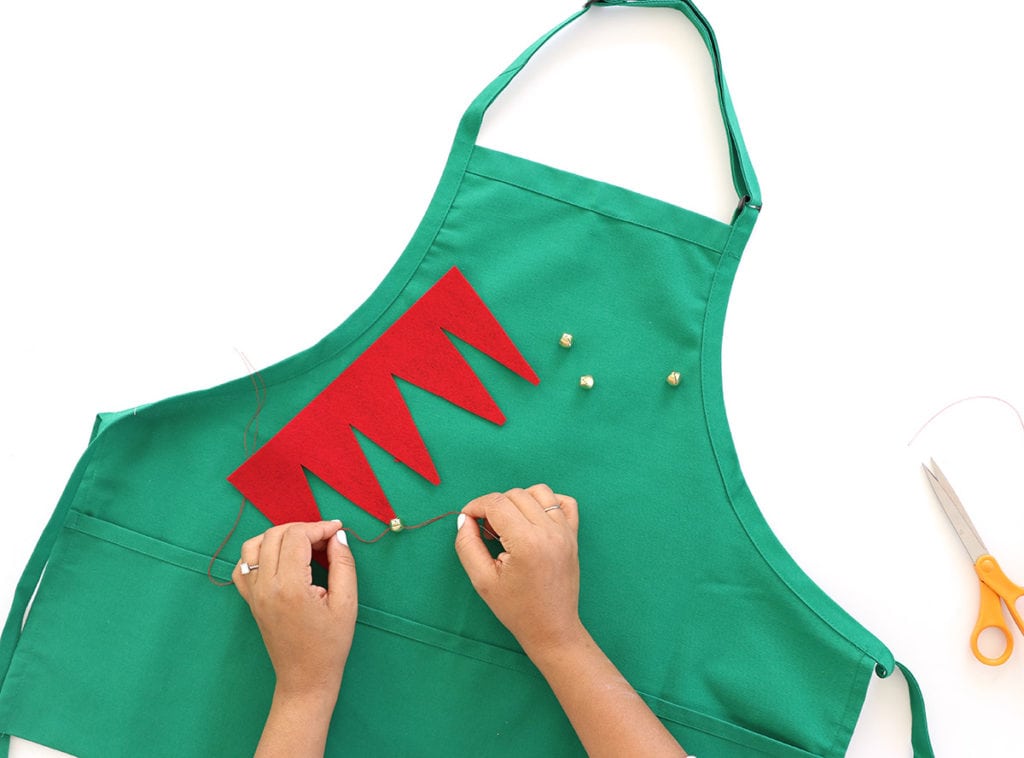
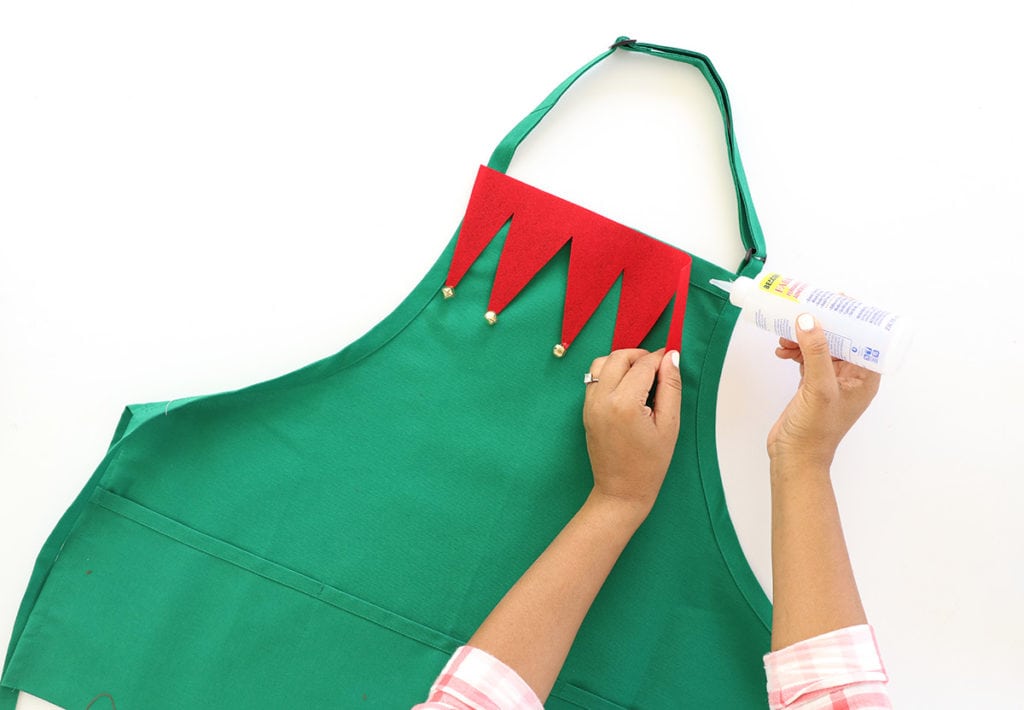
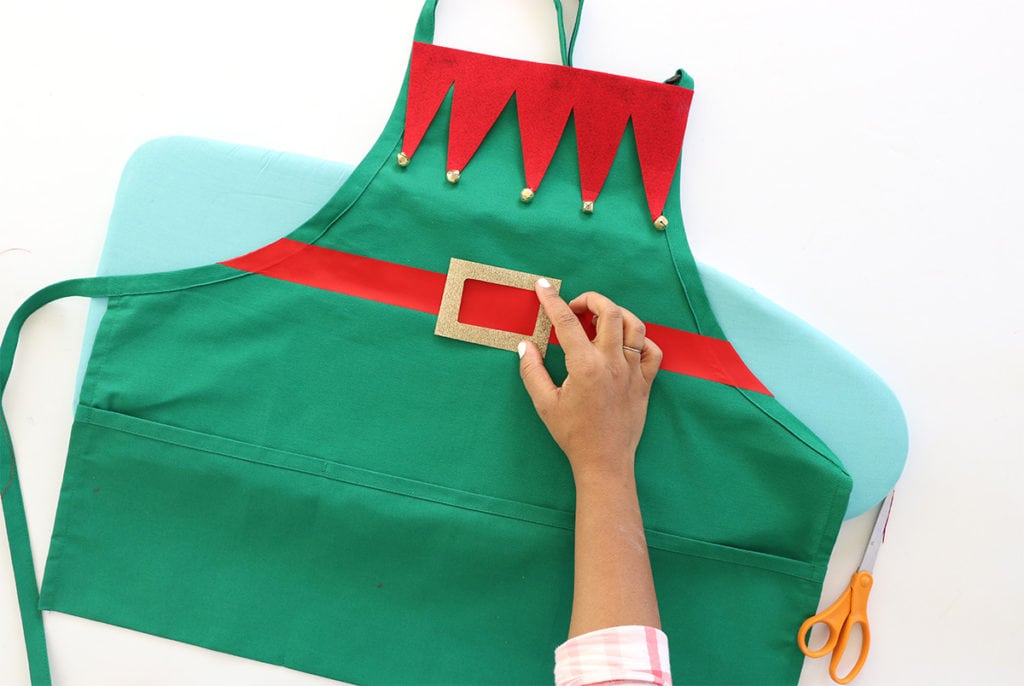
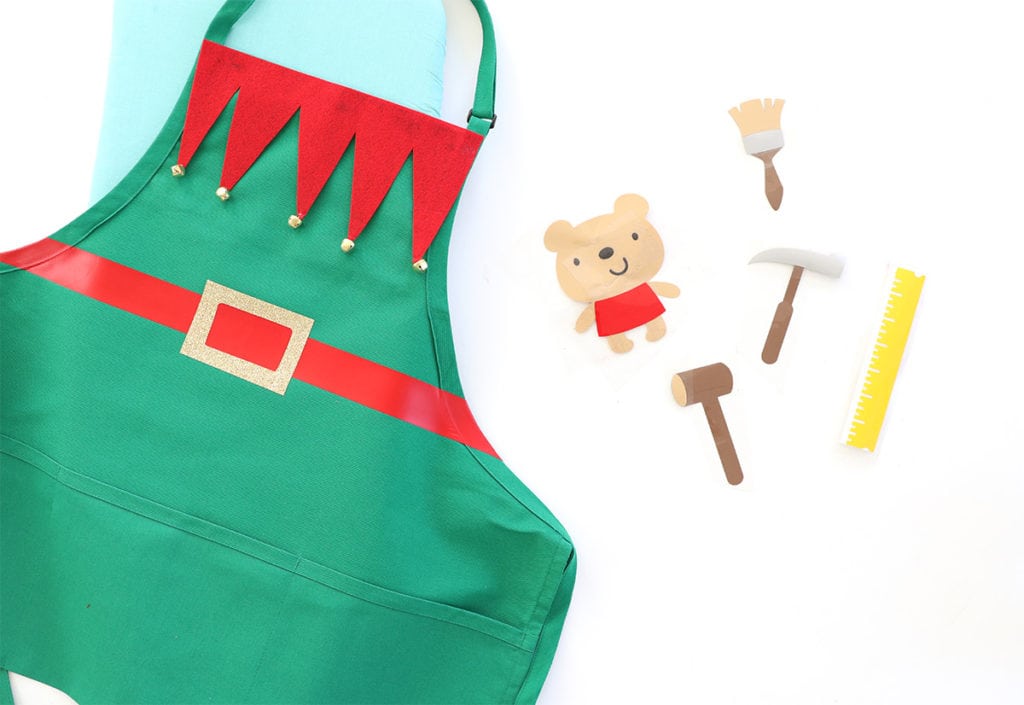
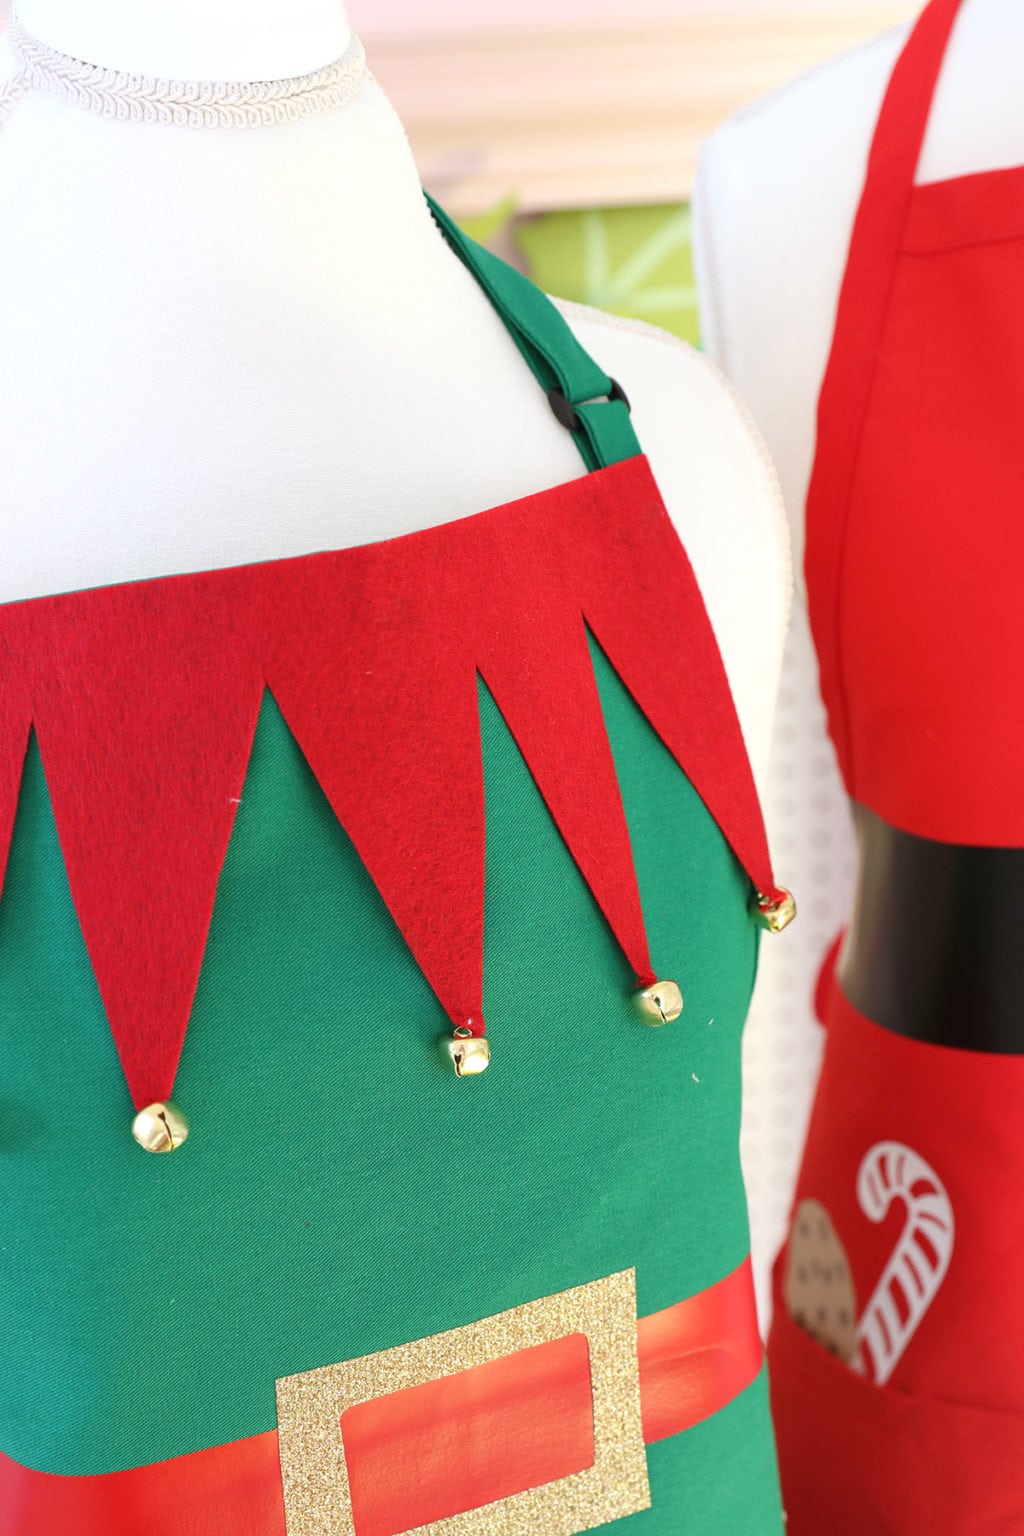
Cut the red felt to create an elf collar. Next, attach the bells to each point of the collar using red thread.
STEP TWO:
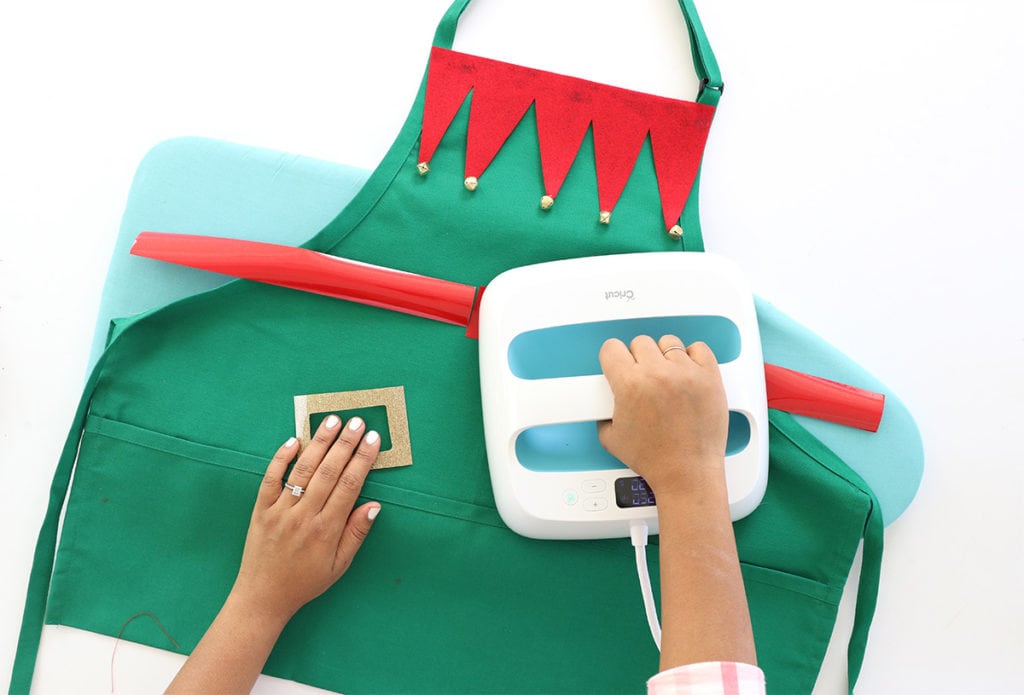
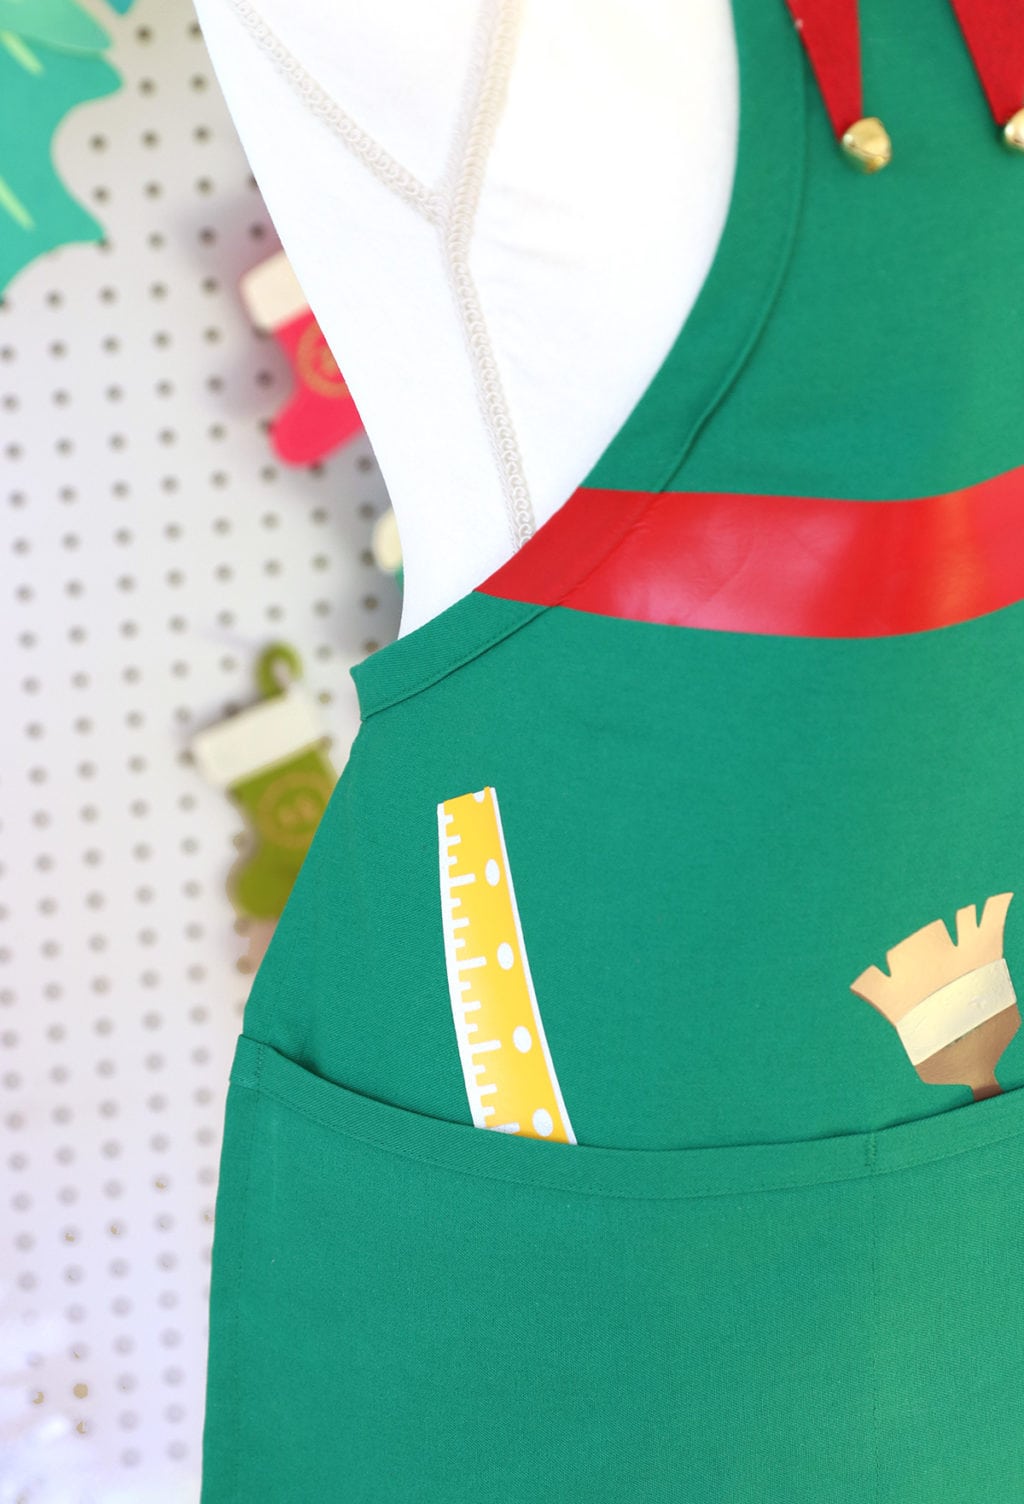
Apply the belt and buckle using your iron or Cricut EasyPress. Be sure to protect the iron-on material from direct contact with the EasyPress! OPTIONAL: Just like we did with the Santa apron, you can add fun iron-on accents to each of the pockets!

YOU’LL NEED:
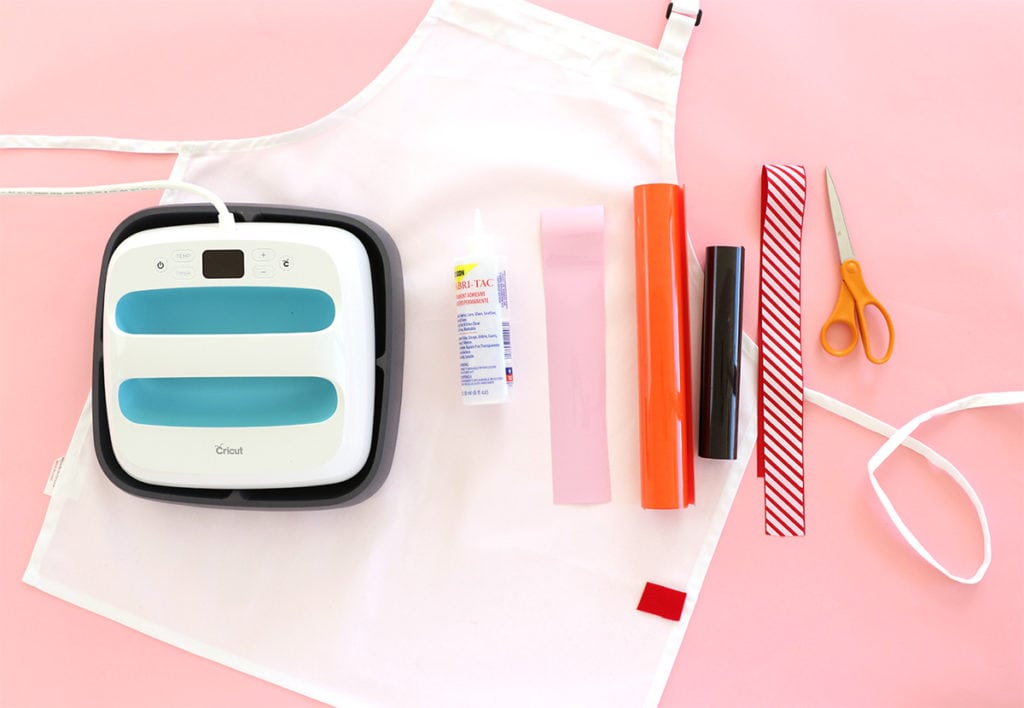
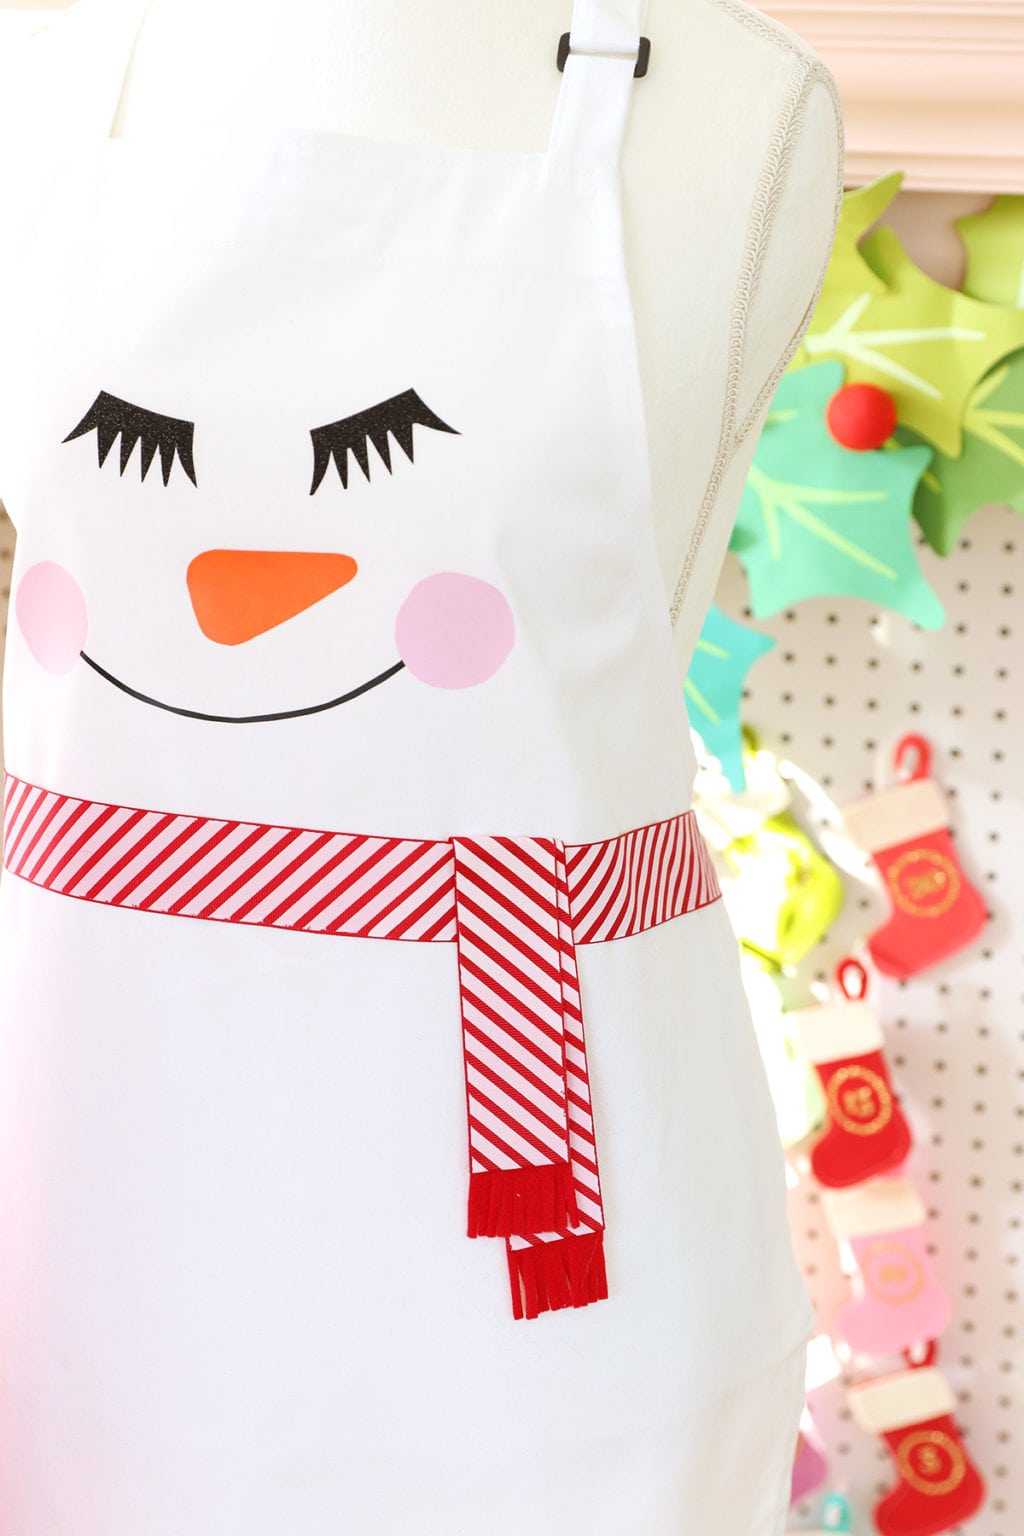
white apron // fabric glue // orange iron-on // pink iron-on // black iron-on // red ribbon // small piece of red felt // scissors
STEP ONE
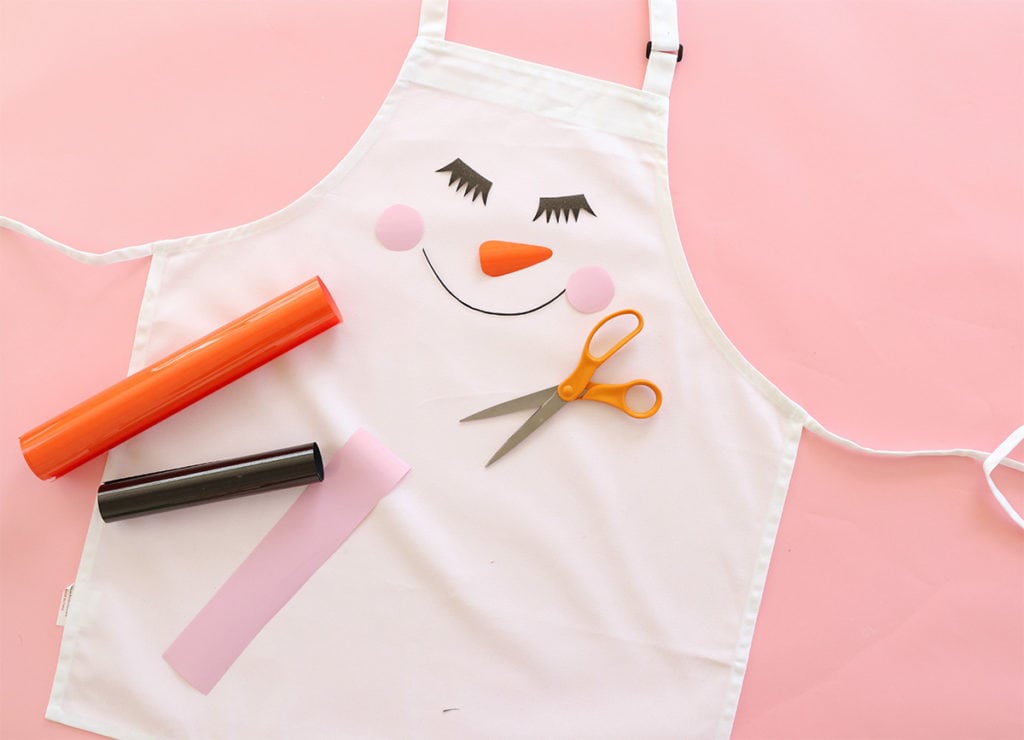
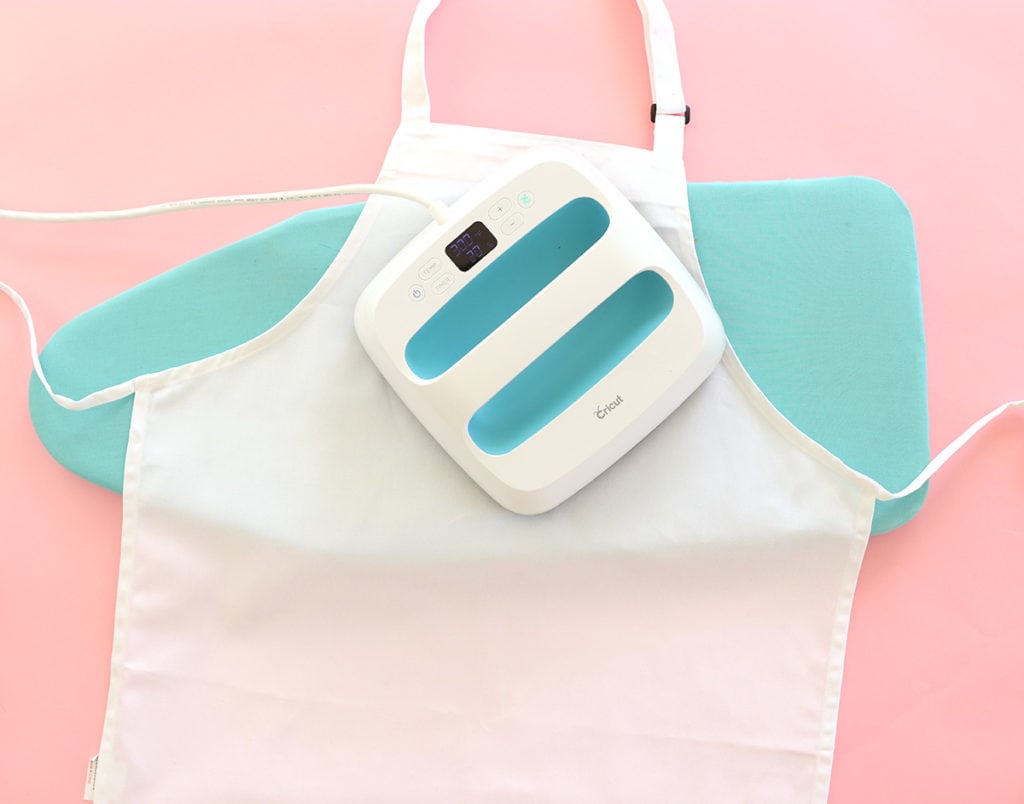
Use scissors to cut out the face of the snowman, then use the Cricut EasyPress or an iron to adhere them to the apron
STEP TWO
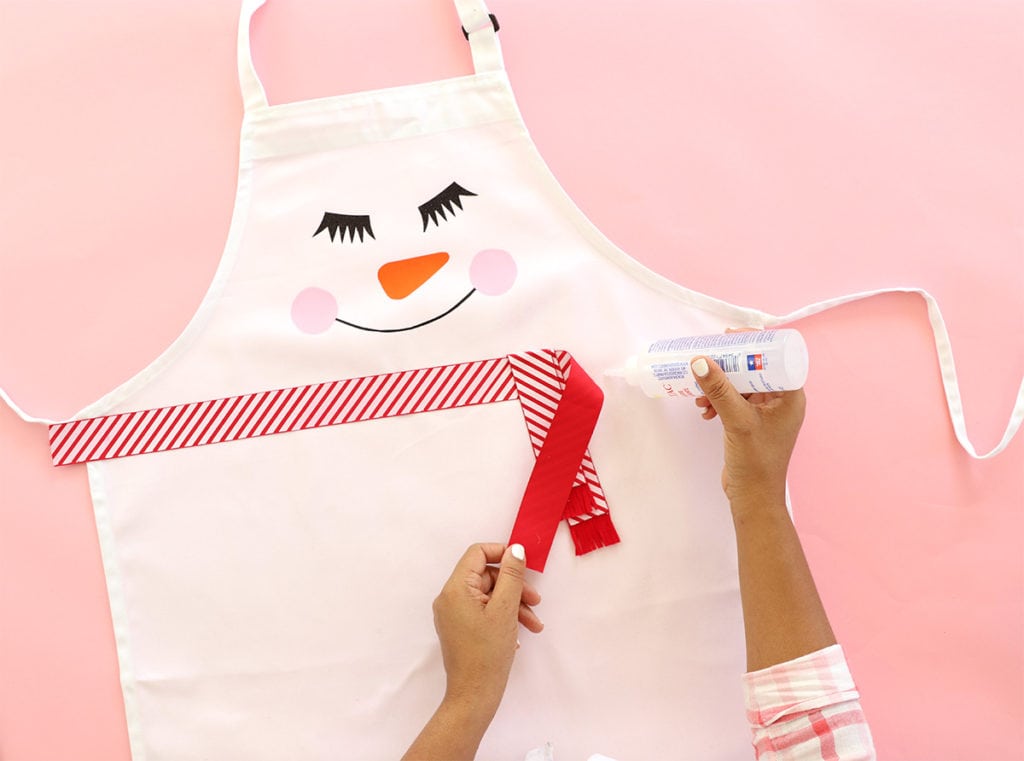
Use fabric glue to apply a ribbon scarf. I used the felt to add fringe to the ends of the ribbon.







Cutest think I’ve seen in s very long time. I’ll definitely make these next year! Love them!!!
Oh, how fun!!! Thank you for sharing these fun holiday aprons!
Your holiday aprons are Adorable! I’ll have to save this for next year. Thank you for the inspiration! I hope you and your family have a very Merry Christmas!!!
hmm amazing style. Good good
http://wordcookiesanswersaz.com
These are the cutest little things. Thanks for sharing – I’m trying to see how I can make a popsicle-themed apron? Hmmmm….
Thanks on your marvelous posting! I truly enjoyed reading it,
you might be a great author.I will make certain to bookmark your blog and will eventually come back later.
color switch
I have been looking for diy aprons just like these. There are 6 of us and I would like to make a different one for each of us. What would your ideas be for a Gingerbread man & a Grinch apron be. Thank you for any ideas you could give me. I LOVE YOUR WEBSITE. Thanks again, Rhonda Wade
When it comes to choosing the essay writing service, the best recommendation is expert opinion. The Scamfighter reviewed dozens of academic assistance companies. They have a lot to say, and their articles are definitely worth every student’s attention.
Your blog has piqued a lot of real interest. I can see why since you have done such a good job of making it interesting. I appreciate your efforts very much.
okbet sportsbook
There are many different types of apron material, but the most common are cotton, nylon, and http://www.planstlevents.com leather. However, you can also choose plastic or a blend of cotton and polyester.
Thank you for spending your precious time sharing this rewarding information! We really need the same information! I hope you can share more.
safe canadian pharmacy
https://expresscanadapharm.com/# canada drugstore pharmacy rx
safe reliable canadian pharmacy
The free blood pressure check is a nice touch.
get cheap clomid
They’ve revolutionized international pharmaceutical care.
They offer the best prices on international brands.
where buy generic cytotec pills
They always prioritize the customer’s needs.
A touchstone of international pharmacy standards.
where buy generic cytotec prices
The staff always goes the extra mile for their customers.
They make international medication sourcing effortless.
side effects of gabapentin medication
They’ve revolutionized international pharmaceutical care.
They have an extensive range of skincare products.
where buy cheap clomid pills
drug information and news for professionals and consumers.
No-sew holiday aprons are my go-to for quick, festive crafting. They’re incredibly easy to make, perfect for last-minute gifts or seasonal flair vintage clothing stores in the kitchen. I enjoy picking fun fabrics and getting creative without needing a sewing machine. It’s a simple way to add holiday cheer with a personal touch.
Thanks for the strategies you have contributed here. On top of that, I believe there are several factors which will keep your car insurance premium straight down. One is, to consider buying cars and trucks that are within the good set of car insurance companies. Cars that are expensive are usually more at risk of being lost. Aside from that insurance is also good value of your vehicle, so the more costly it is, then the higher a premium you spend.
Howdy! I know this is kind of off topic but I was wondering which blog platform are you using for this site? I’m getting sick and tired of WordPress because I’ve had problems with hackers and I’m looking at alternatives for another platform. I would be great if you could point me in the direction of a good platform.
This website online can be a walk-by for all the data you wanted about this and didn?t know who to ask. Glimpse here, and you?ll undoubtedly discover it.
I believe one of your advertisements triggered my web browser to resize, you might want to put that on your blacklist.
The very crux of your writing while sounding agreeable in the beginning, did not sit perfectly with me personally after some time. Somewhere within the paragraphs you actually managed to make me a believer unfortunately just for a while. I however have got a problem with your leaps in logic and you might do well to fill in those breaks. If you actually can accomplish that, I could undoubtedly end up being fascinated.
Thanks for your post right here. One thing I’d like to say is the fact most professional domains consider the Bachelors Degree just as the entry level requirement for an online course. Even though Associate Degrees are a great way to begin, completing your current Bachelors uncovers many doorways to various professions, there are numerous online Bachelor Course Programs available via institutions like The University of Phoenix, Intercontinental University Online and Kaplan. Another issue is that many brick and mortar institutions offer Online types of their diplomas but generally for a significantly higher amount of money than the corporations that specialize in online diploma plans.
Hi there! This is my first visit to your blog! We are a collection of volunteers and starting a new project in a community in the same niche. Your blog provided us useful information to work on. You have done a marvellous job!
Would you be interested in exchanging hyperlinks?
An fascinating dialogue is price comment. I believe that you need to write more on this topic, it may not be a taboo subject but typically individuals are not enough to talk on such topics. To the next. Cheers
You actually make it appear really easy with your presentation but I find this topic to be really something which I believe I might never understand. It kind of feels too complicated and extremely huge for me. I am looking forward for your subsequent post, I will try to get the dangle of it!
Howdy! I’m at work surfing around your blog from my new iphone 4! Just wanted to say I love reading through your blog and look forward to all your posts! Carry on the fantastic work!
Hey this is kind of of off topic but I was wondering if blogs use WYSIWYG editors or if you have to manually code with HTML. I’m starting a blog soon but have no coding knowledge so I wanted to get advice from someone with experience. Any help would be greatly appreciated!
Its like you read my mind! You seem to know so much about this, like you wrote the book in it or something. I think that you could do with a few pics to drive the message home a little bit, but instead of that, this is excellent blog. A fantastic read. I’ll certainly be back.
Howdy very cool site!! Guy .. Excellent .. Amazing .. I will bookmark your web site and take the feeds additionally?I am happy to search out numerous helpful info here in the submit, we need develop more strategies in this regard, thank you for sharing. . . . . .
Hmm it seems like your site ate my first comment (it was super long) so I guess I’ll just sum it up what I wrote and say, I’m thoroughly enjoying your blog. I as well am an aspiring blog writer but I’m still new to the whole thing. Do you have any points for inexperienced blog writers? I’d certainly appreciate it.
Thanks for your publication on the vacation industry. I’d also like contribute that if you’re a senior taking into account traveling, it’s absolutely crucial that you buy travel cover for elderly people. When traveling, elderly people are at greatest risk being in need of a healthcare emergency. Obtaining the right insurance policy package on your age group can look after your health and provide peace of mind.
Thanks for another wonderful post. Where else could anyone get that kind of info in such an ideal way of writing? I’ve a presentation next week, and I’m on the look for such info.
Hey there! Someone in my Myspace group shared this site with us so I came to check it out. I’m definitely enjoying the information. I’m bookmarking and will be tweeting this to my followers! Fantastic blog and great design.
I?m not sure where you’re getting your information, but good topic. I needs to spend some time learning much more or understanding more. Thanks for wonderful info I was looking for this information for my mission.
One thing I would really like to touch upon is that weightloss system fast can be achieved by the proper diet and exercise. A person’s size not simply affects the look, but also the overall quality of life. Self-esteem, melancholy, health risks, in addition to physical ability are disturbed in putting on weight. It is possible to do everything right and at the same time having a gain. In such a circumstance, a medical problem may be the culprit. While an excessive amount of food rather than enough body exercise are usually at fault, common medical ailments and key prescriptions can greatly help to increase size. Many thanks for your post in this article.
Good write-up, I am regular visitor of one?s web site, maintain up the excellent operate, and It’s going to be a regular visitor for a lengthy time.
Those are really creative and interesting ideas.
If you’re looking for reliable HR Software Kuwait, Gbskw.com offers some of the best solutions to streamline employee management and improve productivity.