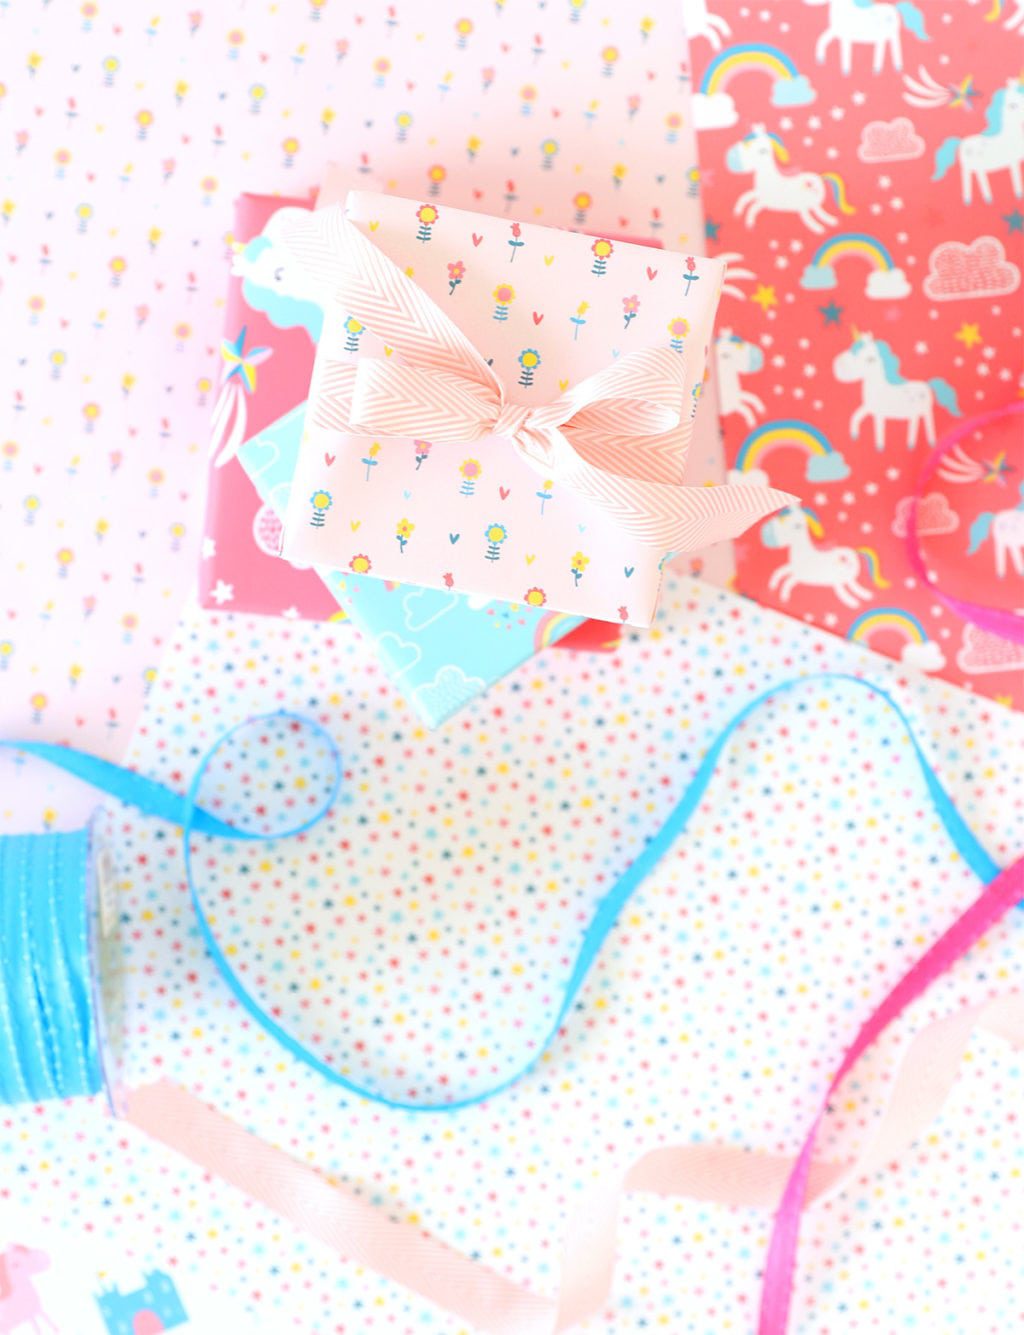
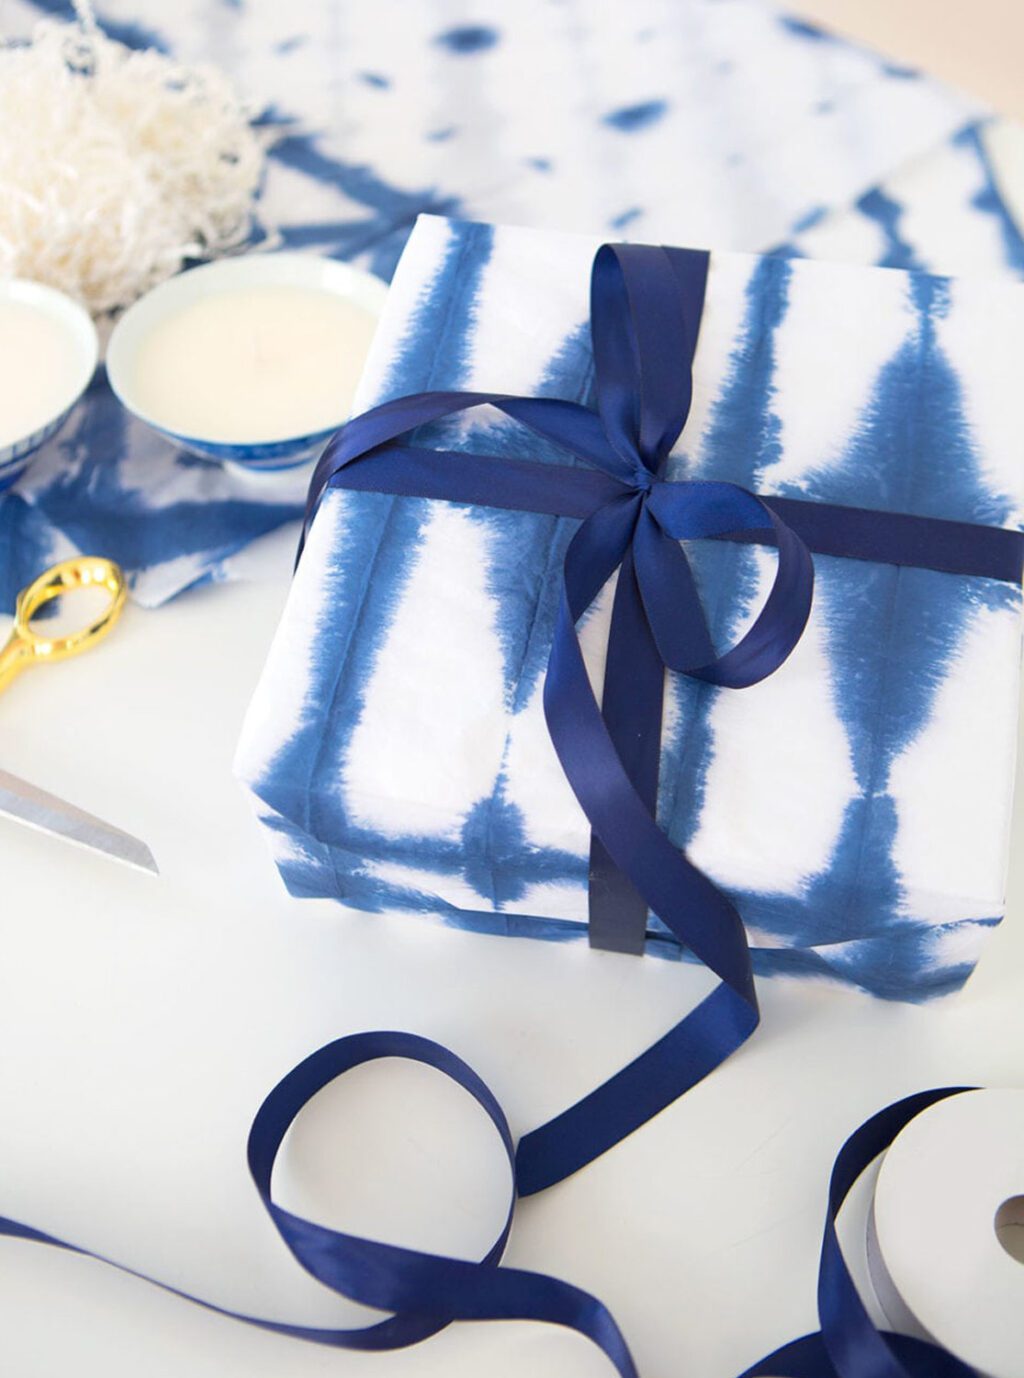
I don’t know about you, but there is something so satisfying about making large scale projects – but sometimes large projects can be a little intimidating. For years, I’ve wanted to give you a step-by-step tutorial on how to create one of my favorite large scale projects: wrapping paper. I want you to really get it, understand the process and feel empowered to design your very own wrapping paper for any gift you have to give. I knew the tutorial would have to be good and you would need to feel like I’m right there with you! Welp, today’s the day! Today, I’m coming into your home, I’m traveling with your inside your phone…however it is you plan to view this video, I’ll be right there with you showing you the steps for how to design and print your own wrapping paper.
Before you learn how to design and print your own wrapping paper, you’ll need to have a few very important items:
DESIGN AND PRINT CHEAT SHEET
I definitely recommend watching the video several times and even working along with it as you learn how to design and print your own wrapping paper. To give you a bit more support in your creating, here’s a step-by-step checklist of what you’ll need to do!
- Purchase and download a “seamless pattern” from an online shop like Creative Market.
- Open Adobe Illustrator then click File>Open> Select your seamless pattern
- Make note of your pattern width
- Type Shift + O to change the size of the Adobe Illustrator artboard. In this case I am using Canon Photo Matte Paper that is 13″ x19″ Then type “V” to exit artboard editing
- Move the seamless pattern image to the upper left corner of the artboard
- Type Command+C to “Copy” the seamless pattern design
- Type Command+F to paste the design in front.
- Go to the Object menu and select Transform>Move
- Change the value in the “Horizontal” field to “12” since this is the exact width of my seamless pattern. You may need to select a different number depending on the width of your seamless pattern design.
- Change the value in the “Vertical” field to “0”
- Click “Okay” and you’ll see that the seamless pattern has moved exactly 12″ to the right and is perfectly aligned with the first seamless pattern.
- Select both patterns on the artboard by dragging your mouse over them
- Go back to the Object menu and select Transform>Move
- Change the values to: Horiztonal = 0, Vertical = 12
- Immediately repeat steps 13 & 14 to completely fill your 13×19 canvas! Now you’re ready to print your wrapping paper on the Canon PIXMA iP8720 Crafting Printer!


Ihre Seite zum buy
nembutal pentobarbital sodium/
Simply wish to say your article is as amazing The clearness in your post is just nice and i could assume youre an expert on this subject Well with your permission let me to grab your feed to keep updated with forthcoming post Thanks a million and please carry on the gratifying work
The more you play Snow Rider, the better your timing and skill will become.
Wow, this post really makes me wanna dive into some creative projects! I love the idea of making custom wrapping paper—it’s a sweet personal touch. If you’re looking for cool design inspirations or even just a break from the usual, you might want to check this out Japanese Last Names .
Oh, I love this step-by-step guide! It really simplifies things for anyone wanting to dive into wrapping paper design. If you ever want to boost your creativity even more, check out this cool resource I found: Ice Breaker Games.
This is super helpful! I might just try this out myself this weekend. By the way, if you’re looking for something fun to break the ice while you craft, there’s this neat game that could be a great addition: Escape Road.
TempMail3 — Instant disposable email with no signup, ads, or tracking.
This is such a cool idea! I love that you show how to use Adobe Illustrator and a Canon printer to make custom wrapping paper. The step-by-step video tutorial sounds really helpful for beginners like me.
This is such a cool idea! I love that you show how to use Adobe Illustrator and a Canon printer to make custom wrapping paper. The step-by-step video tutorial sounds really helpful for beginners like me. https://project-genie.ai/
Simply wish to say your article is as amazing The clearness in your post is just nice and i could assume youre an expert on this subject Well with your permission let me to grab your feed to keep updated with forthcoming post Thanks a million and please carry on the gratifying work !
Its like you read my mind You appear to know a lot about this like you wrote the book in it
The faster you react, the more satisfying it feels! Stunt Bike Extreme
I do trust all the ideas youve presented in your post They are really convincing and will definitely work Nonetheless the posts are too short for newbies May just you please lengthen them a bit from next time Thank you for the post
Thank you for the auspicious writeup It in fact was a amusement account it Look advanced to far added agreeable from you However how can we communicate