This post contains affiliate links.
Let’s talk leathuhhhhhhhh. Specifically, let’s talk about how the heck you should cut leather using your Cricut Explore…because you should cut leather with your Cricut Explore, you really, really….really should!
Your Cricut Explore will cut over 60 materials, but leather is my fave so today I’m taking you to school and giving you the precise play by play on how to use your machine to cut leather. Follow along and you’ll have everything you need to create your own leather projects – like a personalized monogram leather keychain. Are you ready? Because craft is now in session!
HOW TO CUT LEATHER WITH CRICUT EXPLORE
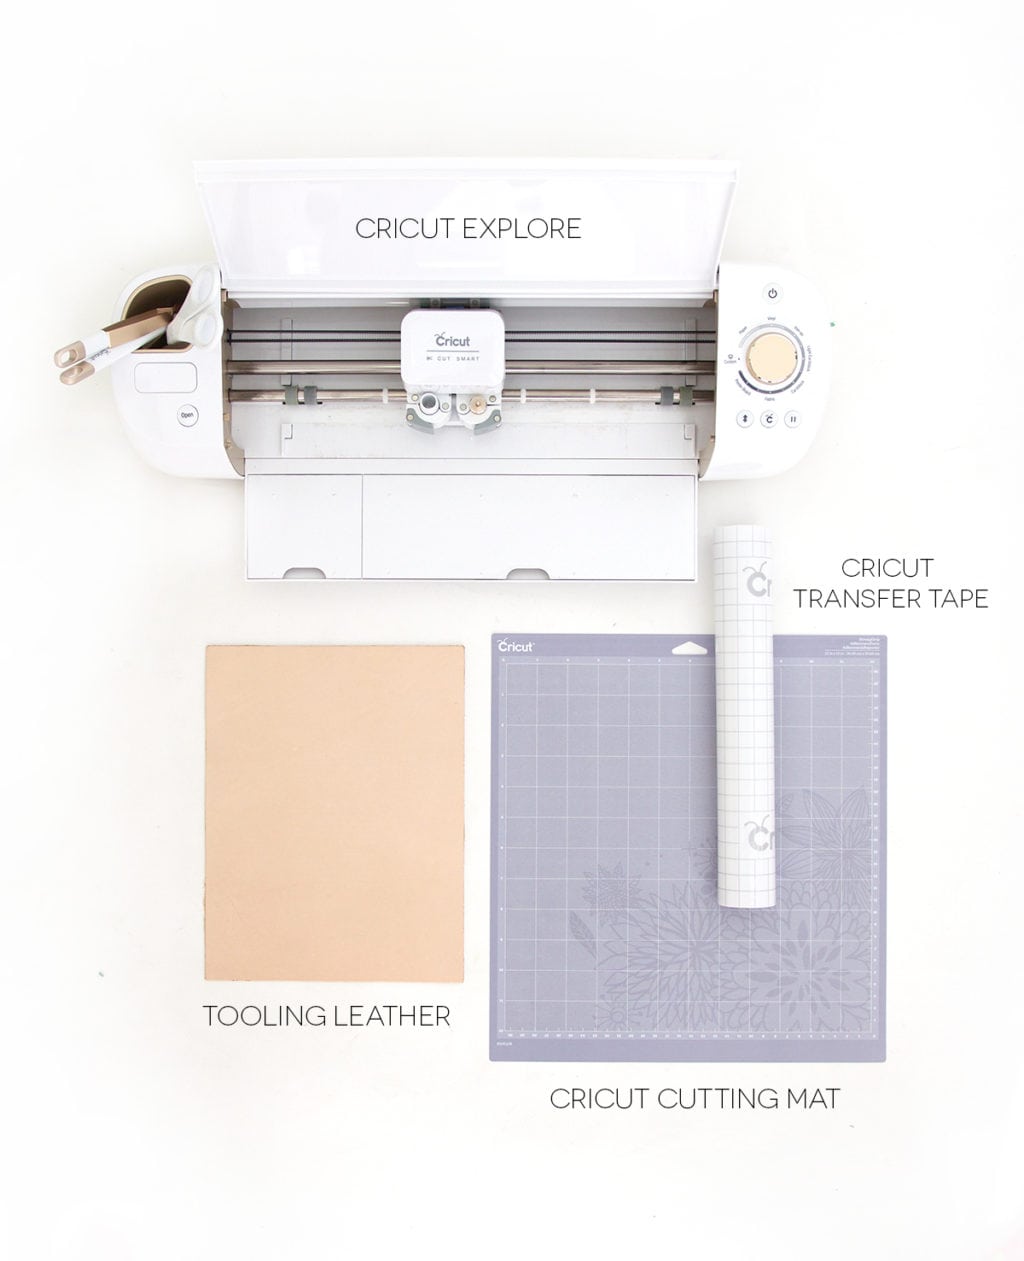
To cut leather with a Cricut Explore, you’ll need to have:
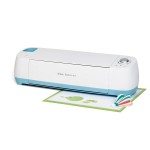
- a Cricut Explore Air or Cricut Explore One
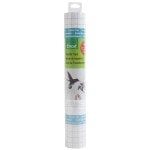
- Cricut Transfer Tape
- Cricut Cutting Mat
- Tooling leather (this is my go to type of leather for crafting, because it’s sturdy and cuts beautifully, but you can use other types of leather as well for this project).
[ninja_form id=6]
Before we tackle the technique, here’s a quick rationale for how to cut leather with Cricut Explore. In most cases, with most other materials, you will place the material directly onto the cutting mat. In the case of leather (and other fibrous materials for that matter), do not…I repeat, do not, place your material directly onto the cutting mat. This will quickly ruin the cutting mat and your precious dollars will be wasted.
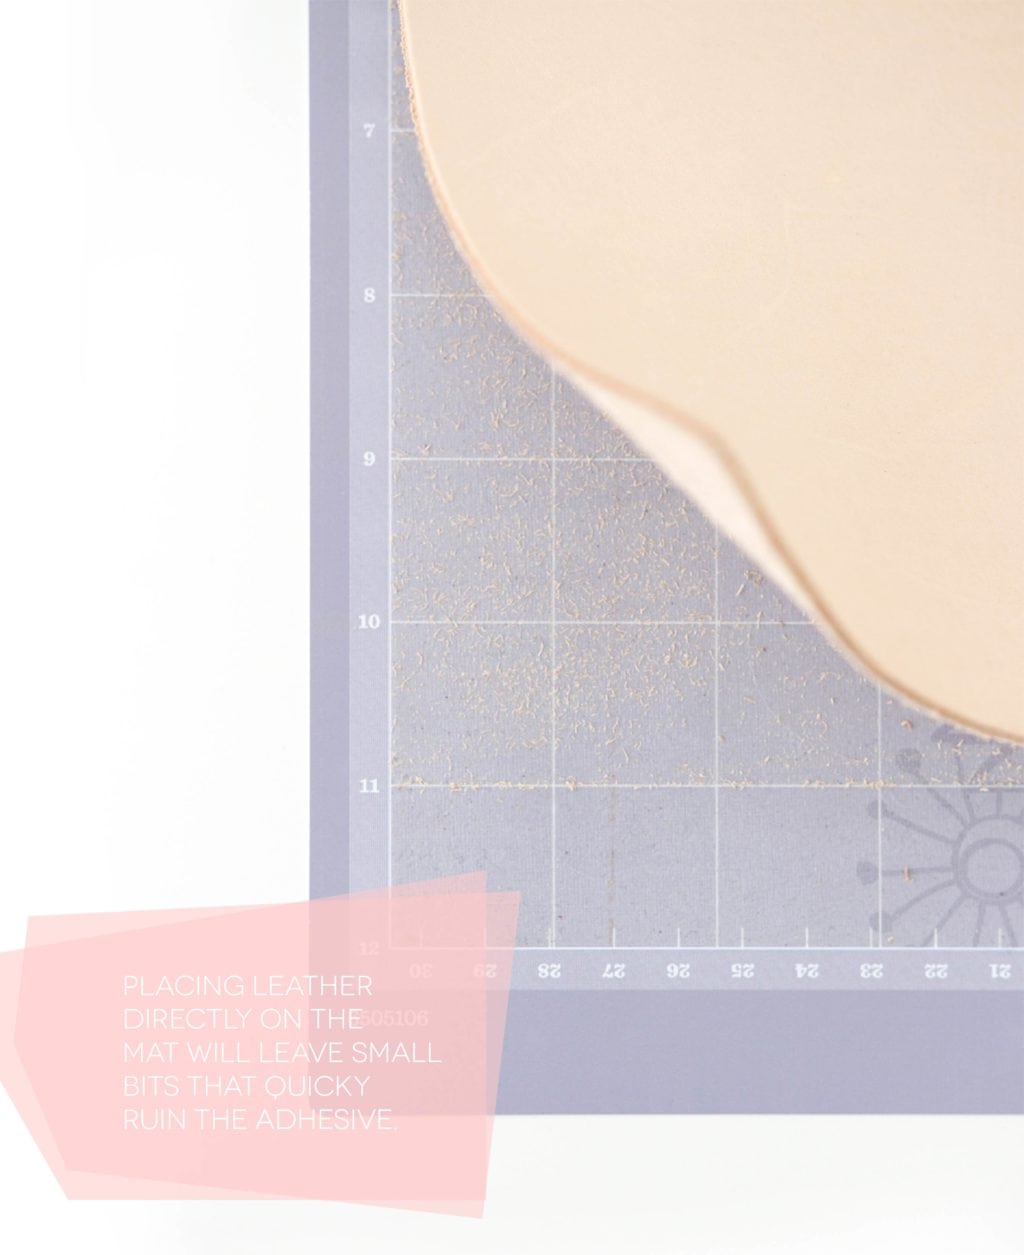
Instead, we’re going to use the Cricut Transfer as a buffer between the leather and the cutting mat. It’s a simple, quick adjustment that will save you money and frustration.
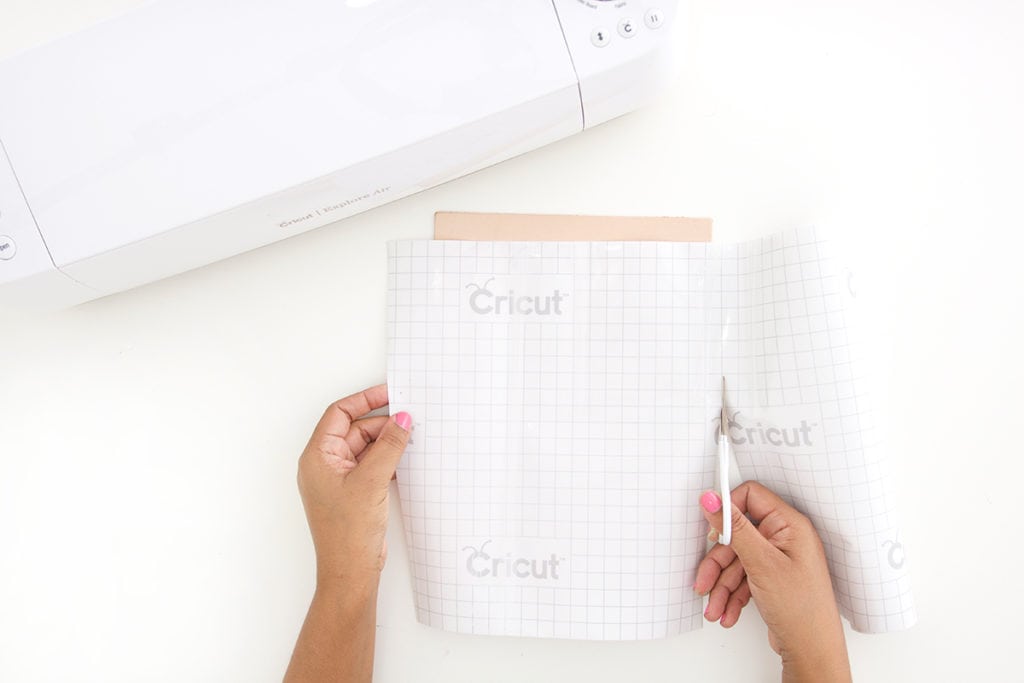
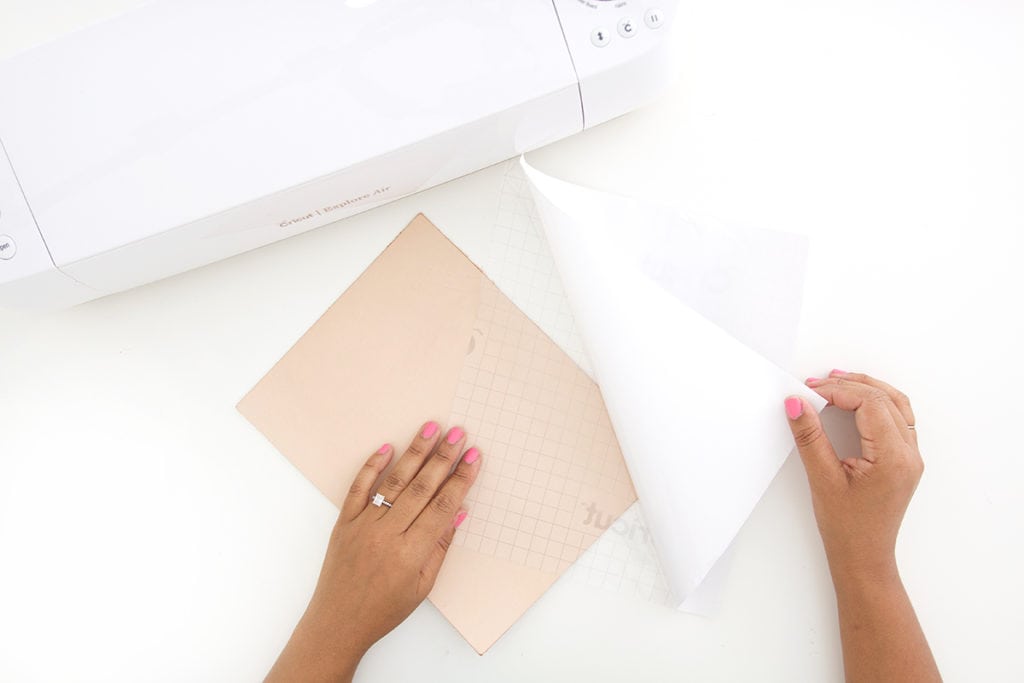
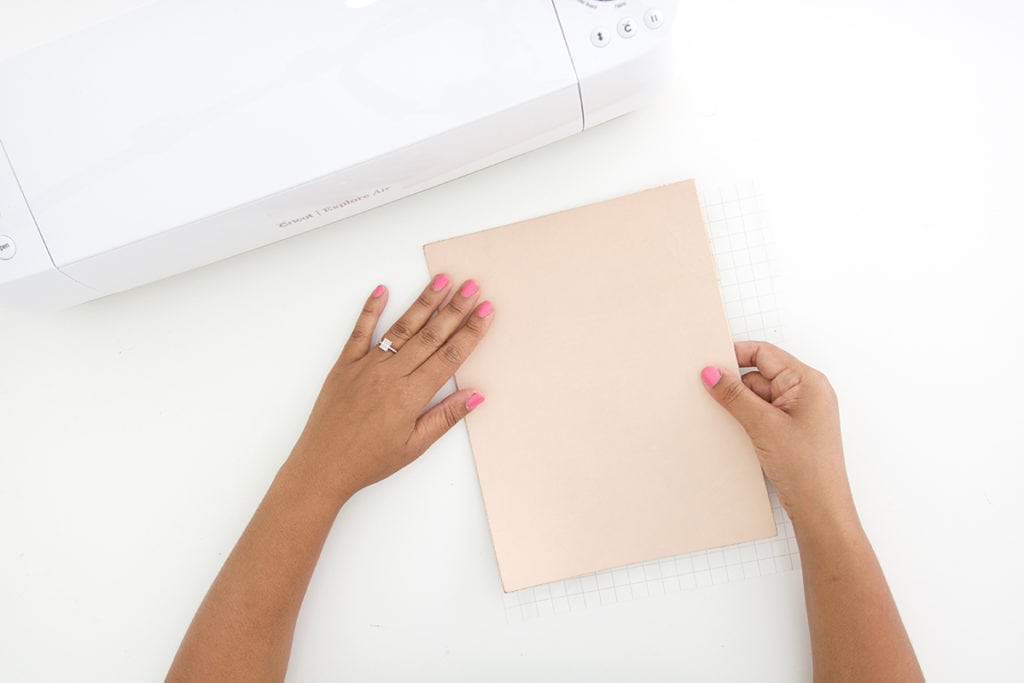

Cut the transfer tape to the size of your leather, then adhere the transfer tape to the back of the leather. Last, place it onto the cutting mat with the transfer tape serving as a buffer.
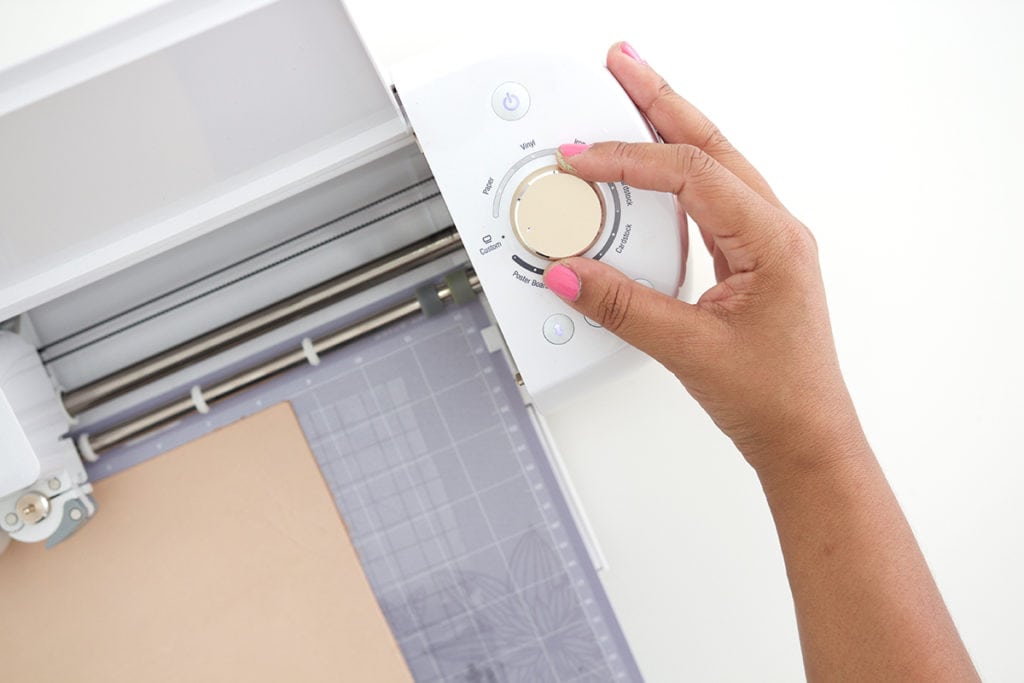
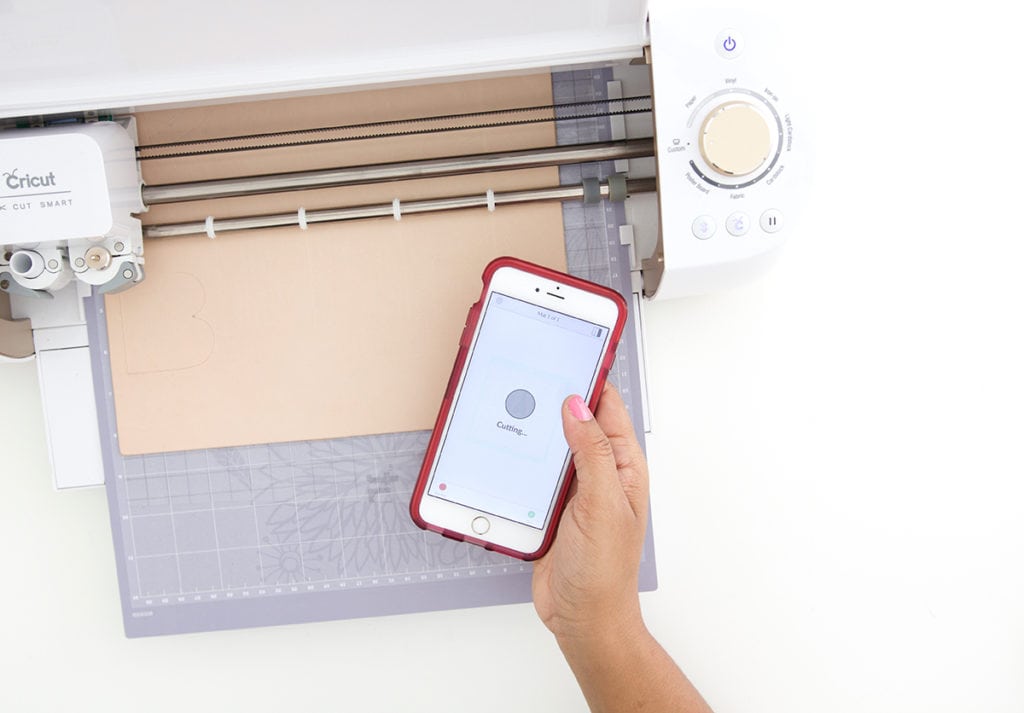
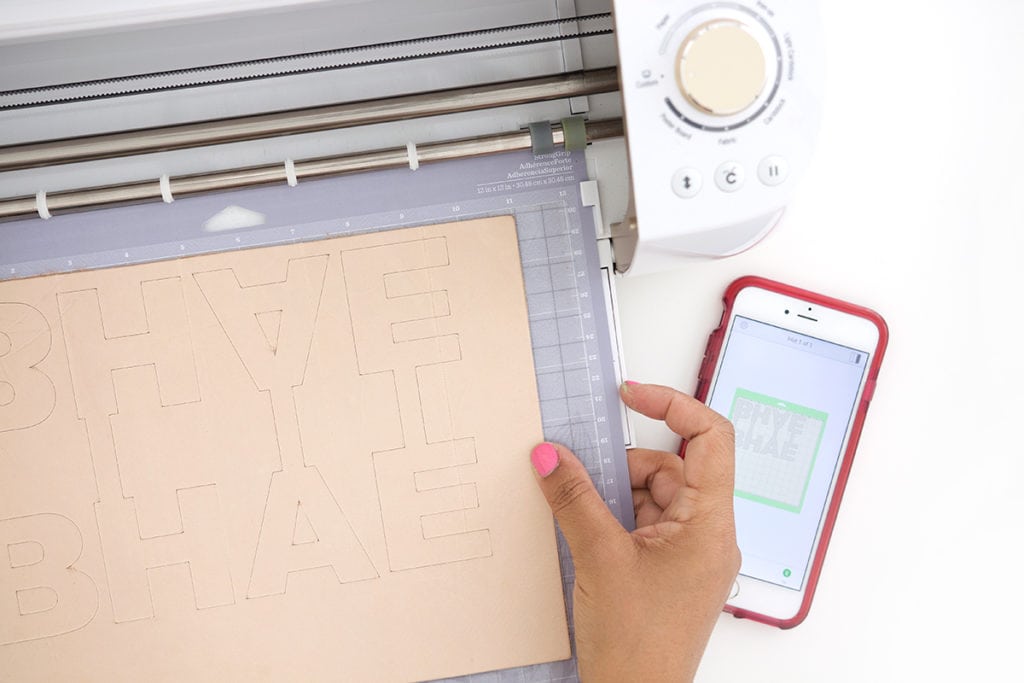
Once you’ve loaded the leather into your machine, be sure to turn the dial to “Custom” where you will then be able to select “Heavy Leather” from the drop down menu.
For my project, I a few leather keychains by using my own fonts along with free shapes from Cricut Design Space. I simply created to letters, mirrored one of the letters, then welded them together with a rectangle shape.
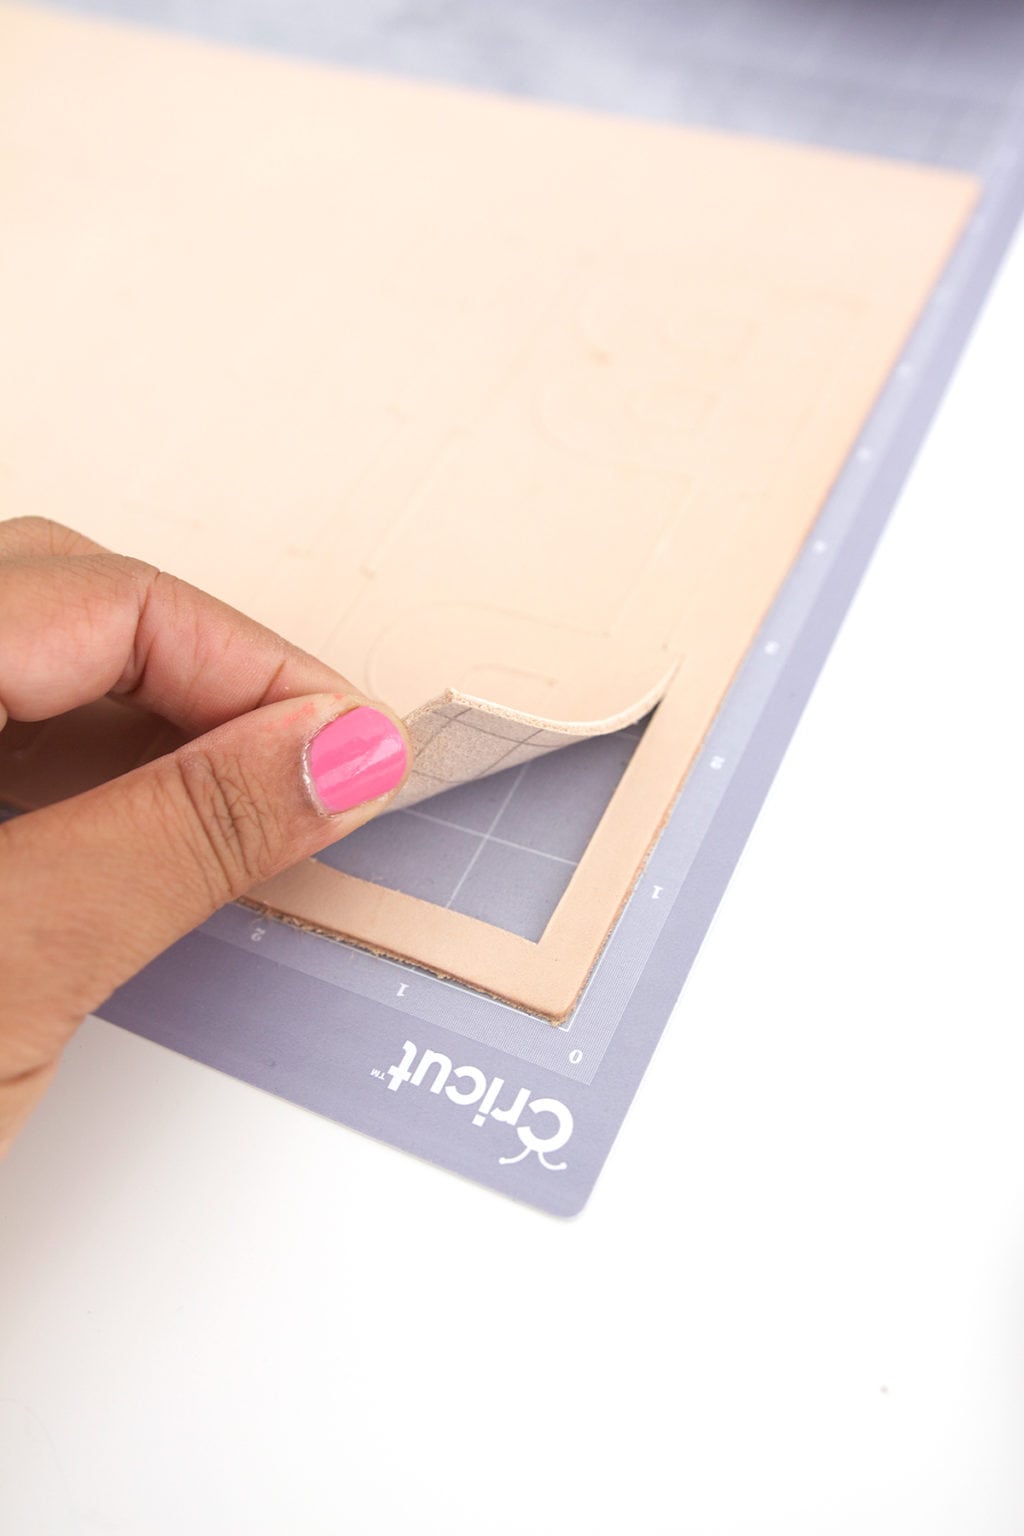
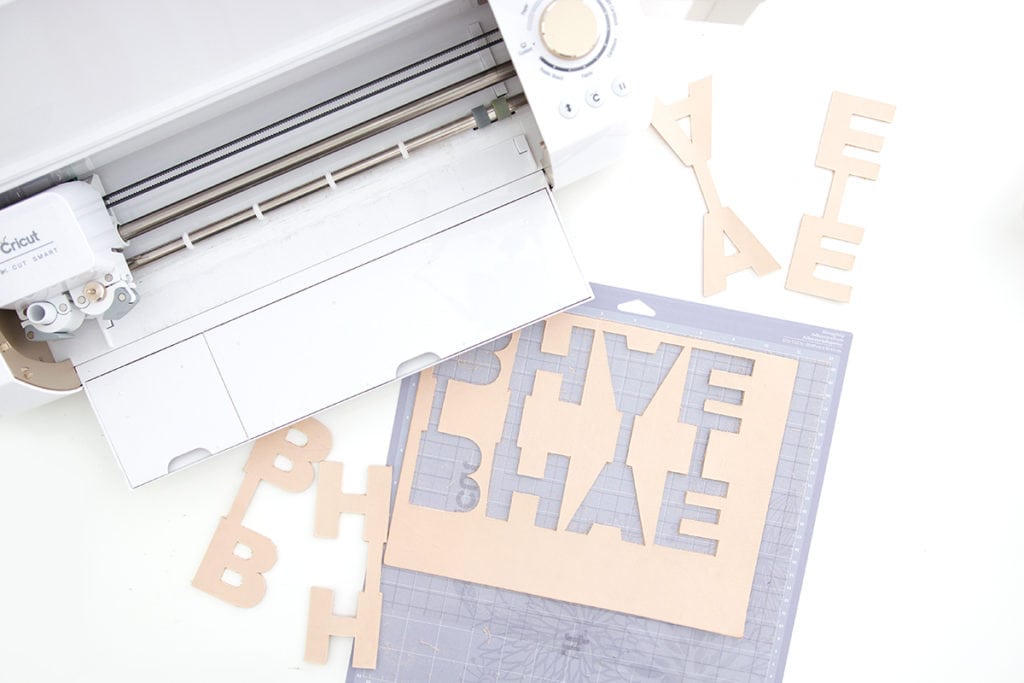
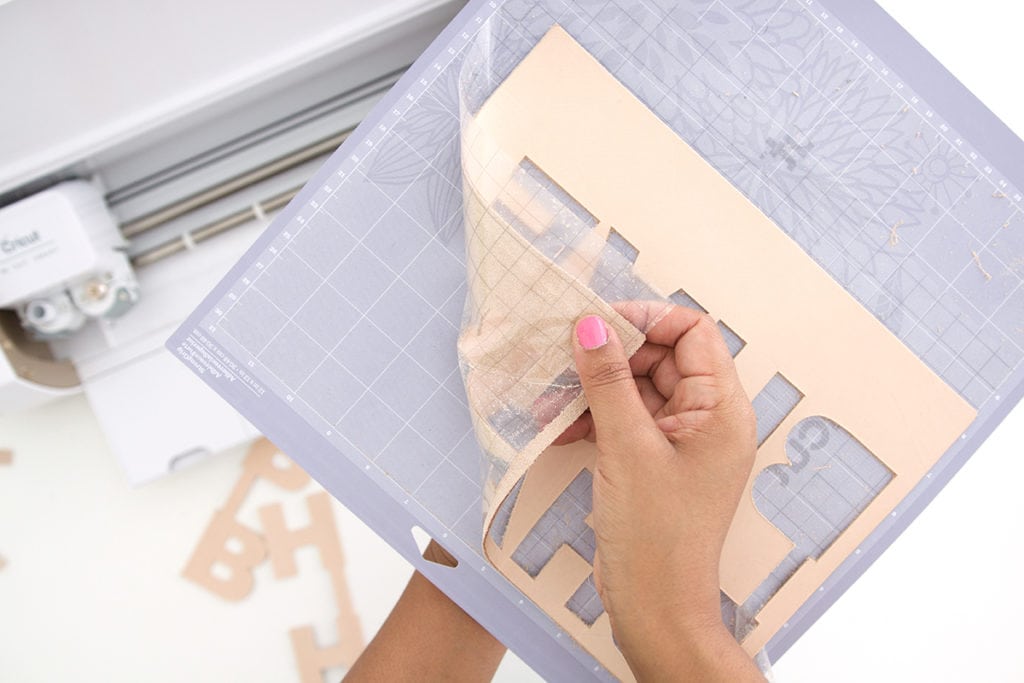
Once the cutting is done, you’ll be able to peel back the transfer tape and reveal a clean cutting mat beneath. No more little leather bits ruining your cutting mat!
HOW TO MAKE A LEATHER KEYCHAIN
Now that you’ve cut your leather, it’s time to assemble the keychains!
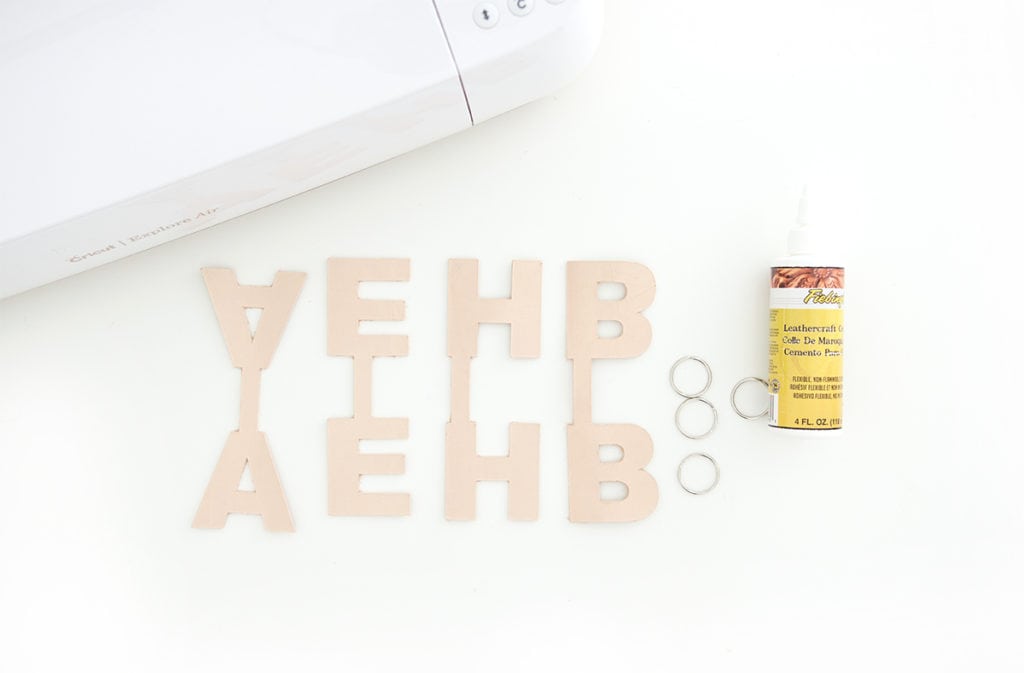
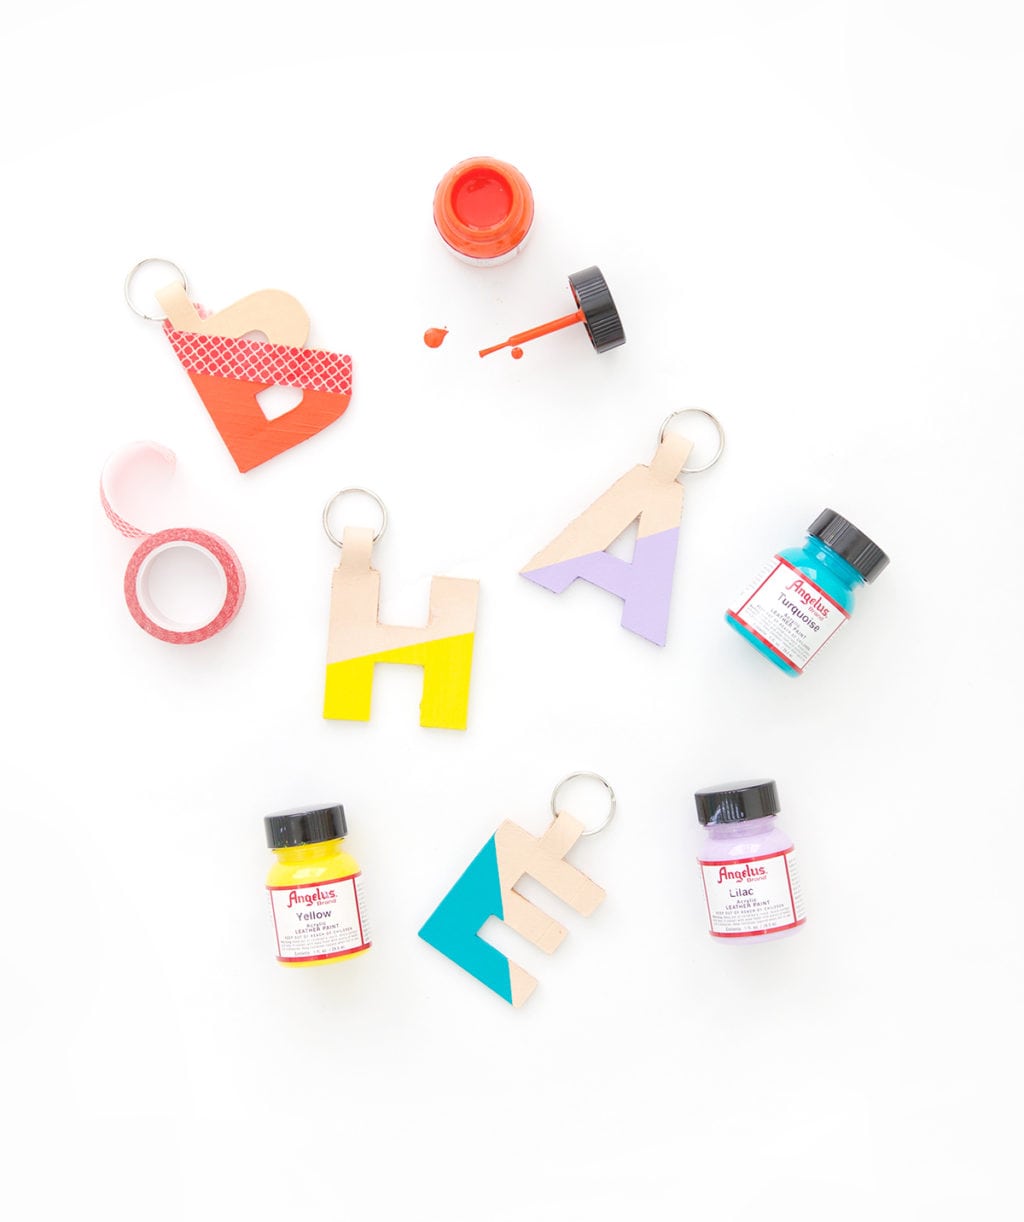
You’ll need:
- Leather monogram shapes
- keyrings
- leather glue
- bull clips (not pictured)
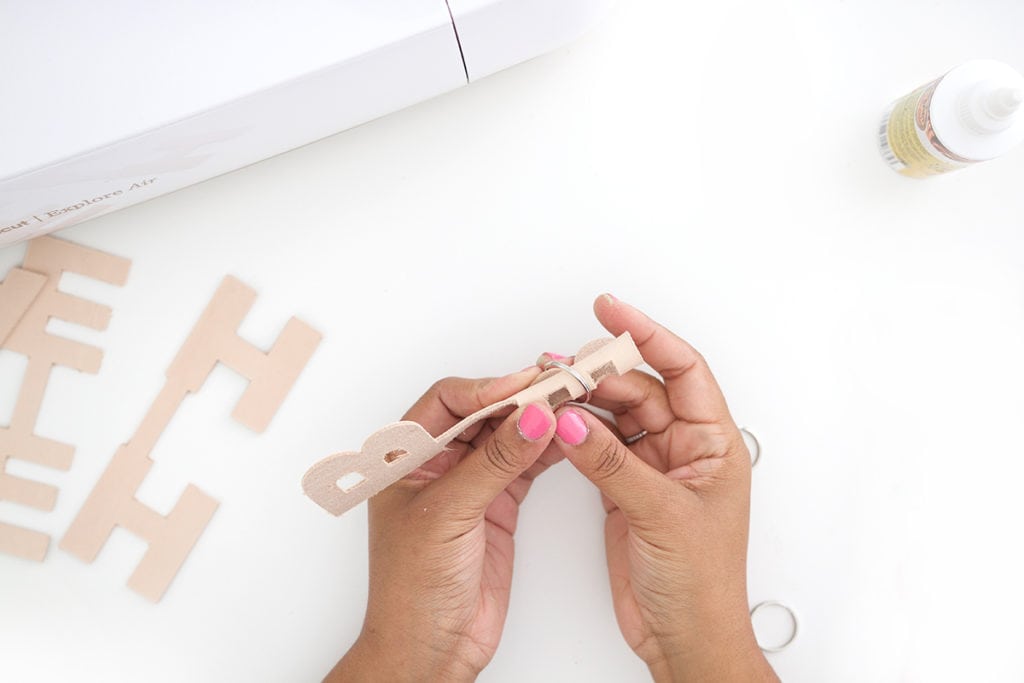

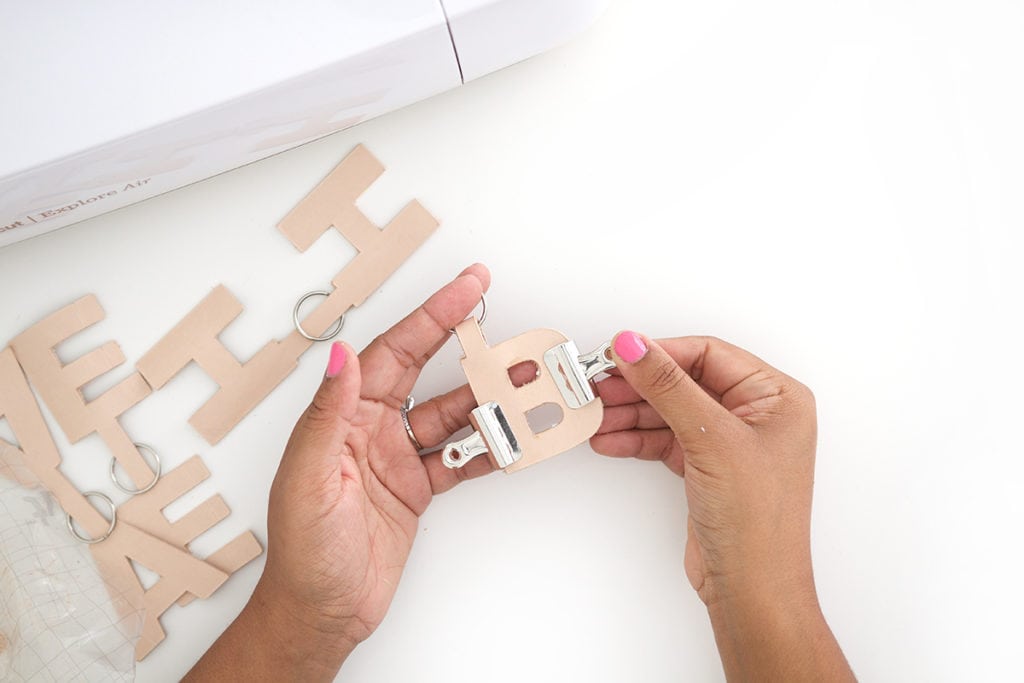
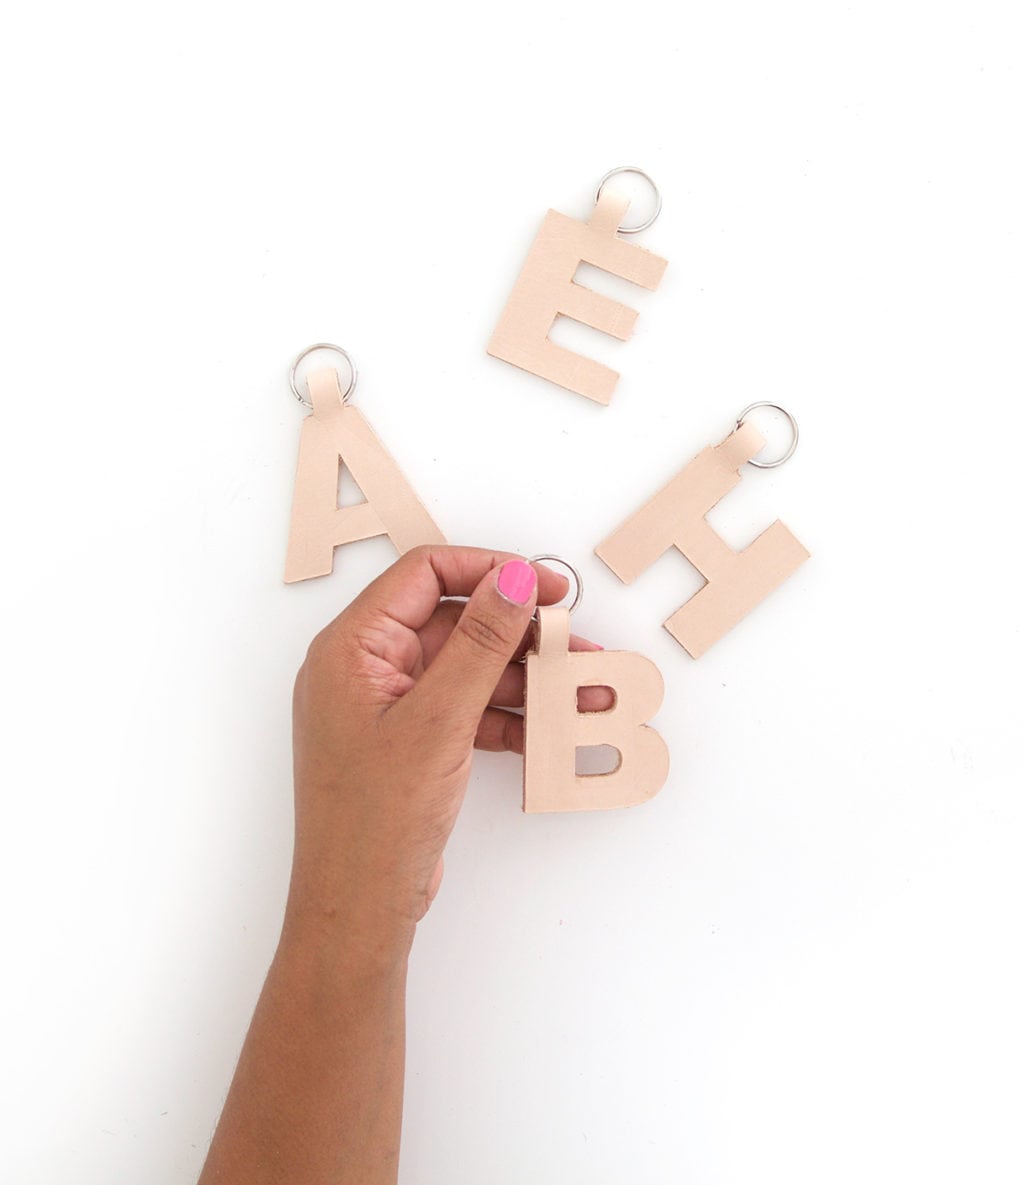
Thread one side of leather monograms through the key ring, then bend the leather in half and glue each side together with leather glue. Use bull clips to hold the sides together until the glue has fully dried.
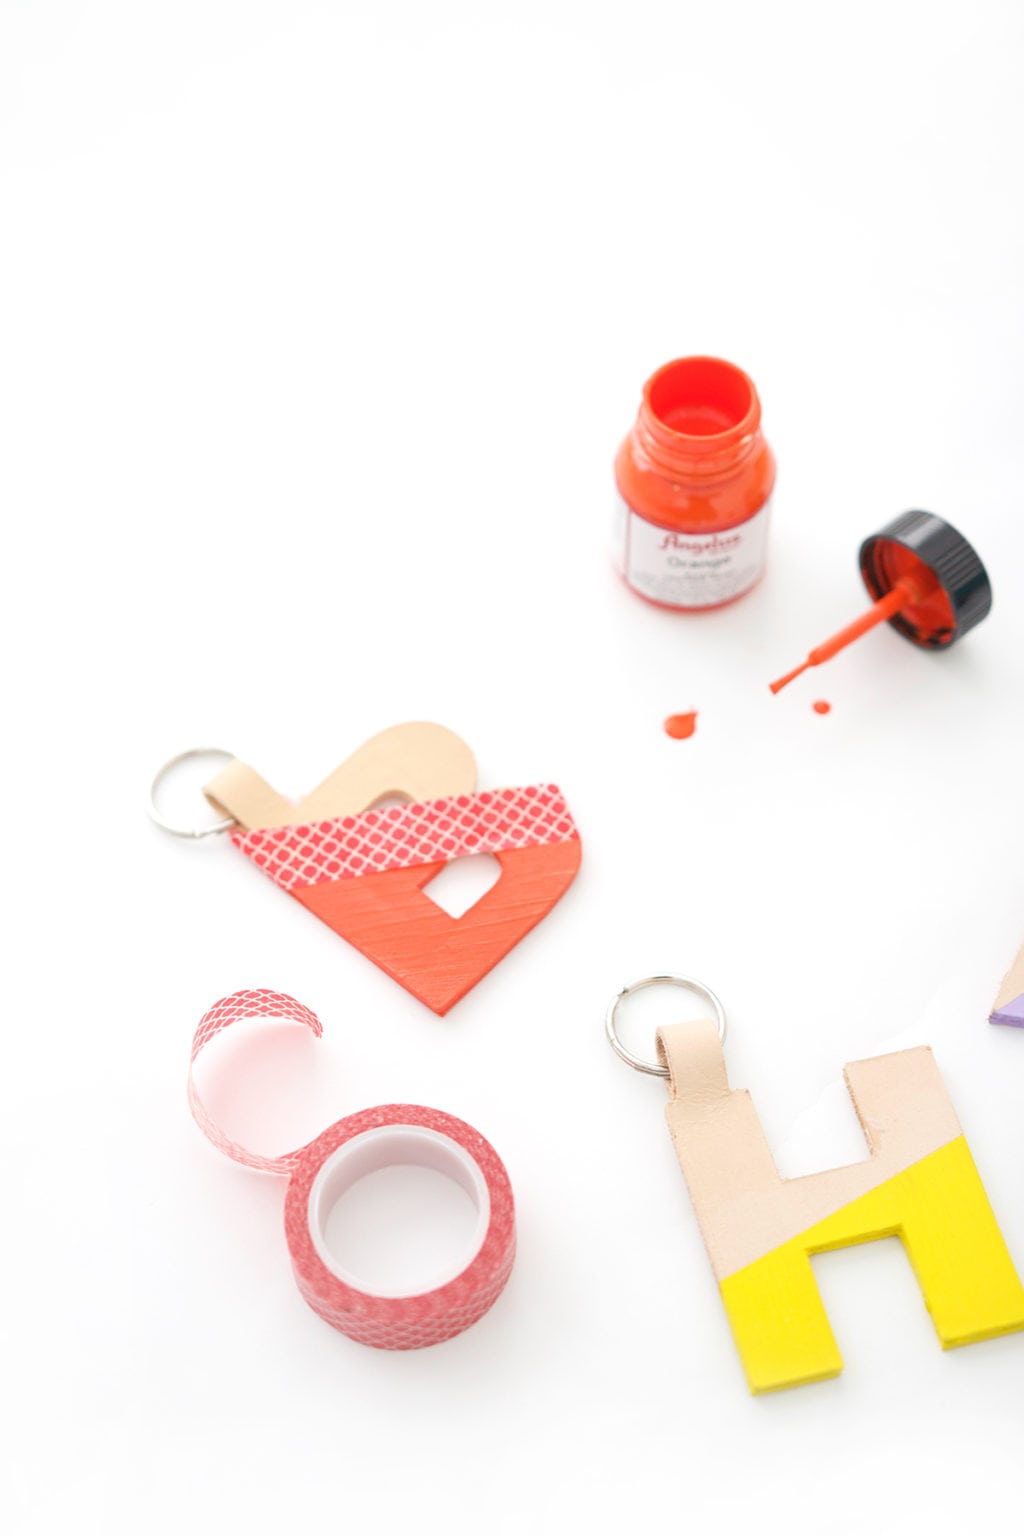
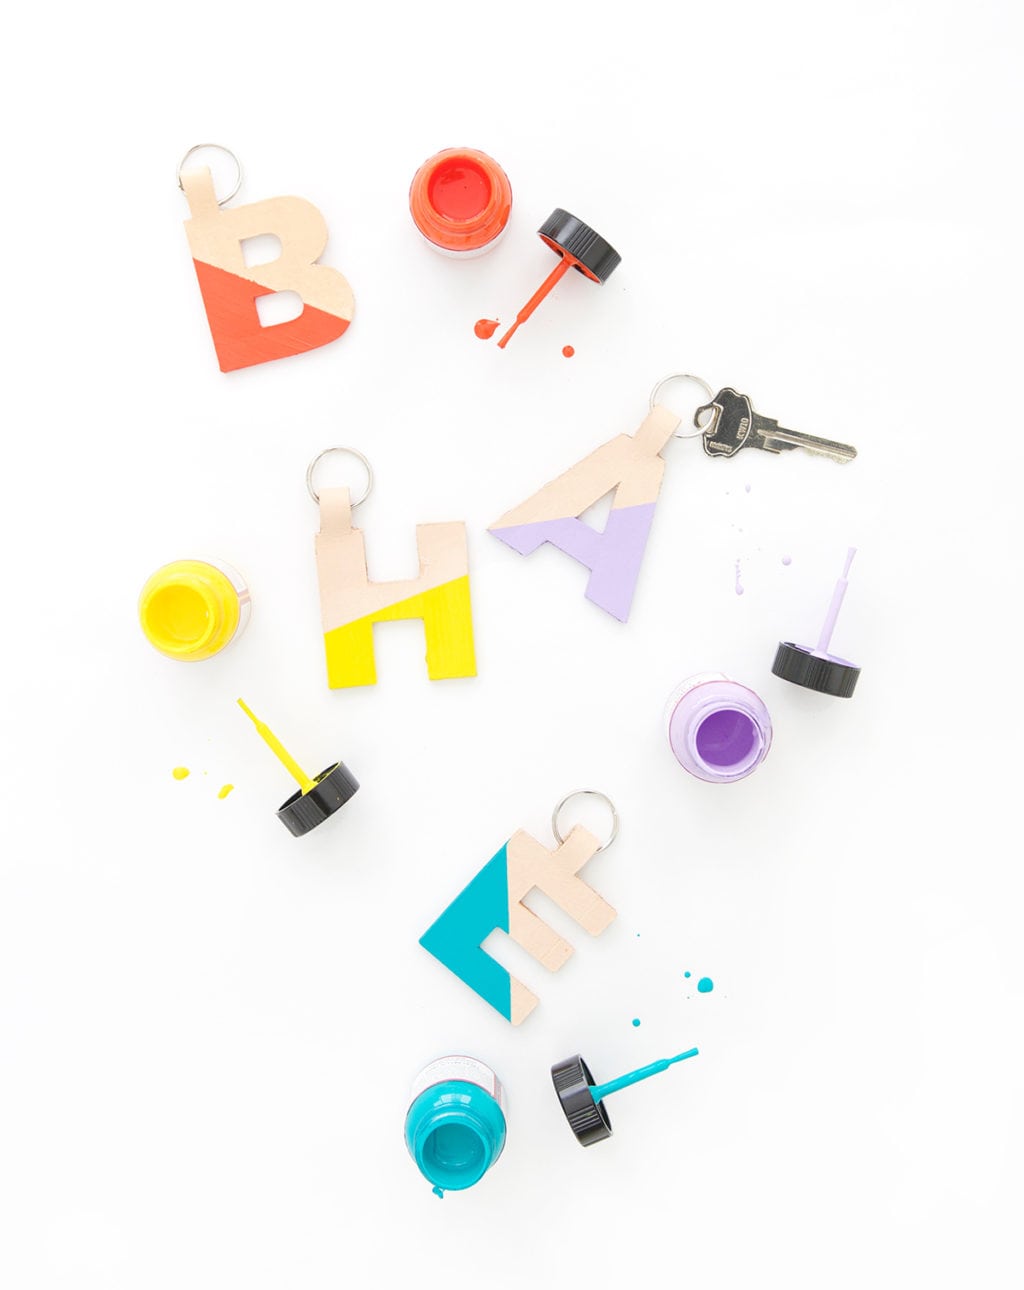
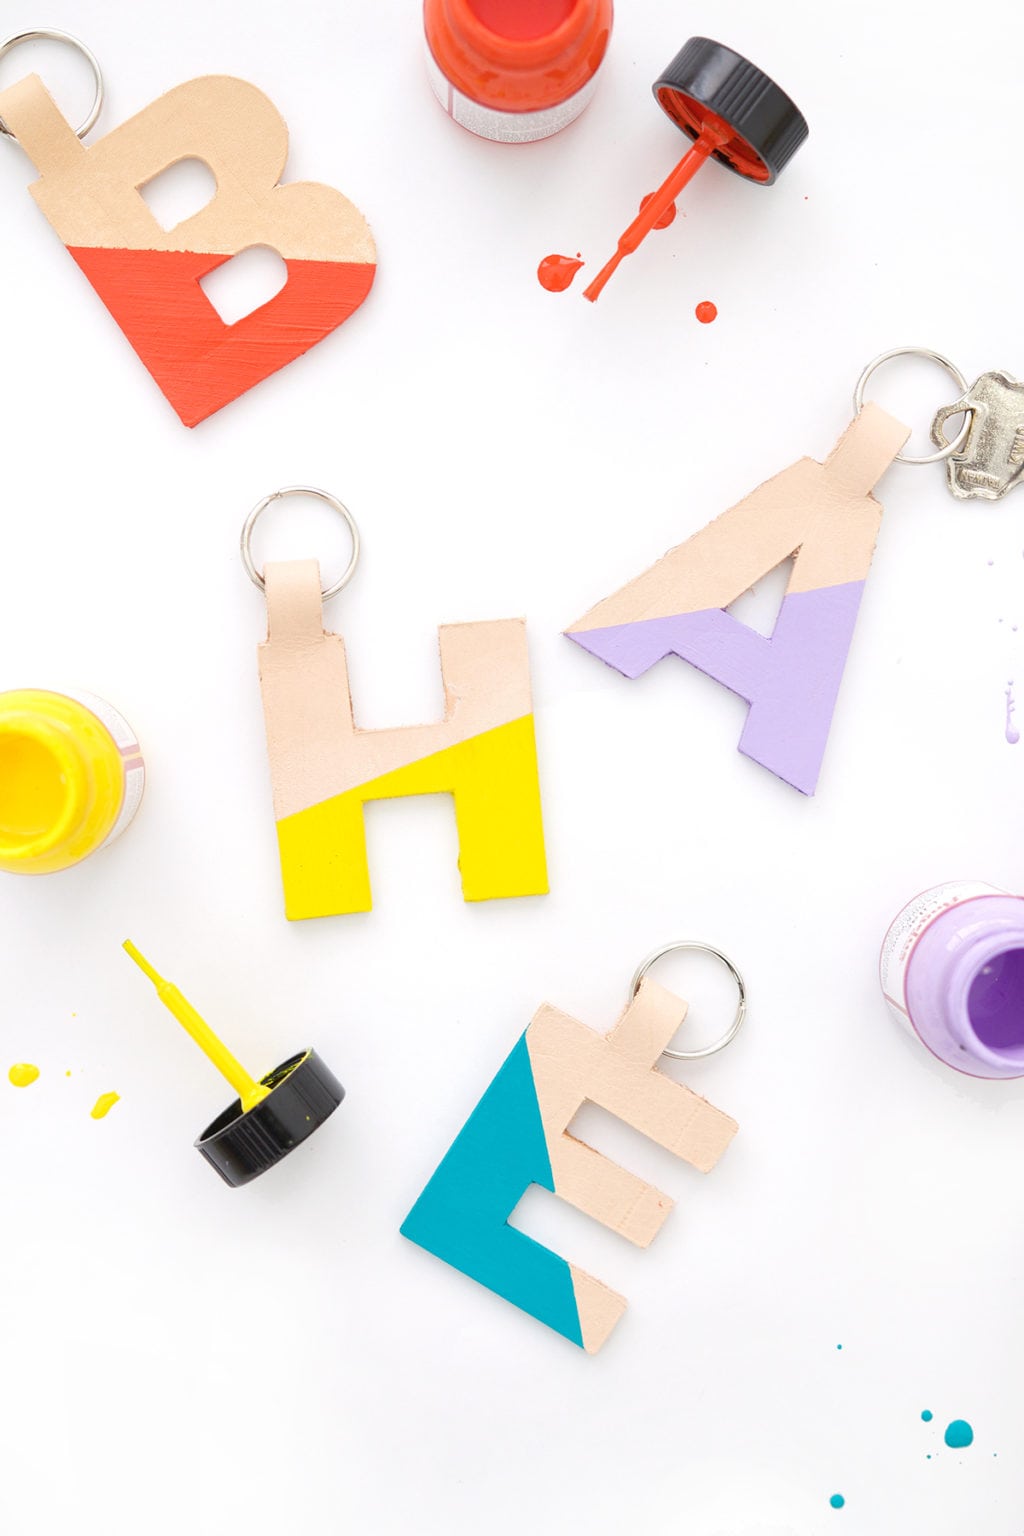
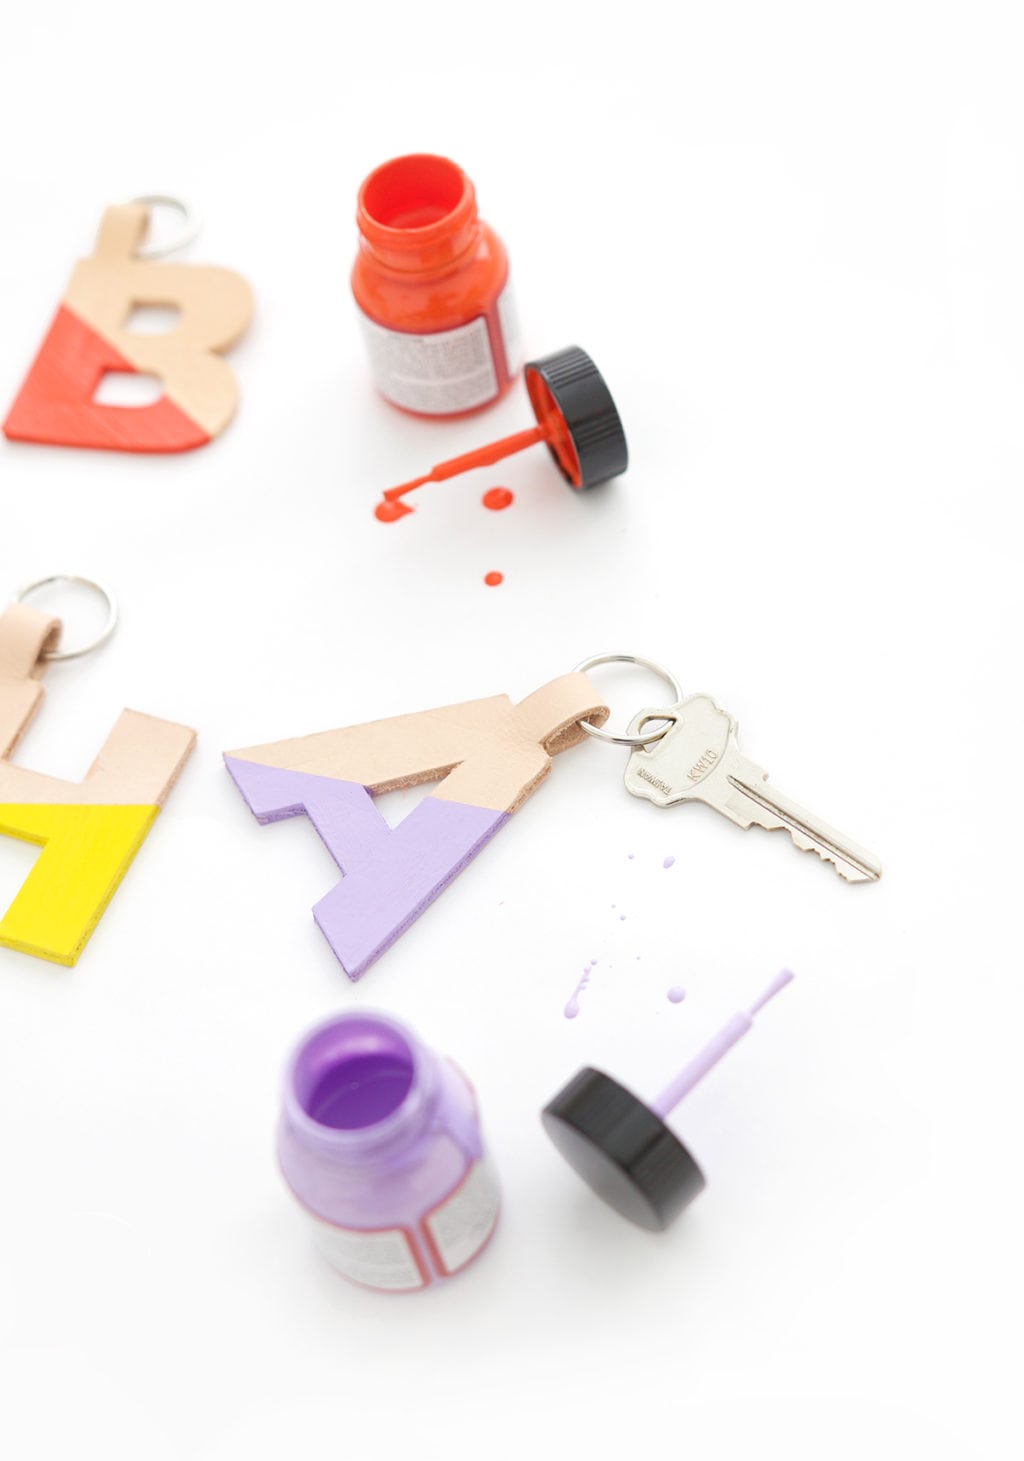
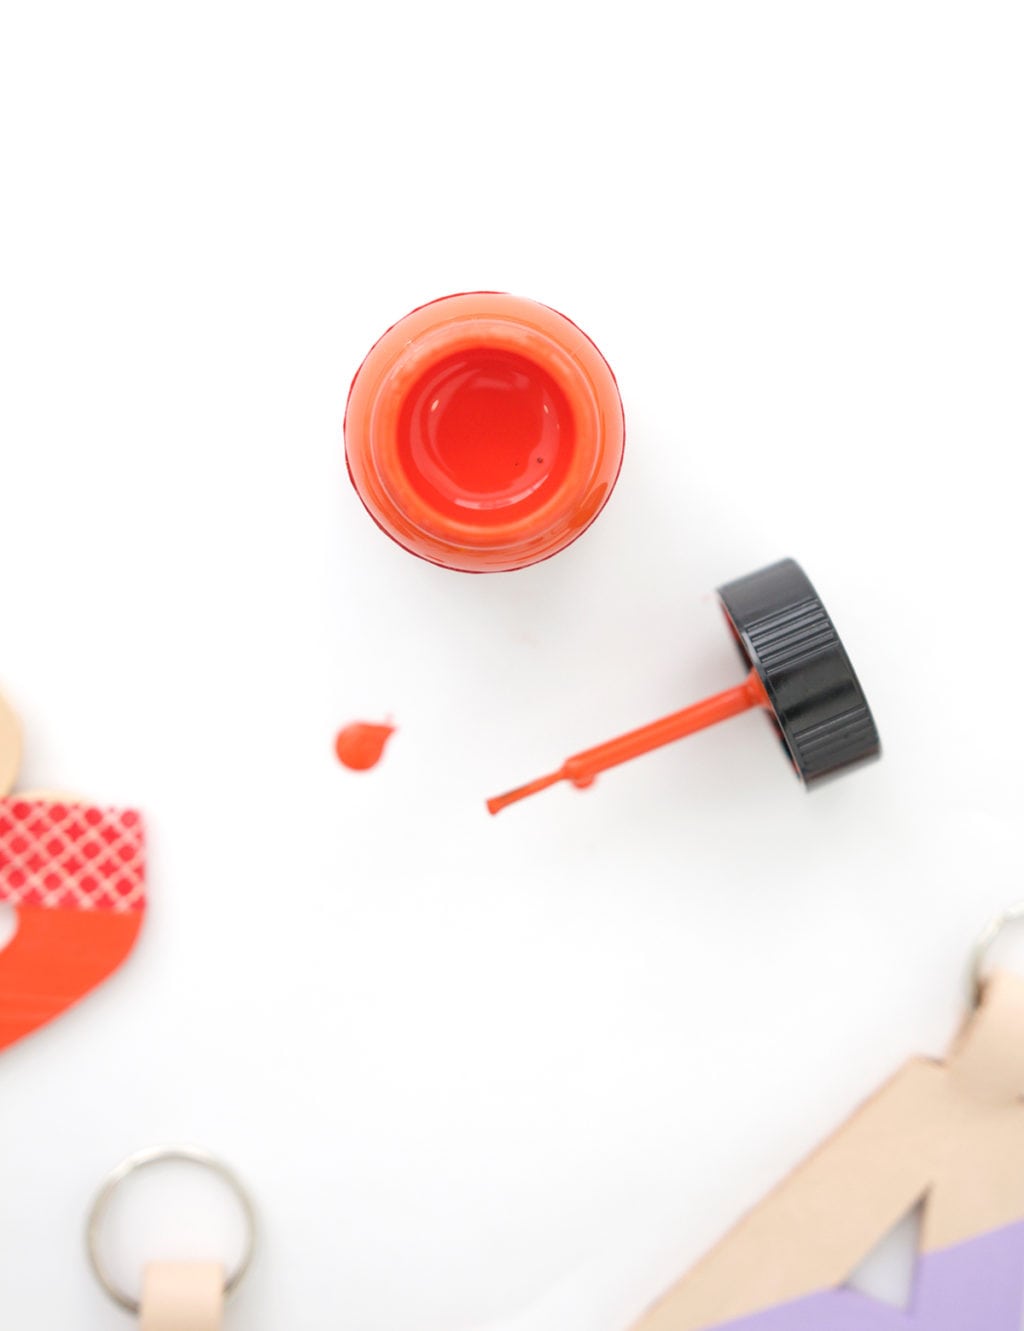
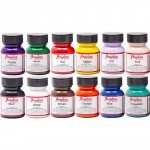
Last up, is the fun part. Add a little color to your key chains with acrylic leather paint. I created a color-dipped effect by taping off a diagonal strip with washi tape.
And now you know how to cut leather with Cricut Explore! So easy – so cool and so fun.




Thanks for sharing Amber!!! So good to know!
Cristina
thehouseoftheblackbirds.blogspot.it
Another fantastic project Amber!
hello:
I have been trying for weeks to cut leather. I have used transfer tape, and taped the leather down as well. I still get the leather lifting after it has been cut and jamming machine before the shape can be completely cut. What am I doing wroing.
Same thing happens to me Kelly!
Are you using tooling leather. It is much firmer.
R u using correct cutting Matt?
Is you mat tacky enough? You may need a new mat or go to a stronger grip mat.
I have not cut anything other than paper/cardstock/vinyl with my Explore. Thank you for this information. The tip on using a transfer sheet seems especially helpful! And your key-chains are really cute!
I am having a hard time cutting light weight leather. The center design gets stuck on the blade as the machine moves back and forth. It drags and rips off the leather. It cuts the outside layer well, but the center is always a problem. I am using a deep cut blade on a strong grip mat. You are so right about the residue left by the leather on the mat. It destroys it. It removes all the adhesive. The transfer tape sounds like a dream come true! Does it work with 1 mm thick leather was well? Thank you so much for your help.
Thanks for the tutorial. The transfer tape is such a great idea. I bought the exact products you listed, but the Cricut won’t cut all the way through the leather. I even tried creating a custom setting with 7x multicut and the maximum cut pressure 340. I’ve tried a deep cut and a regular blade. It seems like the Cricut just can’t handle this tooling leather.
What is the thickness of the leather you are using for this project?
I am not sure of the actual thickness, but I always use Tandy Tooling Leather. It comes in a 8×10 sheet and it works beautifully in the Cricut Explore!
Those tooling leather pieces are 1.6 to 2mm 🙂
Great post! I was just wondering if I could cut liquor leather on my Cricut Explore. I never would have thought to use the transfer tape as a buffer. Great idea.
Hello, awesome tutorial! Just wanted to ask what blade you used for this project? Is it the fine point blade or the deep cut one? Thank you!
If I use cricut brand faux leather it says I don’t need a deep cut blade. Is the standard blade enough?
I have the Maker but I just use the standard fine point blade to cut the faux leather and had no issue.
I’m loving this!! Stumbled on yo your site and am so happy!
Thanks!
Thank you so much for the great tutorial!!!
Maybe you can answer a question I have.
I was wondering if you can put glitter on faux leather like you can on acrylic with mod podge?
Thank you for all your help 🙂
Thank you so much for this piece I just purchased some faux leather to do some bows
You saved my mats with this information
Hi Amber,
I have attempted this so many times now and I still cannot seem to master the symmetrical shapes, and also the mirroring.
do you have a tutorial on this?
You the the cricut explore and one but will the cricut explore air 2 ?
Only real difference from the Air and Air 2 is speed. Whatever Explore can do so can Explore 2.
Hi!! I’m following you since forever. I love everything you do, especially the energy that you share. Sadly, I didn’t remember that this post was yours since a watched a long time ago; and I was in a two weeks search of this tip. I feel kind of dumb when I finally got it from one of my Pinterest boards. Anyway, I just want to thank you!!!
Hi Amber. Love the key fobs.
I’m thinking of buying a cricut explore air 2 to make leather jewellery. I’m cutting by hand at the moment and using two layers of leather glued back to back with copydex. Would I be able to cut leather that has been glued like this in the cricut, or would that be dangerous or damaging to the machine? I glue first to strengthen thinner leathers so that I can use random off cuts.
Help!
Thanks
Jo.
I am 65 and new to Cricut
I have been trying and fail for the letters keychain
I cannot attach a shape
Is there anyway you have a file on it
You cannot mirror one without the other
Did you have to cut multiple times on heavy leather setting?
HI! just made earings with the faux leather..the leather is bent…how can i flatten it?
I had the same issue
press them with an iron and parchment paper or pressing cloth to flatten them 🙂
I love these and my daughter in law to be is having me make them for her attendants but I can’t figure out how you “weld” the rectangle onto the letter. PLEASE HELP!!
Select multiple shapes/images by holding down ctrl key while clicking on them, then right click and “weld” will be one of the options
My cricut cut smart 2 does not have the heavy leather option. I have been trying to cut leather but it just isn’t deep enough.
Me too?? Wondering which setting to use.
Did anyone figure out the setting?
Using both the standard mat and blade, use the Fabric + setting on the dial and it cuts BEAUTIFULLY. Personally tested and it works.
Using both the standard mat and blade, use the Fabric + setting on the dial and it cuts BEAUTIFULLY. Personally tested and it works.
UGH I am about to throw my cricut out the window! I cannot for the life of me get that blade to go through the leather!! I have tried every suggestion possible and thought I hit the jackpot when I saw yours but Fabric + still didn’t go through my leather!! I thought it’d be nice to use real leather VS. faux but I have having so many problems!
A lot of times it comes down to silly things like blade use and mat. I have started following another bloggers recommendation to use one blade for paper, one for vinyl, one for fabric, etc. Seems to help stretch the life of the blades.
I am wanting to cut leather and emboss a design onto the leather as well. Is this possible?
Could I cut denim using the same transfer tape method instead of heat bond ?
Can you tell me what brand of glue you use? Thanks!
THANK YOU!!!
This was super helpful!
What about faux leather? Do you pick the same setting?
Thanks for the great tip. I’m having issues with the surface being scratched with the needle as it moves around any ideas o how to correct this. Also I would love to be able to score the picture onto my leather and cut out object same time. Any suggestions would be appreciated. Thanks
I cant figure out how you welded the letters together on design space! I would love to make this but cant figure it out!!
Thank you! I needed a trick to get my leather from bunching up while cutting and the transfer tape did the trick. Thank you so much for the simple hack.
Wow, awesome! Thank you for sharing this amazing idea. Really loved this post. I’ve found some amazing custom leather keychains here: https://www.budgetkeychains.com/Custom-Leather-Keychains
Wow that was pretty cool! Amazing way to cut leather letters. Maybe I use this technique in one of my projects! Thank you so much!
A lot of times it comes down to silly things like blade use and mat. I have started following another bloggers recommendation to use one blade for paper, one for vinyl, one for fabric, etc. Seems to help stretch the life of the blades.
Would the tooling leather be the same as the leather that Cricut sells?
Beware of cricut and their products. They tend to be lower quality than others. Customer service is terrible! They used to offer free cuts once a week now they are offer leftovers once a month.
Hi, I have a cricut machine, What blade do I need to buy that is capable of cutting through faux leather?
I would like to try this. Where did you get the letters you used?
Great information you shared on this blog. It’s a very useful blog. Thanks for sharing great article.
I didn’t read to the bottom of the comments, but you can only do this with the Maker. You need the knife blade. Review this site to see the difference in blades and which Cricut you can use to achieve the different cuts.
https://d2e2oszluhwxlw.cloudfront.net/learn/pdfs/design-space/cricut-guide-blades.pdf
Can I ask what FONT type you used? These are really beautiful and would like to try making for myself
Thanks for the tutorial! We ended up using garment vinyl (? not sure exactly what to call this but it was basically fake leather we could buy by the yard, and was much less expensive), used hot glue for the letters and added a small heart for Valentines for my step daughter’s class! This was simple enough for her (9 years old) to do mostly by herself!
What font did you use for your letters?