Do you know how to do a “photo burst” on your phone? Instead of pressing the camera button once, you just hold it down and your camera will take continuous photos until you lift your thumb. I’m a pro at “photo burst” because I have a one-year old and “photo burst “ is a requirement if we’re going to capture a half-decent moment in time.
For every okay-ish photo, there are about fifty other frenetic moments of baby-writhing, closed-eye escape attempts, each with me playing “peek a boo” from behind the scenes in hopes I can get Markus to turn his head and flash one of his adorable eight-toothed grins.
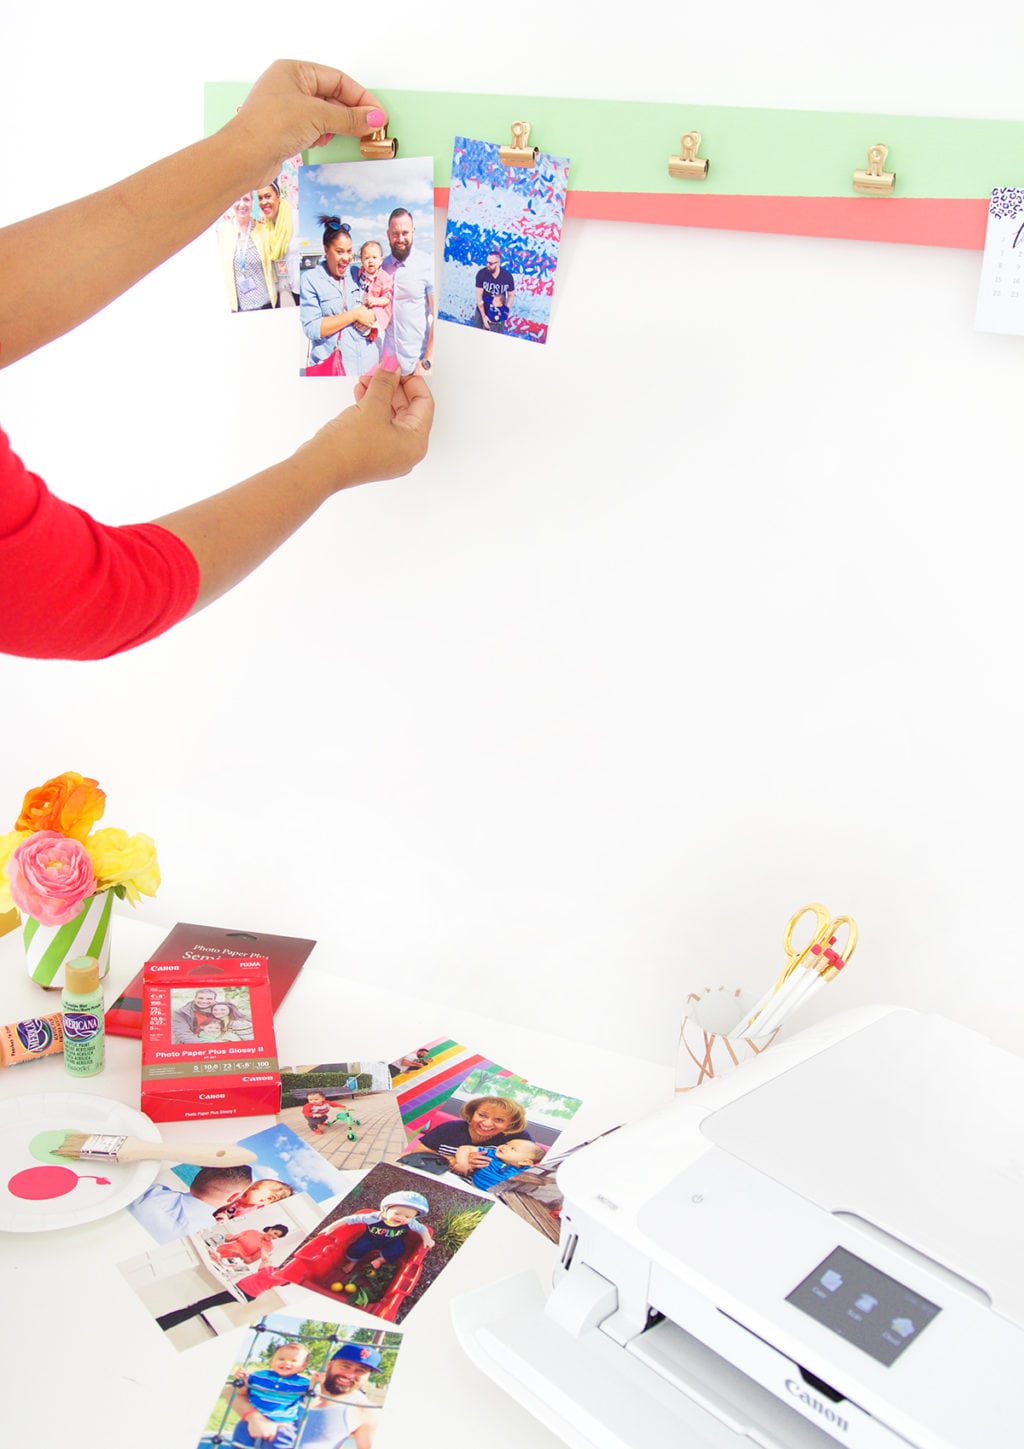
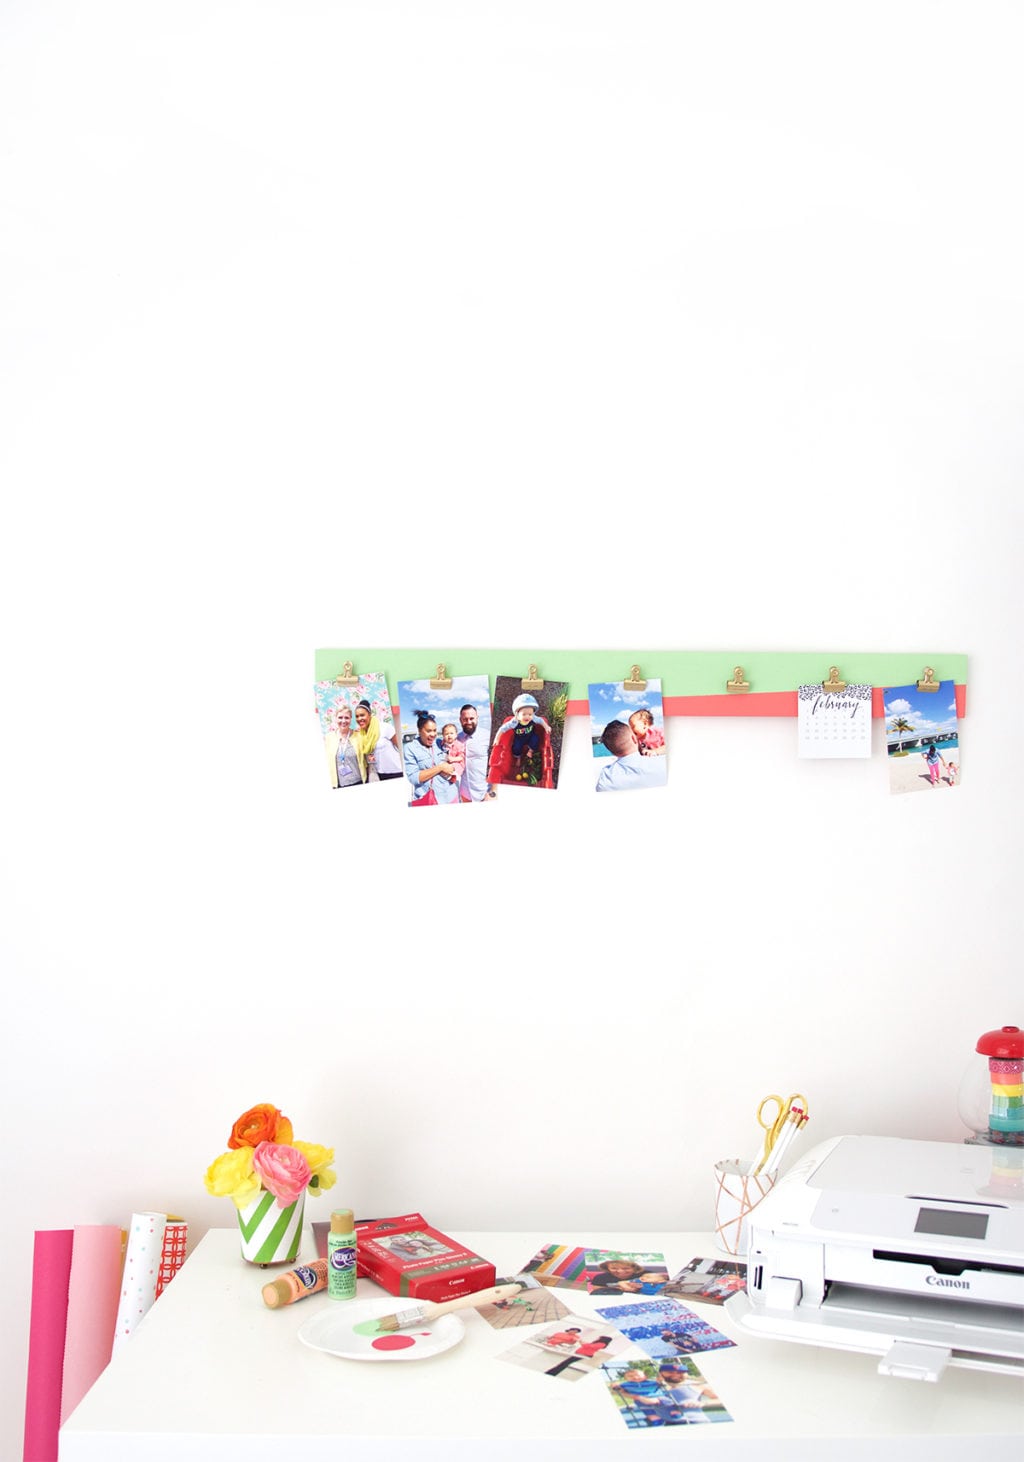
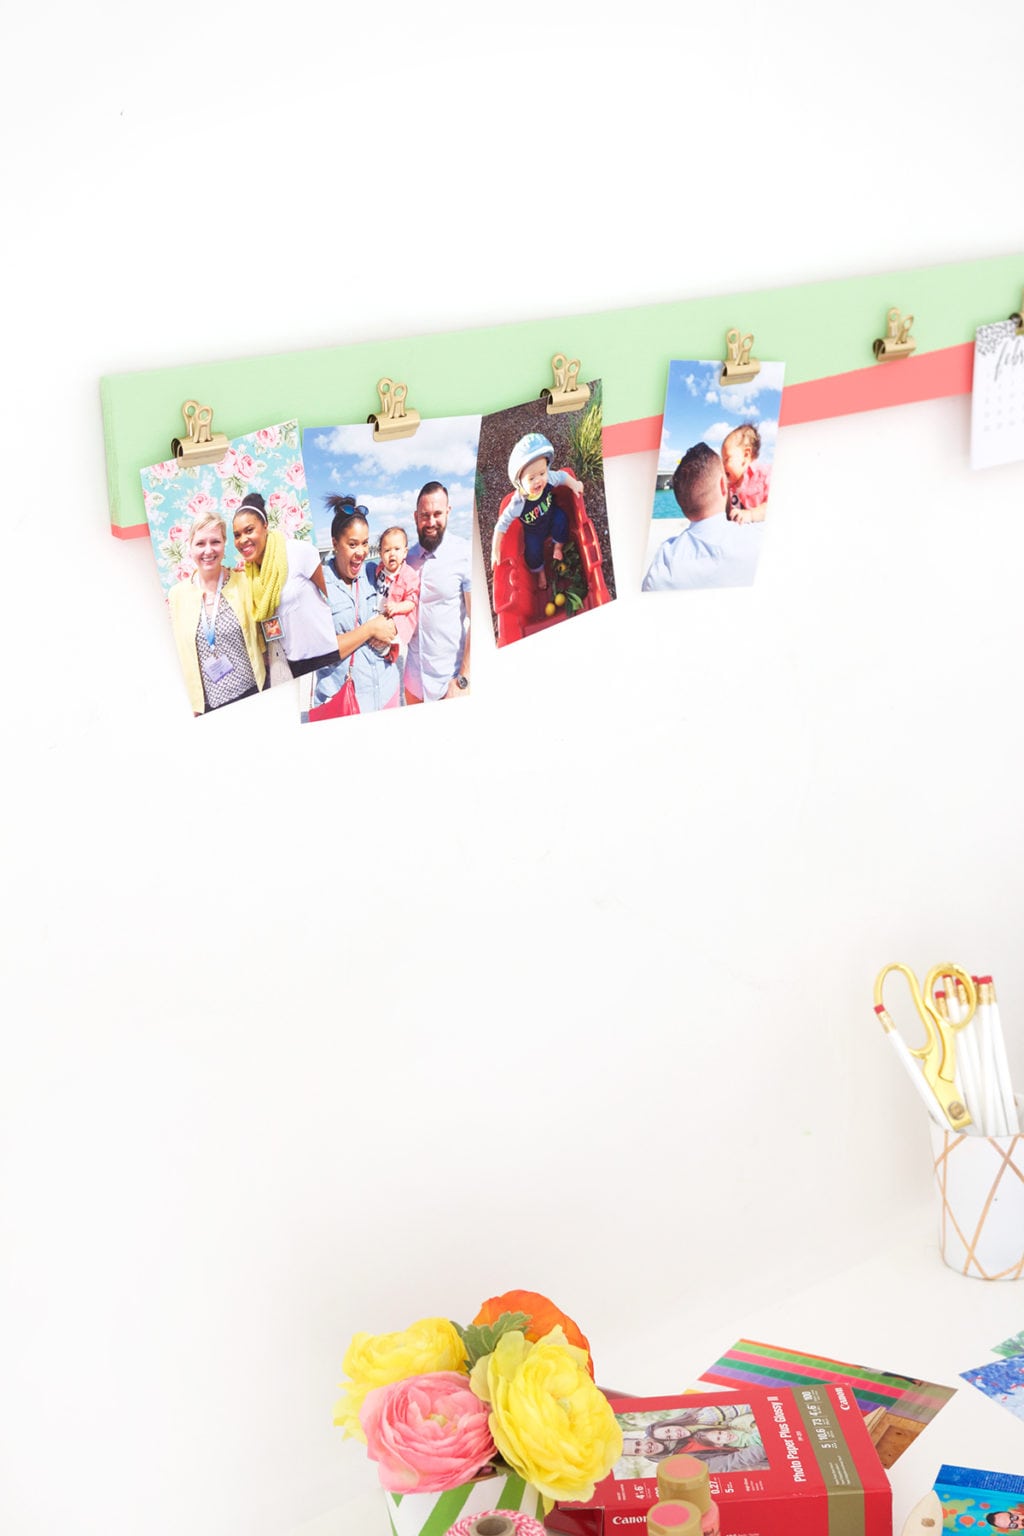
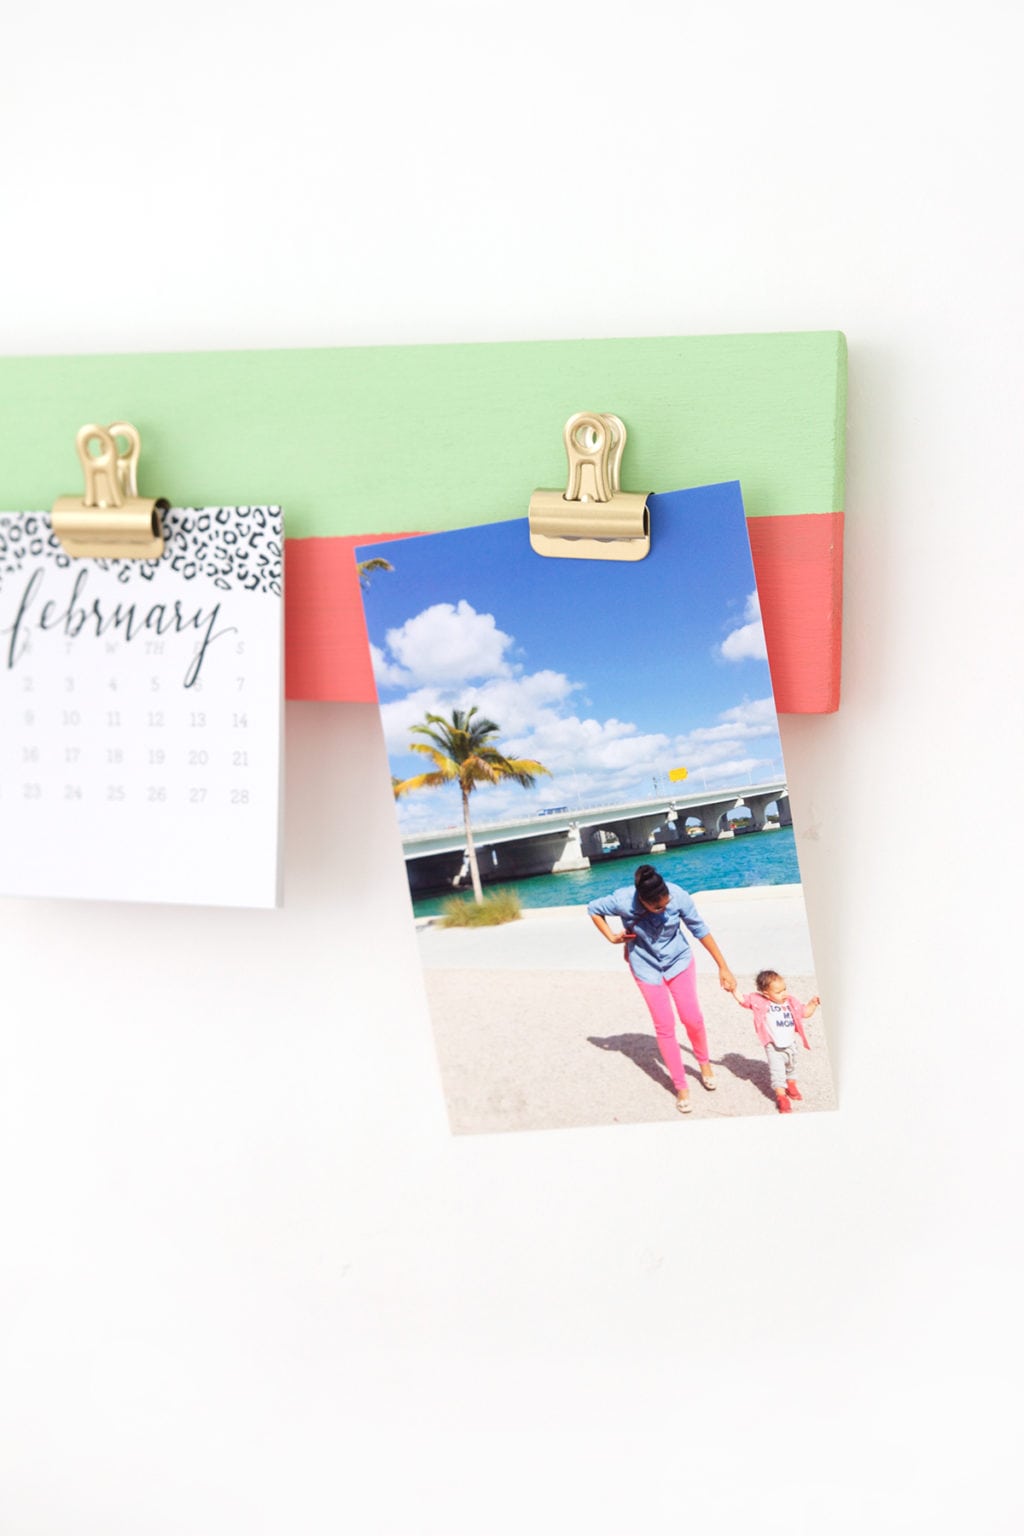
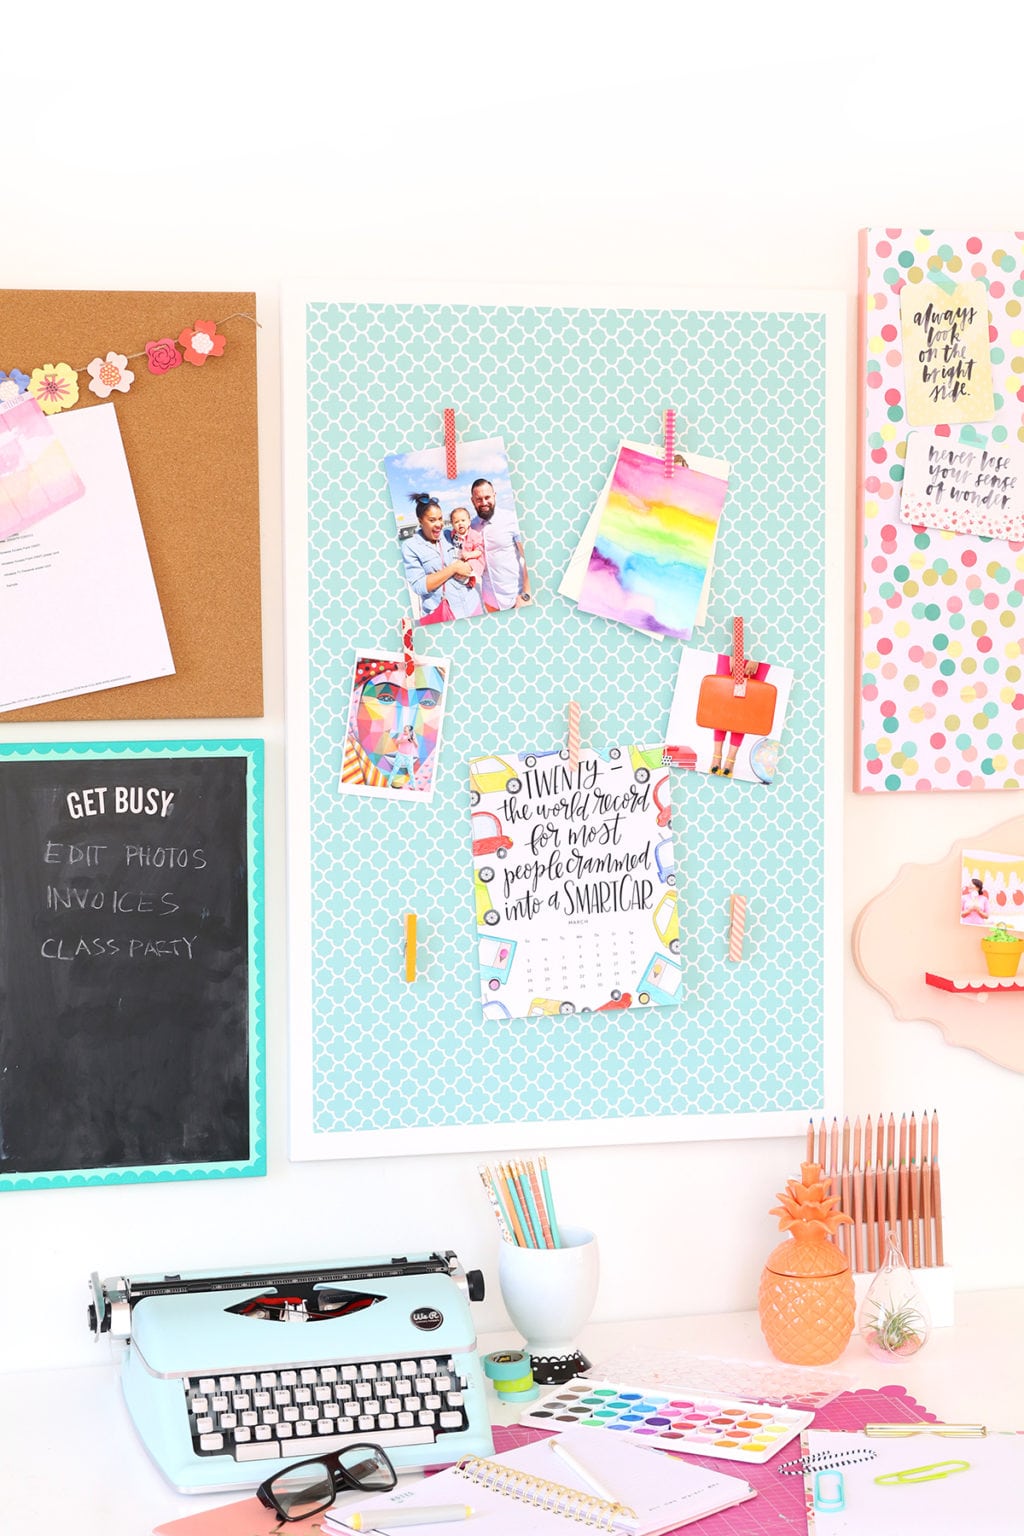
For this reason, my phone is full of outtakes. It’s jam packed with attempts at that perfect photo. I hang on to each and every imperfect photo but they seldom make it off the phone. The messy moments never make it into a frame or onto the almighty Instagram. I’m about to change that. There’s something really fun and special about the slightly less-than-perfect photos. There’s always a good story behind each one. Like when my hair is flying all over the place. Or when Markus refuses to look at the camera. Or when he looks adorable but my mom looks sort of cross-eyed. Or the time when Beth and I snapped a cute photo at CHA but had to grin through our uncomfortable jeans which were way too tight and we both complained about it all day. These moments deserve their own place to shine, so I’m crafting up a DIY Photo Gallery Clipboard that is the perfect excuse to get those photos off your phone and into the real world where you can enjoy them.

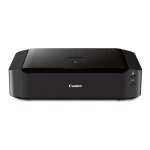
Getting your photos off your phone is crazy easy with the Canon PIXMA MG7720. It’s a wireless printer that will print borderless photos in no time. If you snag the free Canon app, you don’t even need to use your computer to bring those photos to life.
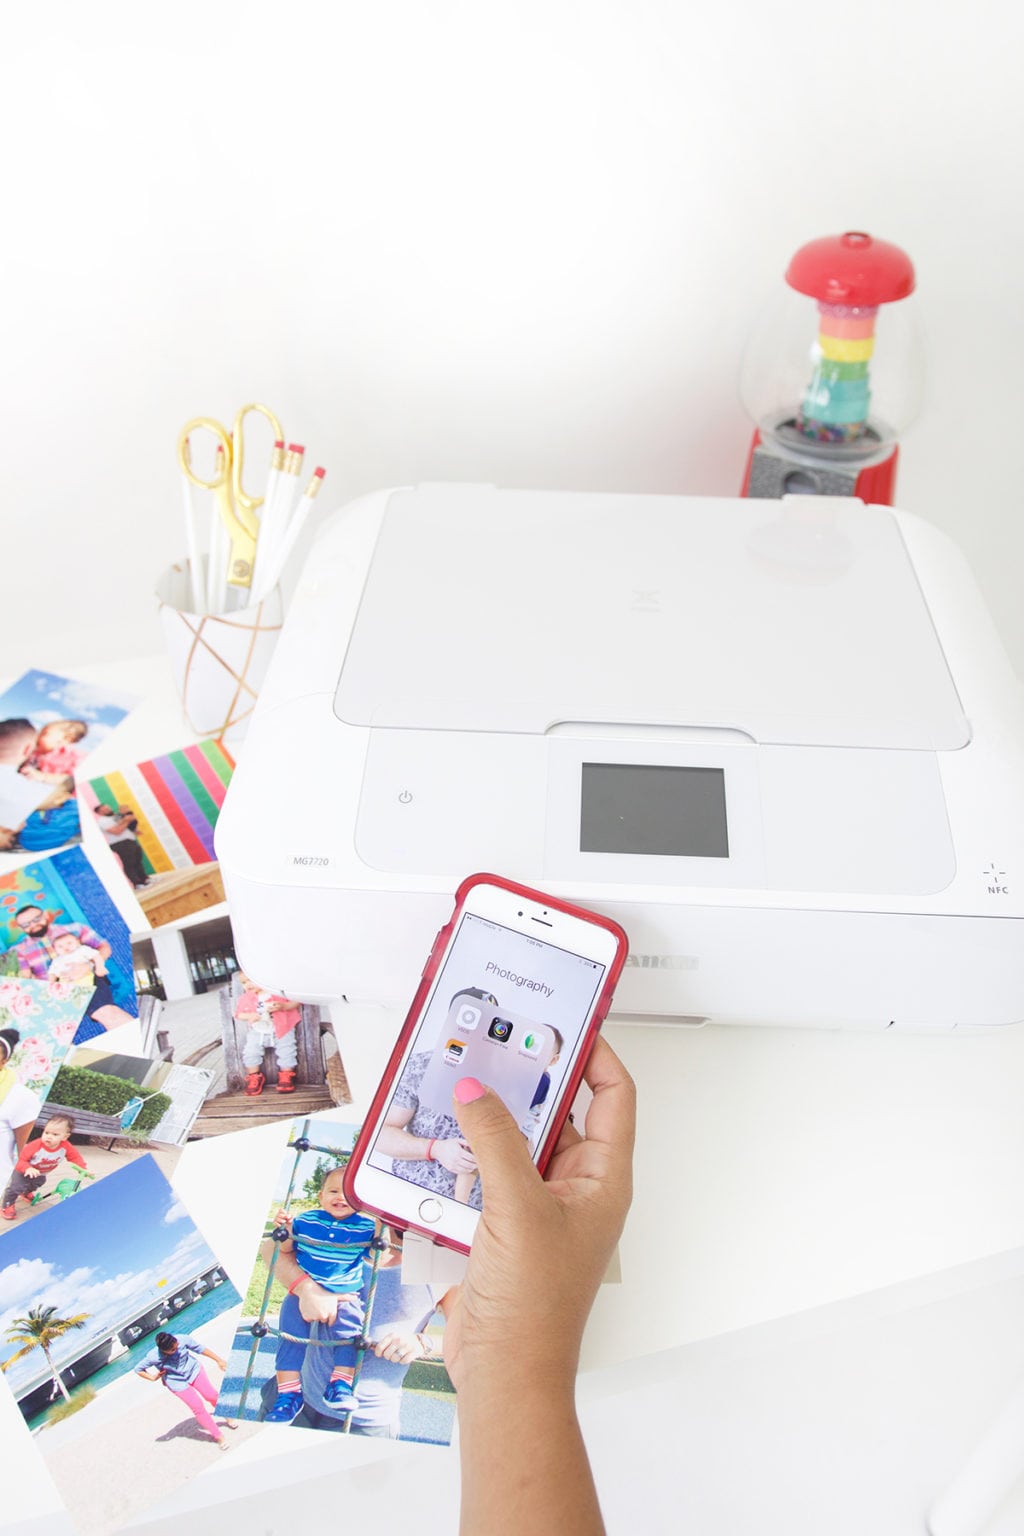
From there, just load the photo paper into the tray of your PIXMA MG7720 and follow the on screen instructions. Once you get started printing from your phone, there’s a good chance you’ll be hooked. You’ll go on a hunt for buried photos that you’d forgotten about. Plus – if you’re like me and you have zero patience for waiting around to receive photos that you’ve ordered online – then this is the solution for you. You can print out your photos immediately.
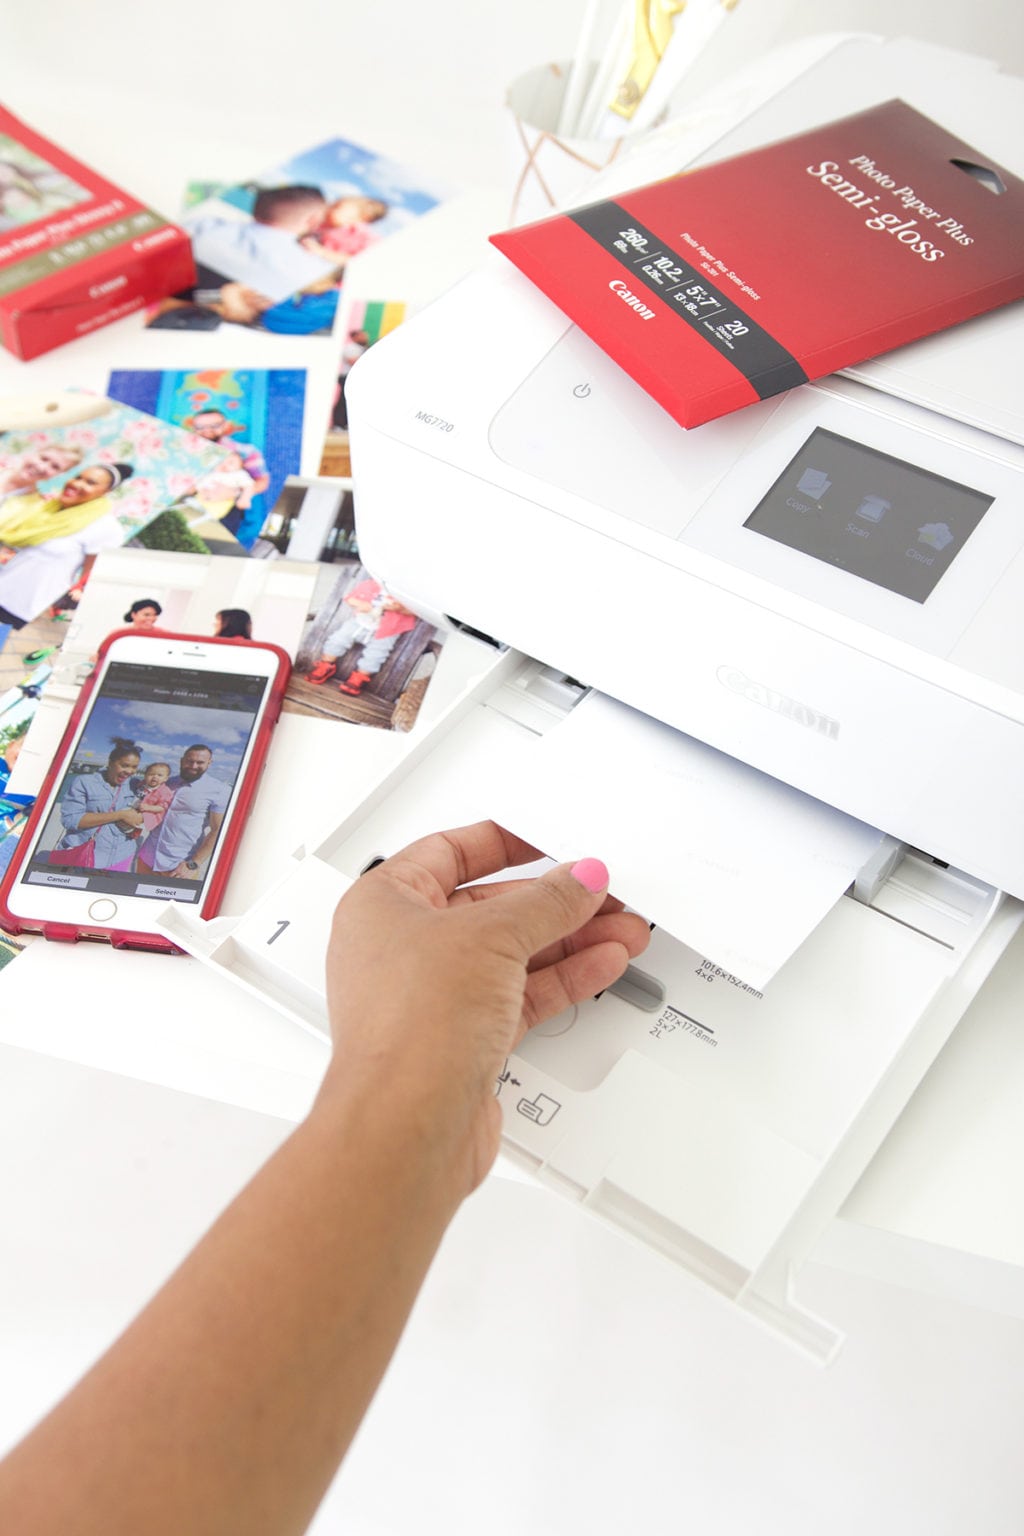
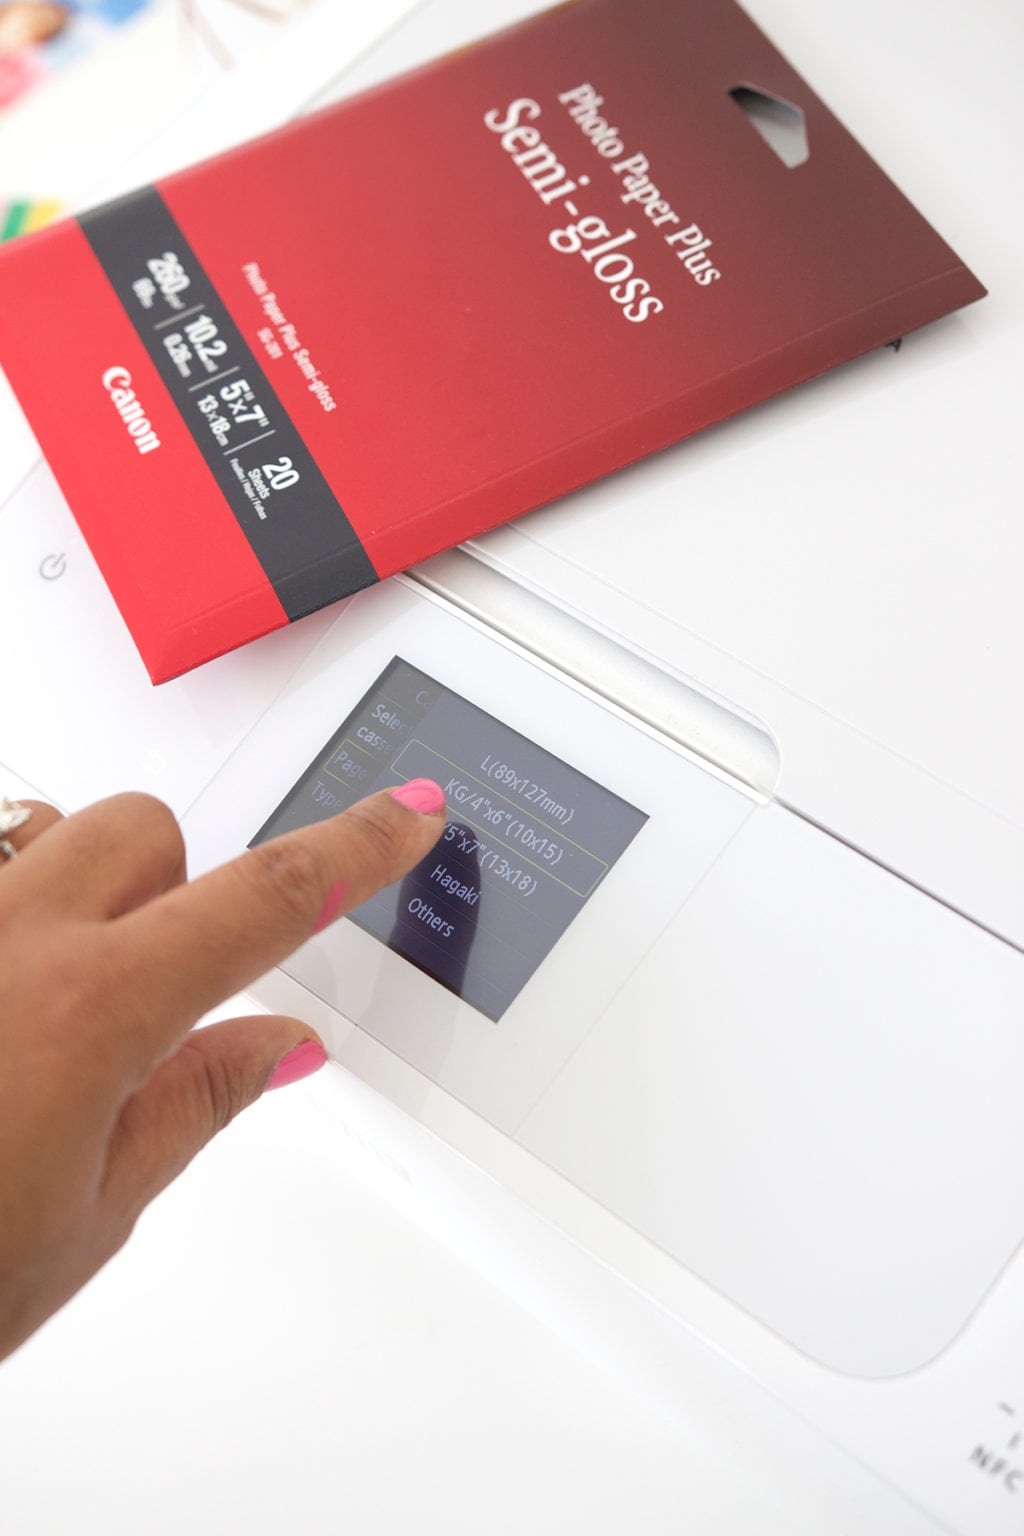
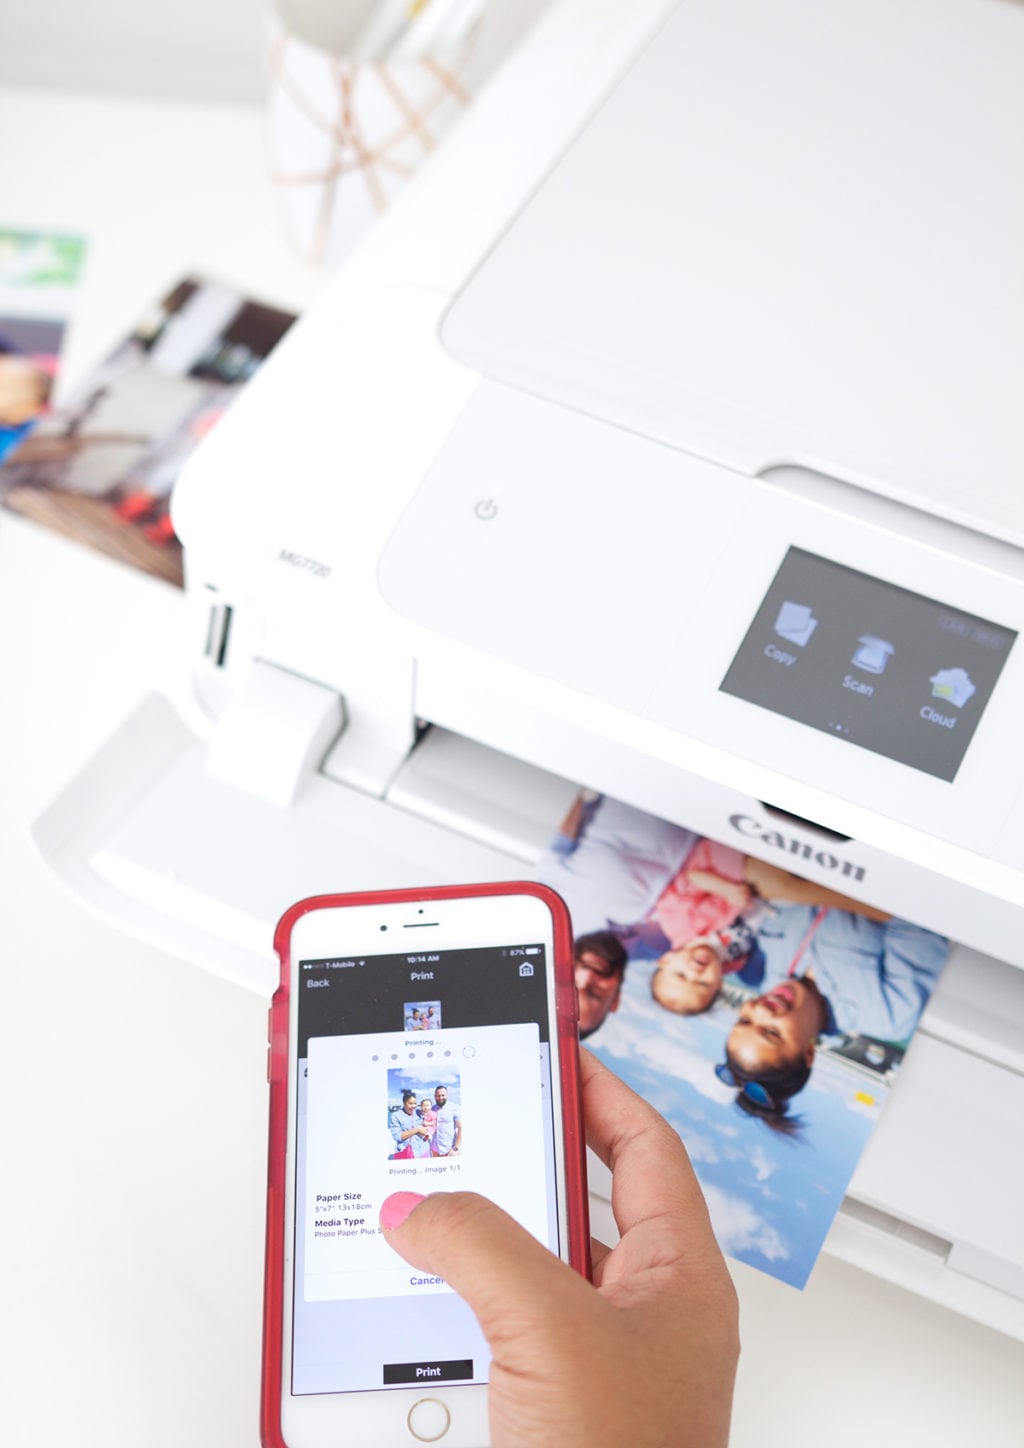
Now that you’ve printed out all those photos, let’s give them a stylish place to be displayed.
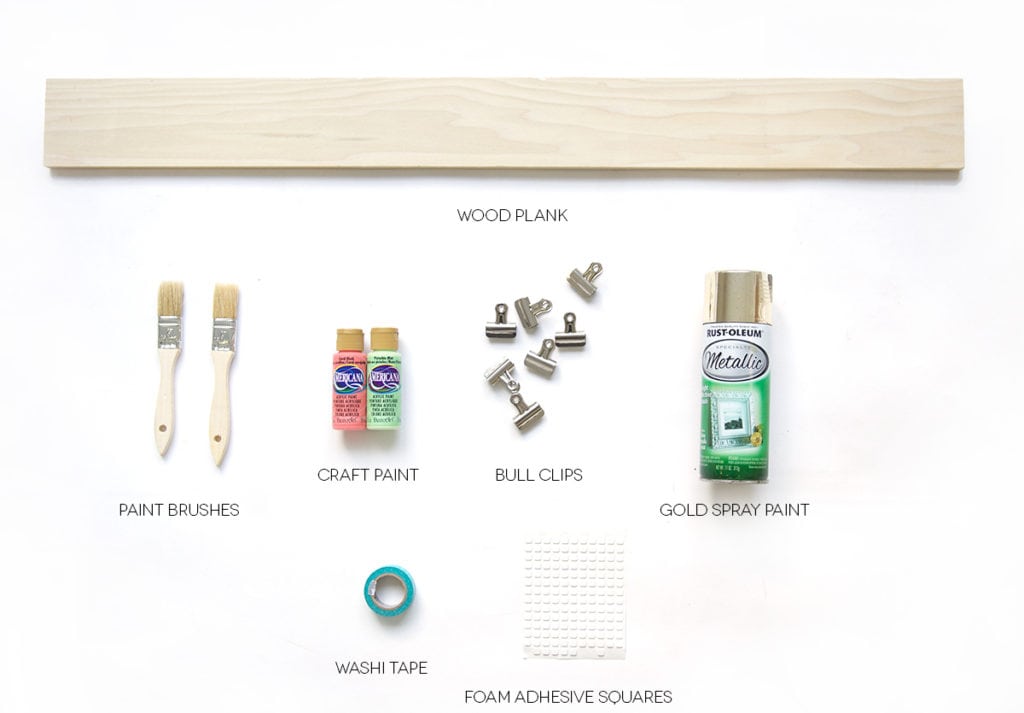
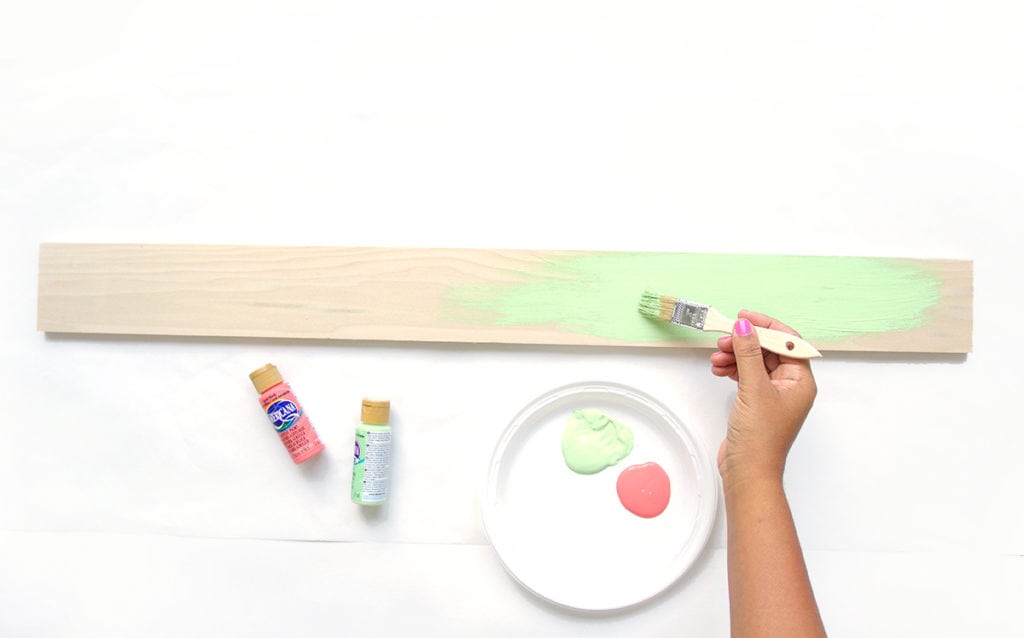
Paint the wood plank with craft paint
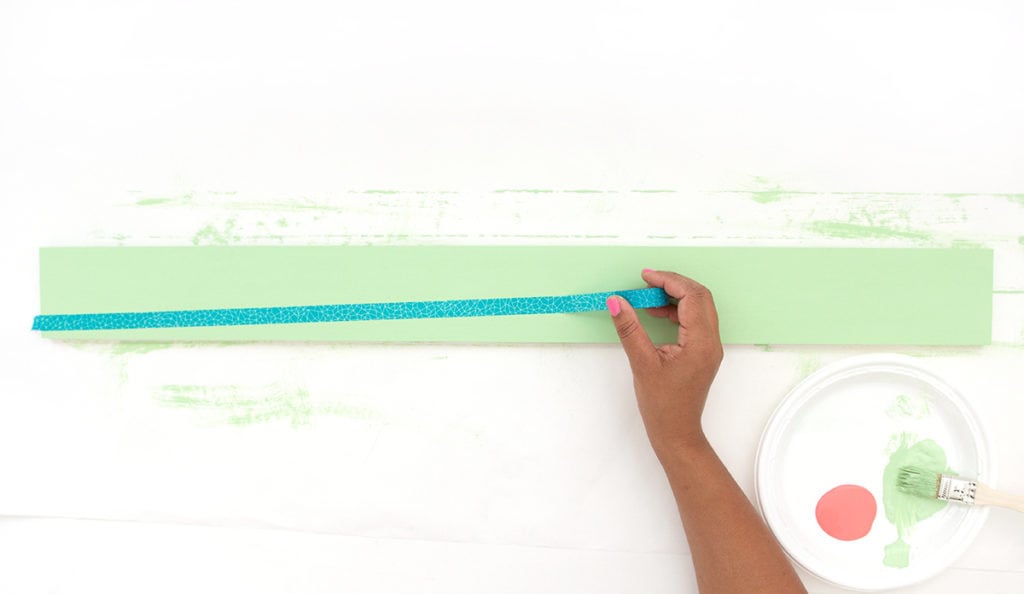
Use washi tape to mask off a diagonal section of the wood plank
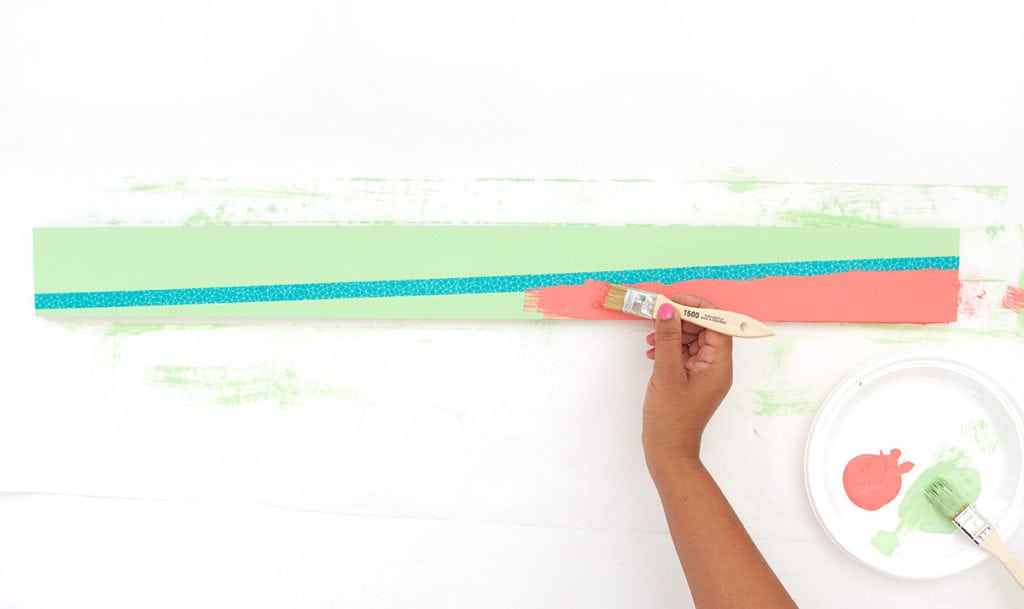
Paint the second color of craft paint onto the wood plank
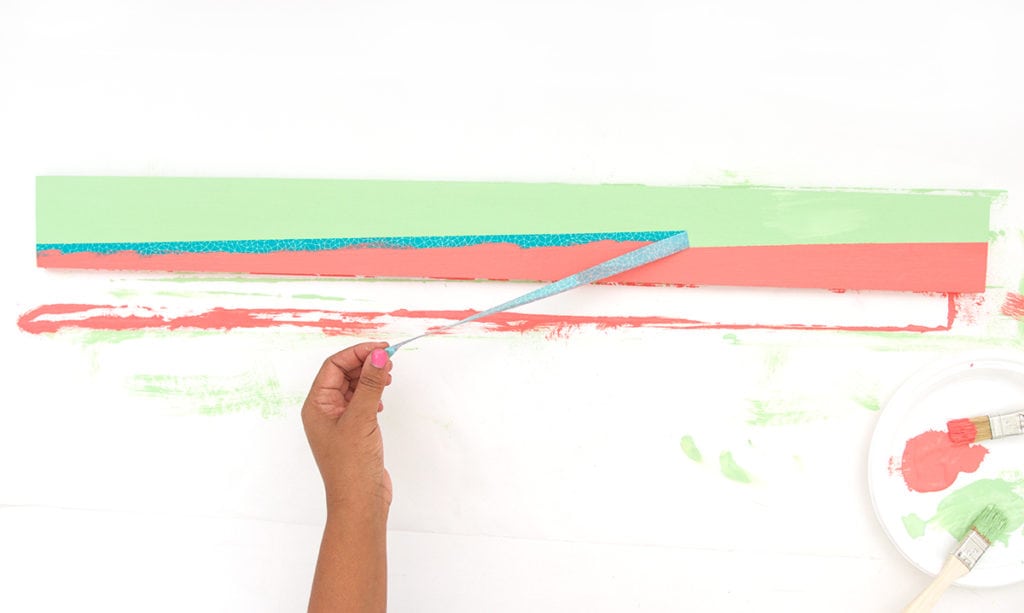
Peel back the washi tape
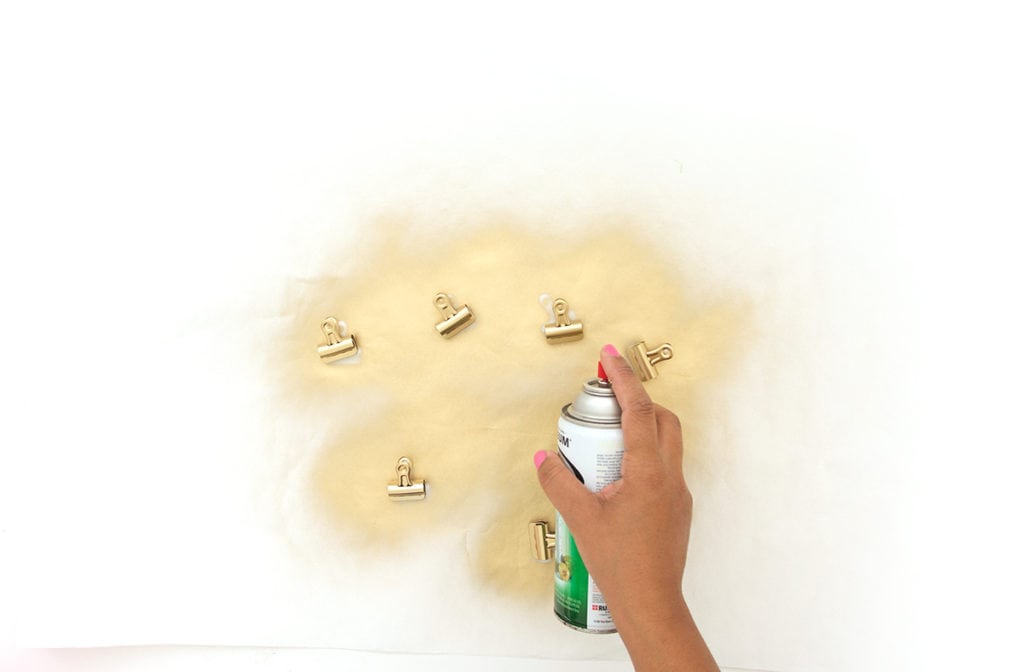
Spray paint the bull clips with gold spray paint. You only need to spray paint the front of the bull clips since the backs will be adhered to the wood plank.
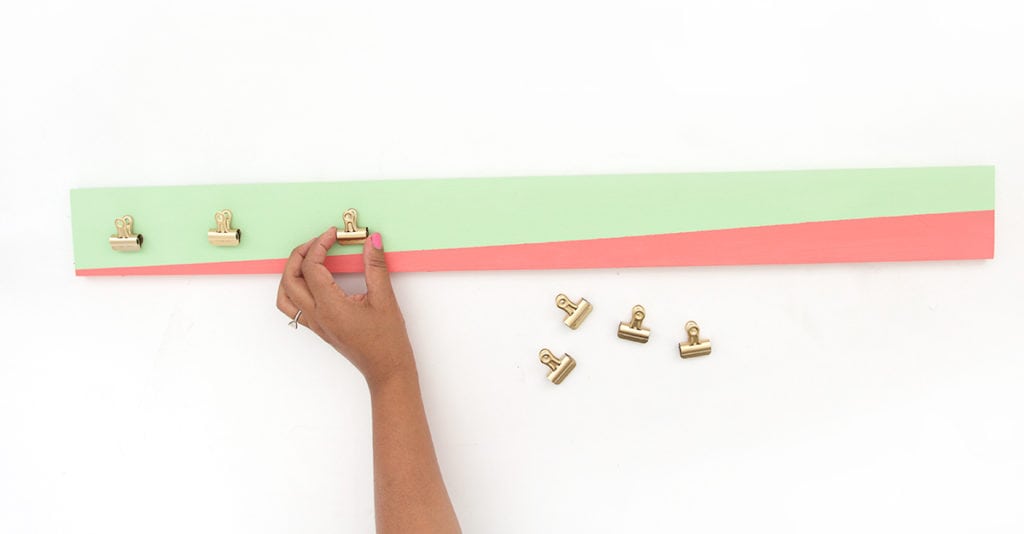
Use foam adhesive squares to adhere the bull clips to the wood plank. You can also use a hot glue gun to do this.
This project was completed in partnership with Canon. All projects, photos and opinions are mine, mine, mine! Thanks for supporting the collaborations that keep the lights on in this joint!





Beste online drogist: Online apotheek Nederland met recept – Apotheek online bestellen
http://kamagrapotenzmittel.com/# Kamagra kaufen ohne Rezept
https://kamagrapotenzmittel.com/# Kamagra Gel
Kamagra Oral Jelly [url=http://kamagrapotenzmittel.com/#]Kamagra Gel[/url] kamagra
https://apotheekmax.shop/# de online drogist kortingscode
Apotheek online bestellen [url=https://apotheekmax.com/#]online apotheek[/url] de online drogist kortingscode
apotek online recept: Apotek hemleverans recept – Apotek hemleverans recept
https://kamagrapotenzmittel.shop/# Kamagra Original
https://kamagrapotenzmittel.com/# Kamagra online bestellen
https://apotekonlinerecept.com/# apotek online
Apotheek Max: de online drogist kortingscode – ApotheekMax
Apoteket online: apotek online – apotek online recept
Apotek hemleverans idag: Apotek hemleverans idag – Apoteket online
https://apotheekmax.shop/# Apotheek online bestellen
http://apotekonlinerecept.com/# apotek pa nett
Apotek hemleverans recept [url=http://apotekonlinerecept.com/#]Apotek hemleverans idag[/url] Apoteket online
Kamagra Gel [url=http://kamagrapotenzmittel.com/#]Kamagra online bestellen[/url] Kamagra Oral Jelly kaufen
https://kamagrapotenzmittel.shop/# Kamagra kaufen
https://apotekonlinerecept.shop/# Apotek hemleverans idag