It’s that time again.
This month the 12 Month’s of Martha crew is crafting with decoupage. Martha recently released a full line of decoupage supplies and my job was to make something awesome…I hope this project makes Martha proud!
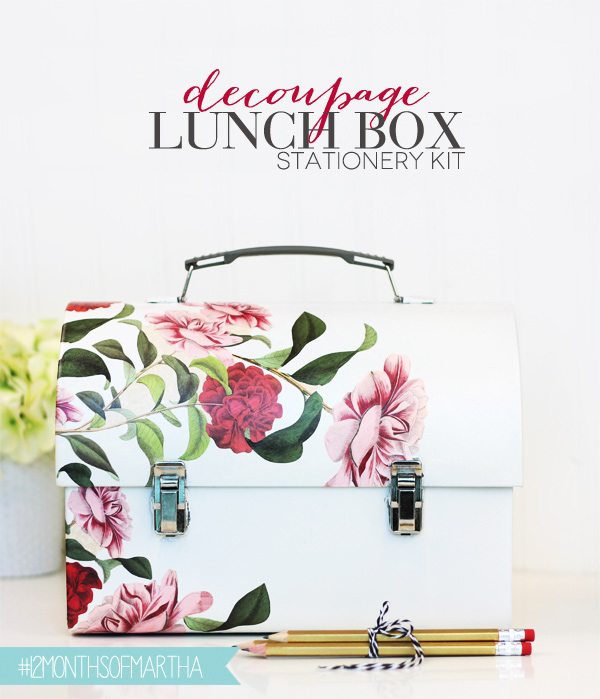
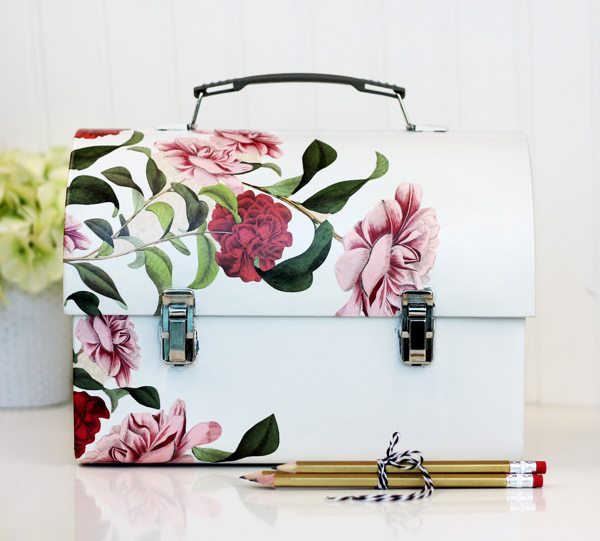
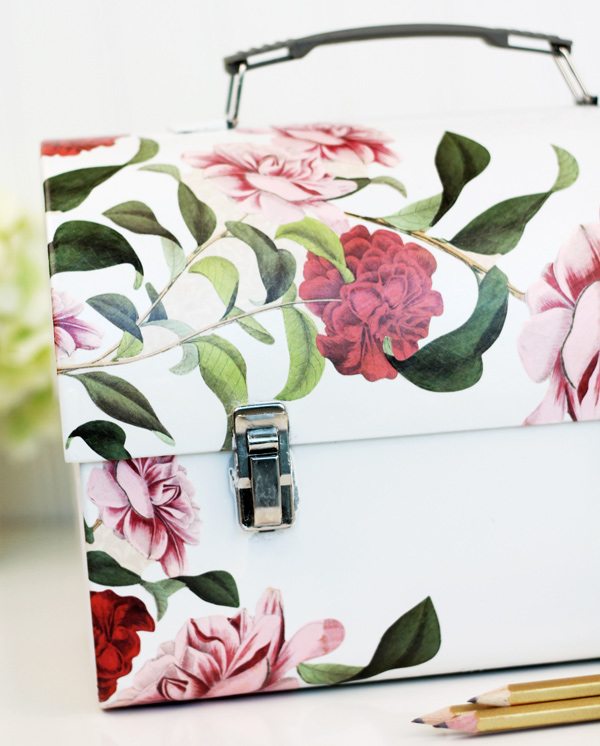
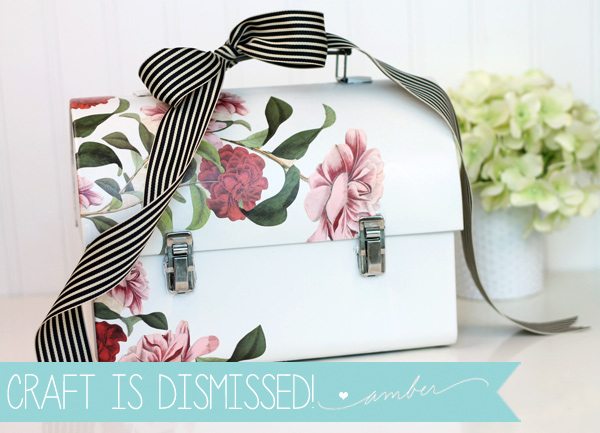
With back-to-school season upon us, I decided to give a sophisticated make-over to a classroom staple…lunch boxes. Thanks to the kind people at www.lunchboxes.com, I got my hands on a snazzy metal dome-shaped lunch box and gave it some decoupage love.
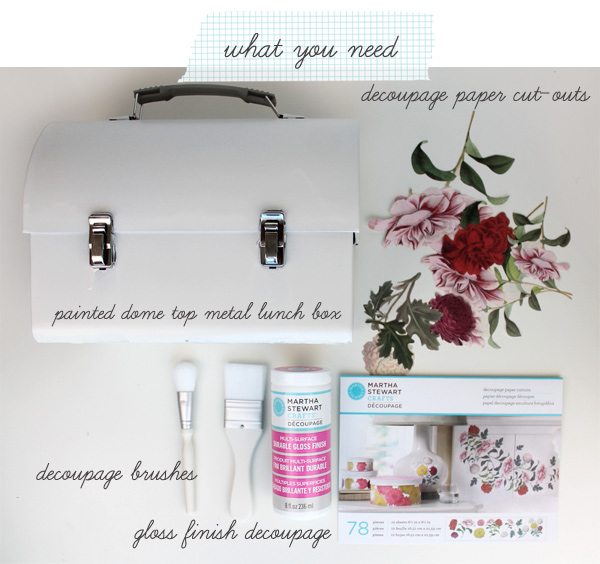 You’ll find all the supplies you need for this project at Michael’s (with the exception of the lunch box). The line of decoupage materials includes pre-cut fabric and paper shapes that make the job of decoupaging very easy. I opted for a gloss finish decoupage paste, but you can also use the matte finish if you prefer. Gotta love options right?
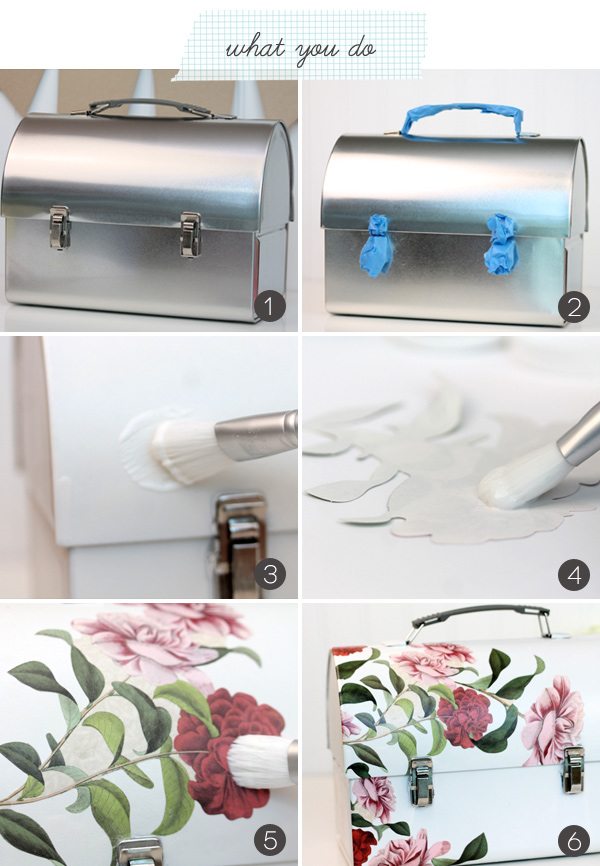 {1} Wipe your metal dome shaped lunch box with alcohol wipes…
{2} Then tape off the handle and latches as shown. From here you can spray paint the lunch box in your choice of color. I opted for using Martha Stewart’s Satin Spray Paint Kit and Summer Linen Satin Paint. For a quick infographic on how to use her spray paint kits, visit THIS post.
{3} Once the spray paint has dried, use your brush to apply a thin layer of decoupage paste to the area where you will placing the paper shape.
{4} Then apply a thin layer of decoupage paste onto the back of the shape
{5} Place the shape and apply a final thin coat of decoupage paste…not too much!
{6} Once you’ve applied all the shapes, allow the project to dry for about one hour, then apply 2-3 additional coats of decoupage paste. Once dry, the decoupage paste will be smooth and have no tackiness.
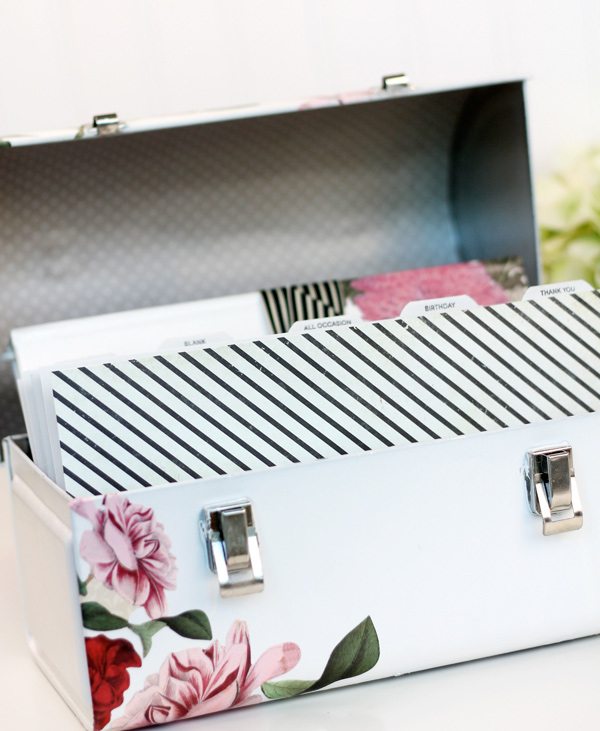
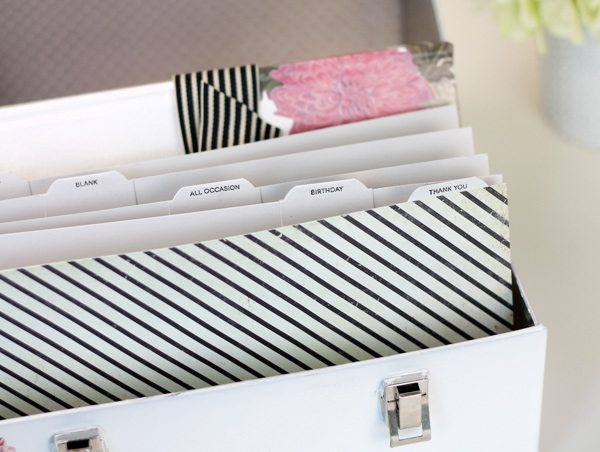
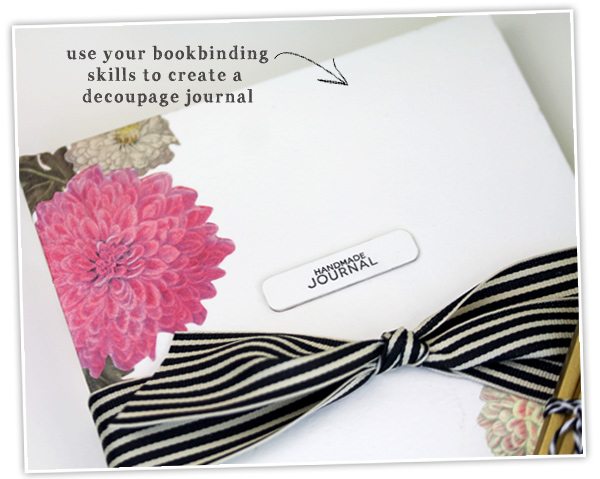
This beautiful lunch box is perfect decoration for your desk, so why not fill it with stationery supplies? I used my stamps to create custom dividers and I also included a handmade journal which I covered with more decoupage shapes.
Creating a decoupage journal is a fun variation on the Bookbinding University lessons on How to Make a Text Block and How to Make a Hardcover Journal. For the cover, I simply added decoupage shapes and coated the entire cover with glossy decoupage paste. This gives the cover a nice smooth finish that will keep it from getting to dirty.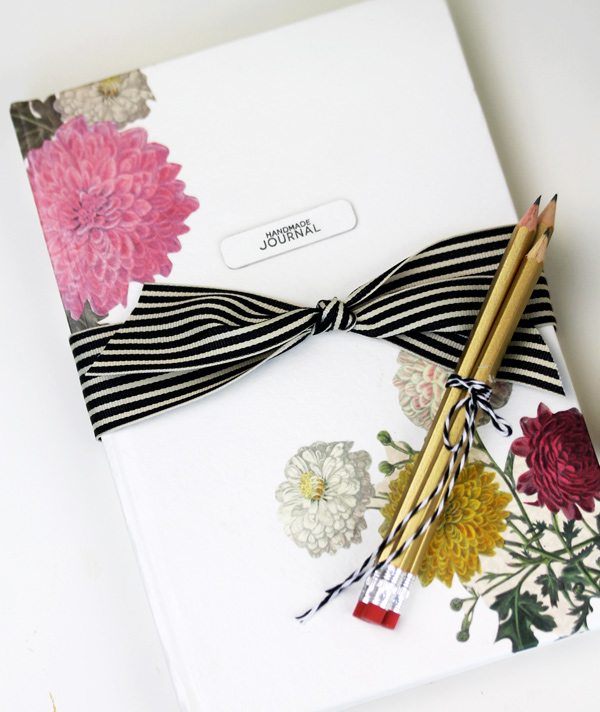
So what do you think?! Are you a fan of the decoupage lunch box? I think this is a really fun and unique way to package lots of gifts and goodies! So tell me…what would you put in your decoupage lunch box creation?
SUPPLIES:
Martha Stewart Glossy Decoupage Paste | Martha Stewart Brush Set | Martha Stewart Floral Paper Decoupage Cut Outs | Clear & Simple Stamps File It : Stationery (for handmade file dividers)





beautiful. love the stripes with the floral
Love it all. You do such beautiful things.
Could that be any more beautiful. I have been looking for something to hold my recipes… this might do the trick!
Definitely a fan, I used to do decoupage, but painted multiple layers of varnish (up to 40 or more) to get a perfectly smooth finish. The decoupage paper is beautiful!
Beautiful! I have never successfully done decoupage- may have to try MS. I would give your bookbinding a try with a journal, and also include some handmade cards (ALWAYS handmade cards with me!). Love your blog!
Amber, this is just beautiful!
This is gorgeous! I love the idea and the pretty floral pattern! Can’t wait to try this DIY.
BEAUTIFUL Ashley. I will keep my eye open for something vintage to work with.
GREAT tips, as usual!
Ssuan
SWOON!! I LOVE this! Such gorgeous florals, and overall outcome…can’t wait to make my first journal gift for someone. Amber, do you think this decoupage technique would work well on a cardboard box like the “nature box” boxes?
~Shae
I would, first of all, make two of these outrageously gorgeous lunch boxes. Secondly, I’m thinking that a little “office organizer” for my car is in order. I’m sure my glove boxes would thank me for unloading it. That second lunch box would definitely go to our church’s Card Ministry organizer …. she needs dividers! and maybe the cute exterior would make it a box that gets left out where everyone would use it! 😉
If Martha isn’t proud she is missing out. Very nice.
Beautiful! My mom made these in the Seventies and we used them as purses!
Speechless – or perhaps “wordless”. Amber, this is stunning 🙂
ADORABLE!!!!!!
Amazing!!!! How can you have so many ideas and so beautiful ones???
I just get sad when I see your the things you do and I can’t experiment because, here in Portugal, we don’t have THAT variety of products you use! That box in particular is AMAZING!
Congratulations: you did it again!
So clever. You’ve got some fantastic tutorials on here. I love the combination of the floral and stripes!
You are amazing! I love your bookbinding skills, such beautiful skills.
Gorgeous. You just inspire me Amber. I need a lunchbox in my life now. It must have decoupage.
Love this post. The box is gorgeous.
What a cute idea! I must make this!
You are so stinkin’ talented! I’m so glad I found your website- but I’ve been here TOO long looking back at all your posts! I’m pinning away! Thanks so much for the inspiration! 🙂
It’s beautiful Amber!
OMG, I think I just fell in love this is such a cute idea can’t wait to try
Amber, I love this lunchbox project and the matching journal! Since learning how to make the text blocks and composition books, I have gone crazy making journals and composition books! I have some of my Christmas gifts made Yeah!…dah, dah, dah, dah, daaaaah…I’m lovin it! You are creatively awesome! Thanks for the inspiration!
loved it! so pretty..
Hey,
Thanks for given information about lunch box stationery kit. I’m happy to read your article. I hope you will soon provide more information about it.
I agree with you that “The line of decoupage materials includes pre-cut fabric and paper shapes that make the job of decoupaging very easy. ” Its really right words. I know that new technology make our life more easy and save our time. I love your blogs. Thank you for sharing information with us.
canada drugs online
http://expresscanadapharm.com/# Express Canada Pharm
best canadian pharmacy online
A pharmacy that genuinely cares about community well-being.
how can i get cheap cytotec no prescription
They stock quality medications from all over the world.
Their mobile app makes managing my medications so easy.
buy cheap lisinopril for sale
A trusted partner in my healthcare journey.
They provide valuable advice on international drug interactions.
side effects of gabapentin medication
A pharmacy that prides itself on quality service.
Generic Name.
where buy cheap clomid without rx
A stalwart in international pharmacy services.
What a charming DIY project — the decoupage lunch box stationery kit is such a creative and stylish idea! Thank you for sharing. Also, for anyone looking into administrative resources or tax-ID systems, here’s a helpful link: https://nifportugal.org/.
What a charming DIY project — the decoupage lunch box stationery kit is such a creative and stylish idea! Thank you for sharing. Also, for anyone looking into administrative resources or tax-ID systems, here’s a helpful link: https://nifportugal.org/.