Crafting with epoxy resin can seem a little intimidating at first, but with Color Pour Resin, it’s actually pretty easy. In this tutorial, you’ll learn the tips and techniques needed to create your own customized monogram resin keychain. This project is incredibly on-trend and will turn your boring keychain into a show stopper.
First, let’s talk about the supplies you’ll need for to make your own resin keychain. (Visit the gallery at the end of this post for images of each product)
- Color Pour Resin & Resin Hardener
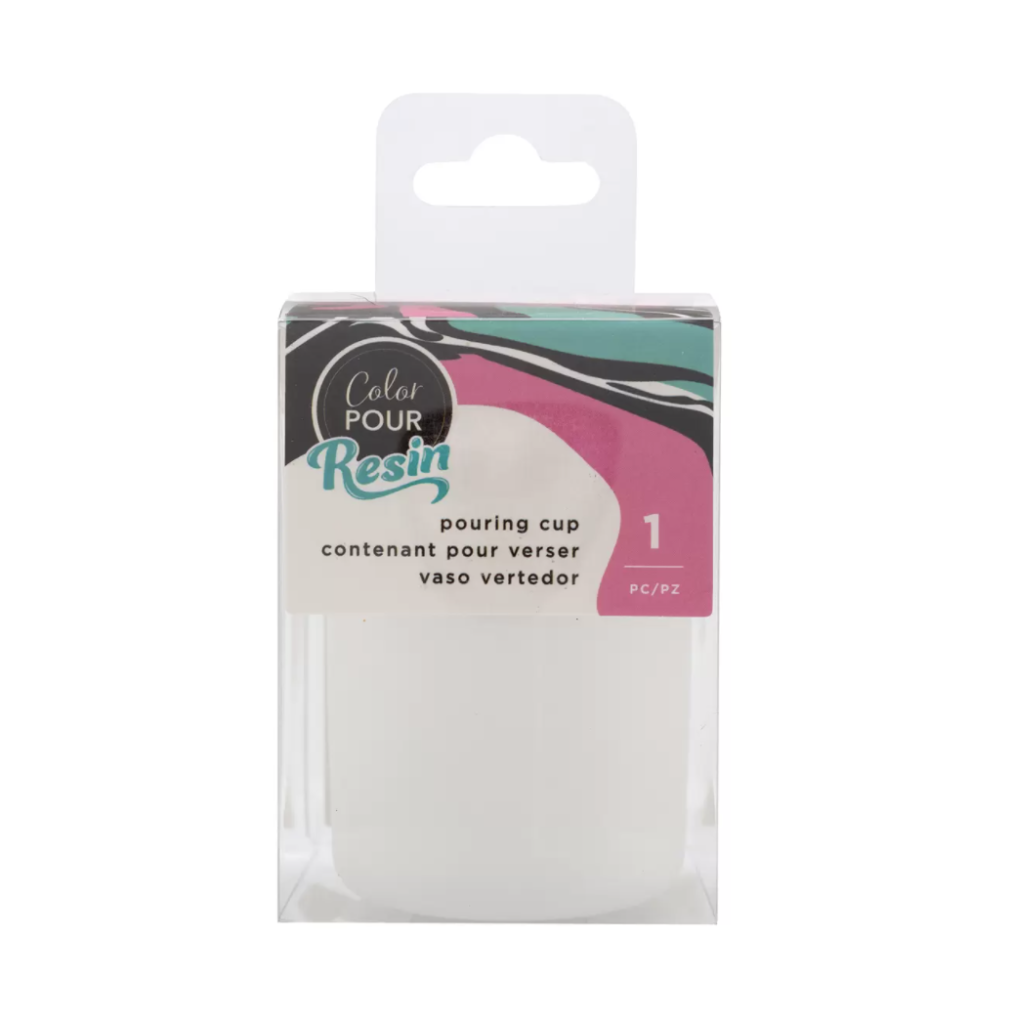
- Color Pour Resin Silicone Cup
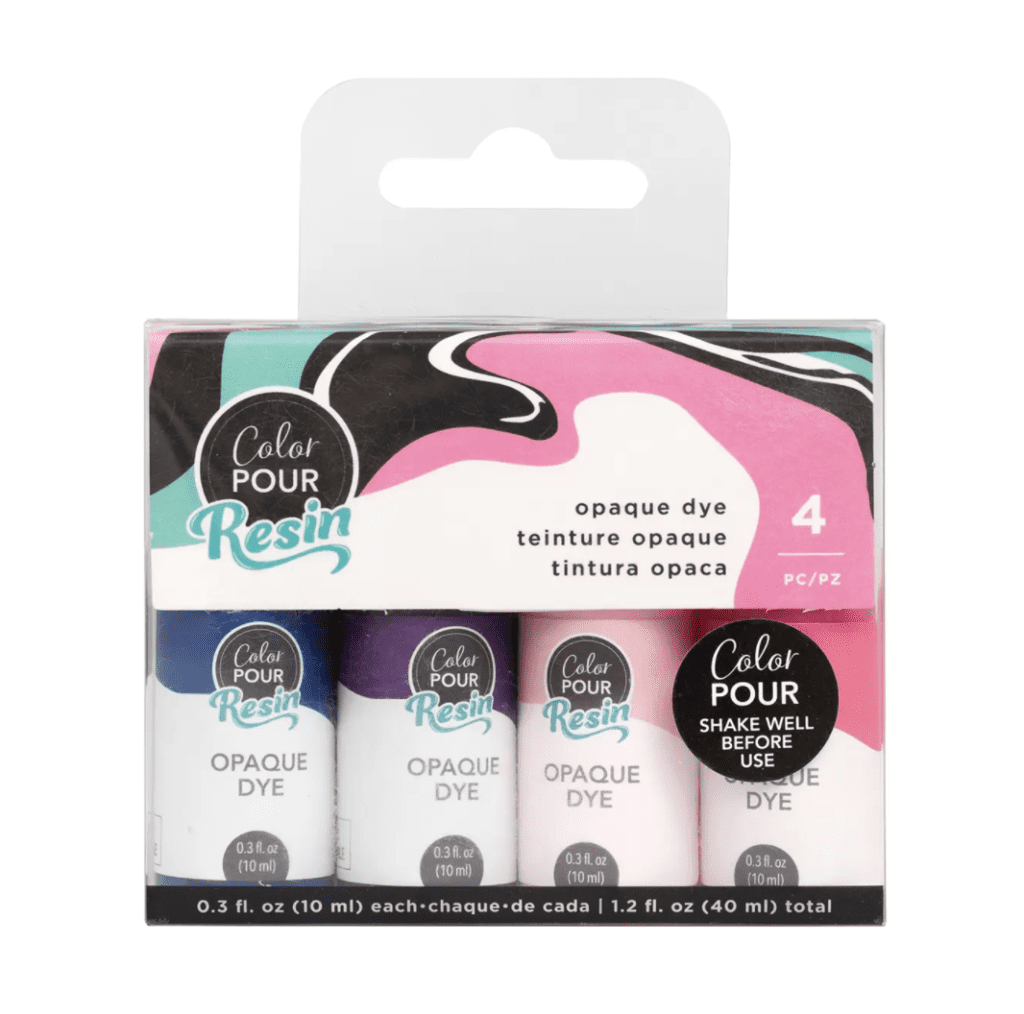
- Color Pour Resin Dye
- Color Pour Resin Glitter Set
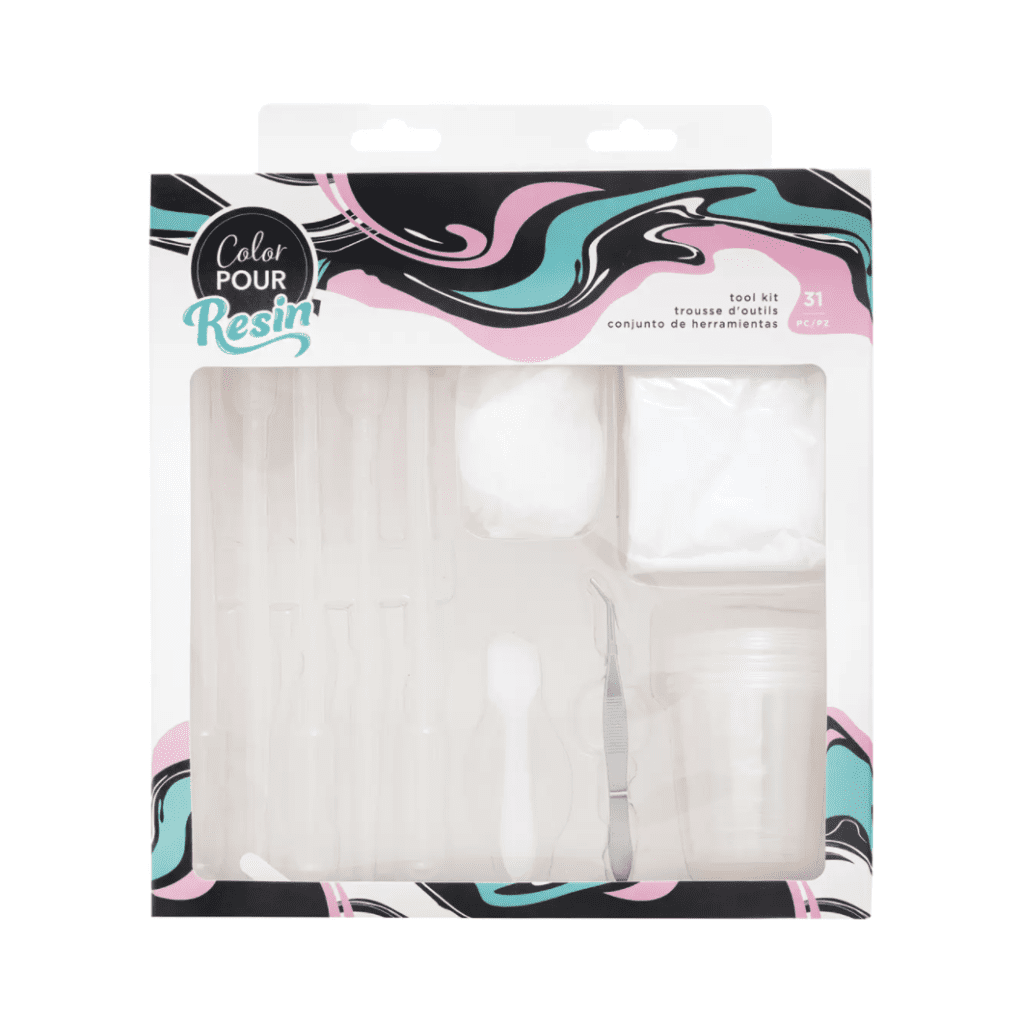
- Color Pour Resin Supply Kit
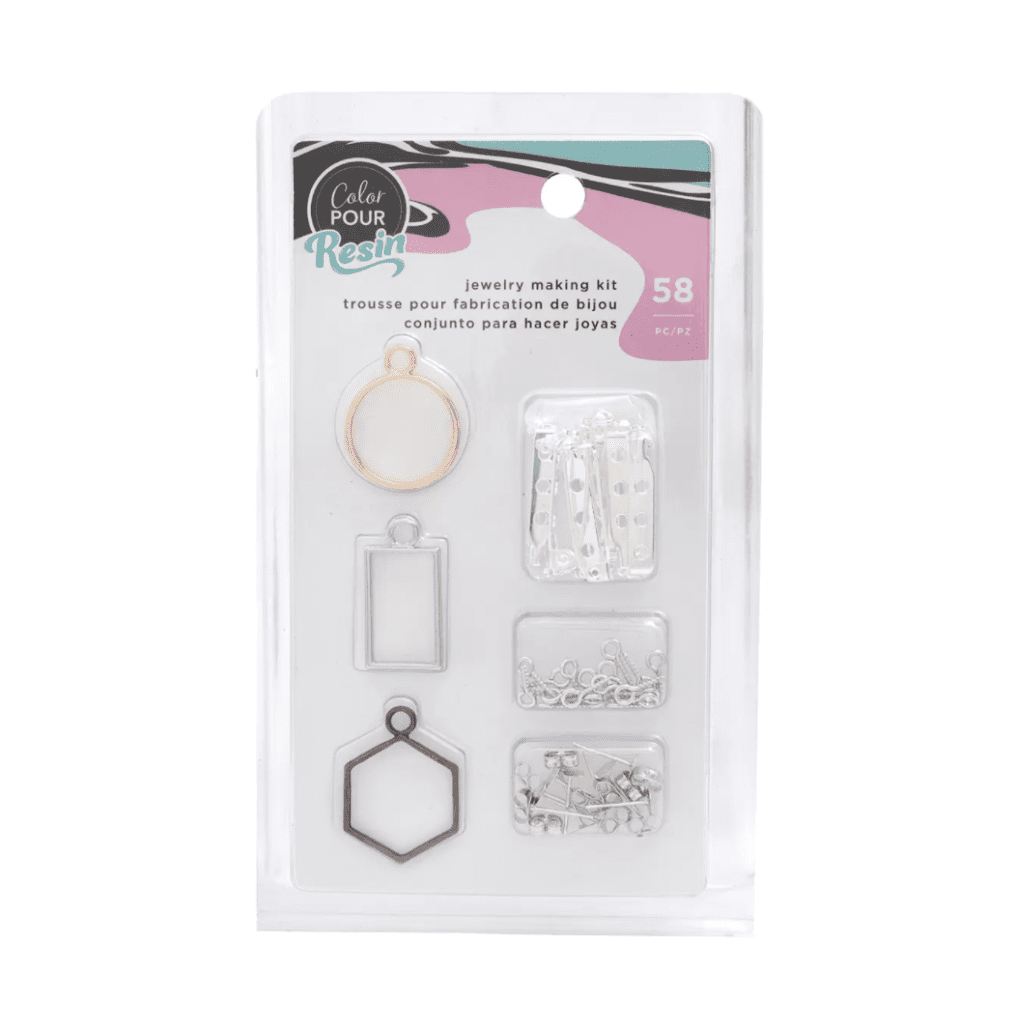
- Color Pour Jewelry Tool Kit
- Alphabet Silicone Mold
- Keychain with screw
Once you’ve gathered the supplies, the rest of this diy project comes together quickly! This quick video shows you everything you need to know about this fun project.
STEP 1: Mix one part resin with one part hardener into the silicone cup. Stir thoroughly to combine together.
STEP 2: In a separate plastic cup (included with the supply kit) sprinkle in glitter (or whatever add-ins you’e using.. Then pour in the resin mix. Last, add in a few drops of dye. Stir thoroughly to completely incorporate.
STEP 3: Slowly pour resin into the silicone mold then allow to cure for 24 hours.
STEP 4: Remove hardened resin from mold.
STEP 5: Use the mini hand drill included with the jewelry kit to drill a hole into the resin letter. Rotate counterclockwise to remove drill from resin letter.
STEP 6: Using the pre-drilled hole as a guide, screw the keychain into place.
Now for a few tips to make sure your resin project is a success!
GET RID OF BUBBLES!
As you stir the resin mix, you may notice bubbles. Use a heat gun to eliminate bubbles. Once, I’ve mixed together the resin, glitter and dye, I like to apply the heat gun to the cup before pouring. This helps liquify the mix even more, making it even easier to pour.
DON’T BE TEMPTED!
A few hours after pouring the resin into the mold, it will start to harden and may feel ready to remove. Don’t disturb it! By touching it, you may leave fingerprints in the almost-cured resin.
VENTILATE!
Resin can release fumes that aren’t great to inhale over an extended period of time. To reduce this concern, make sure you complete your project in a well ventilated area, preferably outdoors. Also, make sure to wear a mask over your face while working with it.
CLEAN UP!
Working with resin can get messy! Even the neatest crafter might get some resin on other surfaces like your phone, skin or other objects. Acetone nail polish or even lemon juice can help clean up the unwanted sticky resin residue.


GST Registration: Need GST Registration in Singapore? JSE Offices offers hassle-free GST registration services to help your business comply with IRAS regulations. Whether you’re registering voluntarily or due to mandatory requirements, our experts guide you through the entire process, ensuring a smooth and efficient application. Stay tax-compliant and avoid penalties with our professional support. Let us handle the paperwork while you focus on growing your business. Contact JSE Offices at +65 9800 5898 or visit JSE Offices to get started today!
This looks like a super fun project! I’ve never tried making resin keychains before, but it sounds easy enough with the right tools. Can’t wait to give it a try and see how it turns out.
Really enjoyed reading this post. Everything was presented clearly, and the message came across perfectly. Great job and keep the updates coming. TMT Cash Online
Situs ini bertujuan untuk memberikan informasi referensi dan penjelasan konten bagi para pembaca.
playme8
This was a well-written and engaging post. The information is clear, practical, and valuable for readers looking for reliable content. Thanks for sharing this! Primo Cares
Simple explanations like this are underrated. Good job. ArenaKings
Khelo24bet is a reliable and user-friendly gaming platform that offers a smooth and enjoyable experience. The website is easy to navigate, games load quickly, and the overall interface feels clean and professional. It provides a good variety of games along with regular offers, making it engaging for both new and experienced users. Overall, the experience is quite satisfying and trustworthy.
Yolo247 is a well-known keyword among users who are interested in online gaming and digital entertainment platforms. Many people search for it because of its user-friendly experience, smooth navigation, and engaging features. The platform is often discussed for its fast performance and variety of options available to users. Overall, Yolo247 continues to gain attention due to its consistent updates and growing popularity among online users.
T20exchange is a reliable and user-friendly platform for online sports exchange. The interface is smooth and easy to understand, even for new users. Market updates are fast and betting options are well organized. I appreciate the quick loading speed and responsive customer support. Overall, it provides a good experience for users who are interested in cricket and other sports trading in a secure environment.
Radheexchange is emerging as a reliable and user-friendly platform with a clean interface and smooth performance. It offers quick access, easy navigation, and a seamless experience for users. Many people are finding it convenient and efficient, making Radheexchange a platform worth exploring for those looking for consistency and ease of use.
Gurubhai247 is an excellent platform that consistently delivers valuable and reliable content. The quality of information shared is impressive, making it useful for both beginners and experienced users. The updates are timely, well-explained, and easy to understand. Gurubhai247 stands out for its dedication, trustworthiness, and user-focused approach. I highly recommend following Gurubhai247 for anyone looking for genuine insights, practical guidance, and a smooth overall experience.
Gold365 is gaining attention as a reliable platform for users who value convenience, performance, and consistency. Many people appreciate how easy it is to navigate and how smoothly the features work across devices. The overall experience feels user-friendly, making it suitable for both beginners and experienced users. With regular updates and a focus on customer satisfaction, Gold365 continues to build trust and attract a growing community of loyal users looking for a dependable solution.
Cricbet99 is becoming a popular choice among users who are looking for a smooth and engaging online experience. The platform is appreciated for its simple layout, fast performance, and easy accessibility on different devices. Many users find it convenient to use, especially because it saves time and offers consistent functionality. With growing interest and positive feedback, Cricbet99 continues to attract users who value reliability and a user-friendly environment.
For my Iphone 13 Pro Max Glass Screen Protector, I only trust glass screen protectors that can actually handle drops. I got one from screenshield.co.nz and it’s been excellent so far. Highly responsive and crystal clear!
Playtech delivers gaming software and digital platforms built for growth. Providing secure infrastructure and reliable user-focused entertainment systems.
Aircon Service Singapore: Keep your air conditioning system running smoothly with our professional Aircon Service in Singapore! From regular maintenance to deep cleaning and performance checks, our skilled technicians ensure optimal cooling and longer lifespan. Book your service now call us at +65 6749 7371 for reliable comfort year-round.
Halal Food Catering: Halal food catering refers to the provision of food and culinary services that strictly adhere to Islamic dietary guidelines. The word “halal” itself means “permissible” in Arabic, and in the context of food, it encompasses a set of principles and practices that Muslims follow in their daily lives. These guidelines govern what is considered lawful and pure for consumption, ensuring that the food is prepared in a manner that aligns with Islamic beliefs and teachings. Planning a Special Event? Let Us Handle the Food! Dial +65 6246 3369 to Create Lasting Memories with Our Top-notch Catering in Singapore.
Accounting Service: Looking for a reliable Accounting Service in Singapore? JSE Offices offers professional accounting solutions tailored to your business needs. From bookkeeping and financial reporting to tax compliance, our expert team ensures accuracy and efficiency. Whether you’re a startup or an established company, we help streamline your financial processes, so you can focus on growth. Trust JSE Offices for hassle-free accounting services with transparent pricing. Contact us today at +65 9800 5898 to discuss how we can support your business with top-notch accounting solutions. Visit JSE Offices now!
Great blog! Very informative and easy to follow. Loved the way the content explains everything clearly. For anyone planning a Chardham Yatra Package, Tours Club India is a reliable option for smooth and well-organized travel.
Fire PE: Fire Retardant PE (Polyethylene) Canvas is a durable, lightweight, and fire-resistant material designed for safety and protection. Ideal for construction, outdoor shelters, and industrial uses, it offers excellent durability, water resistance, and custom sizing options for versatile applications.
I enjoyed reading this; the structure is great. Including more data points or visuals could improve clarity. Tap White Label Solutions.
Feitong FT-501 SART: Advanced Search and Rescue Technology – The FT-501 SART is a cutting-edge maritime safety device equipped with X-band small signal detection and high-efficiency power conversion for reliable and efficient operation.
Great and informative blog post! Really helpful insights here. For anyone looking for trusted Modular Kitchen Manufacturers In Delhi, I highly recommend Ederra Home Studio for quality designs and professional service.
Very informative and well-written blog post. The insights shared are truly helpful. For anyone searching for experienced Divorce Lawyers In Delhi, I highly recommend Sharma And Sharma Advocates for their professional and reliable legal support.
This tutorial makes the process look so fun and achievable. Watching the colors blend together is oddly satisfying, just like hitting Sweet Bonanza at the perfect time.
Very informative and helpful blog post! For anyone looking for reliable Court Marriage Lawyers In Delhi, I highly recommend Sharma And Sharma Advocates for their professional and efficient legal services.
Great and informative blog post! The information shared here is really useful. For anyone looking for the Cheapest Modular Kitchen Price In Delhi, I highly recommend Ederra Home Studio for affordable and quality kitchen designs.
Great and informative blog post! The insights shared here are really helpful. For anyone looking for a high-quality Outdoor LED Video Wall, I highly recommend Yotech Infocom Private Limited for their reliable products and professional service.
Great and informative blog post! The information shared here is really useful. For anyone looking for trusted Eye Care Medicine Manufacturers In India, I highly recommend UK German Pharmaceuticals for their quality products and professional service.
Spot on! Everything you said resonates. Bizarre Lineage covers Bizarre Lineage with the same level of accuracy.
Appreciate the effort in this article regarding pearland texas best places to live.
I see some interesting information here ! Thanks to share with us !
The framework is informative, but expanding on how retention-based content improves lifetime value would strengthen player engagement strategy. iGaming Player Retention And Engagement Strategy
Just visited Rom Thai Spa and it truly feels like the Spa In Udaipur for complete relaxation! Loved the ambiance.
If you’re searching for the Best Dentist Santa Ana CA, this clinic truly stands out. Their team provides professional and personalized dental care, making every visit comfortable and effective.