I’m not what you’d call a “tree-hugger” – I could stand to go a bit greener around here, so it’s totally weird and unreasonable that I’ve never carved my name into tree. Why? Because I think the tree probably doesn’t like that too much. I mean, how would you like it if people carved AD + AKG on your legs. Umm…I imagine you’d hate it. So there you go…if you didn’t already consider me to be a complete basketcase – you can go ahead and file me under “certifiable” after this little disclosure.
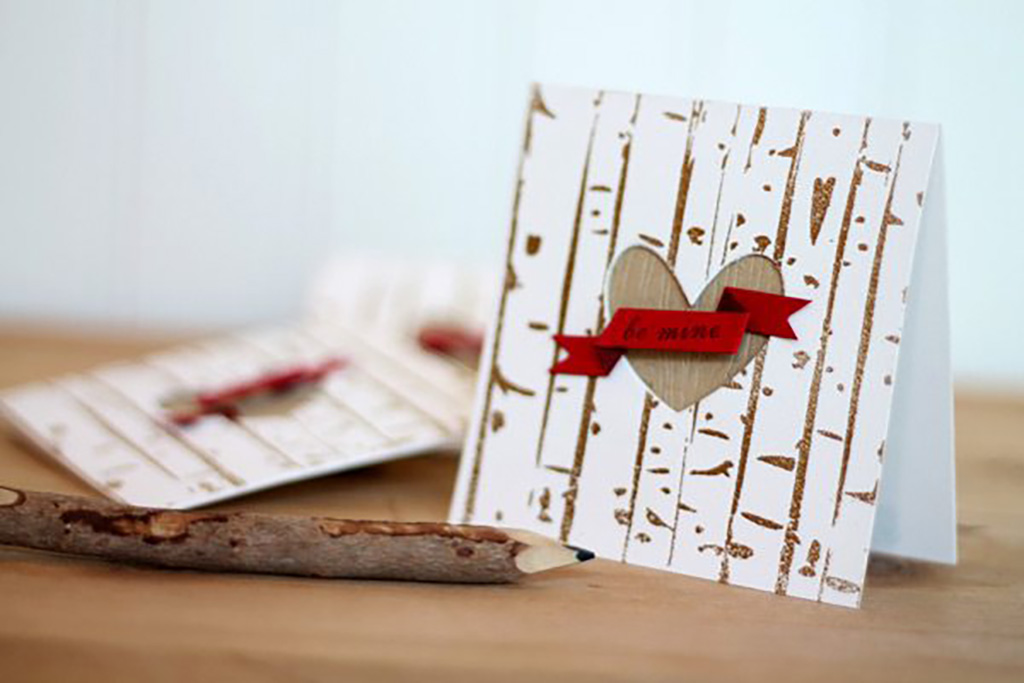
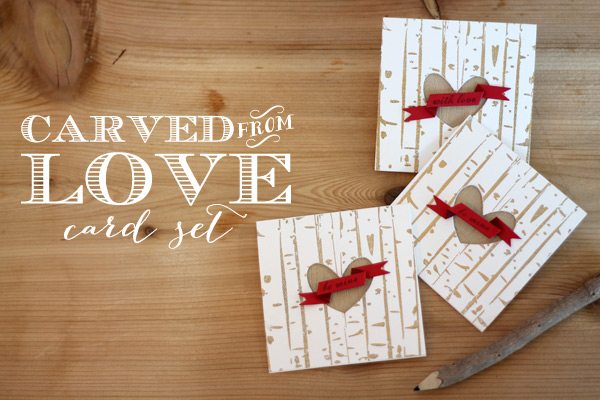
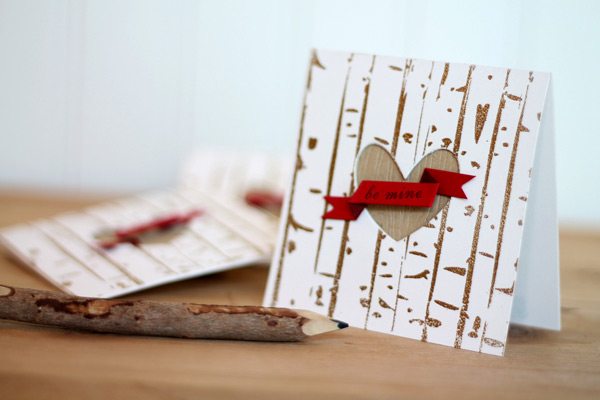
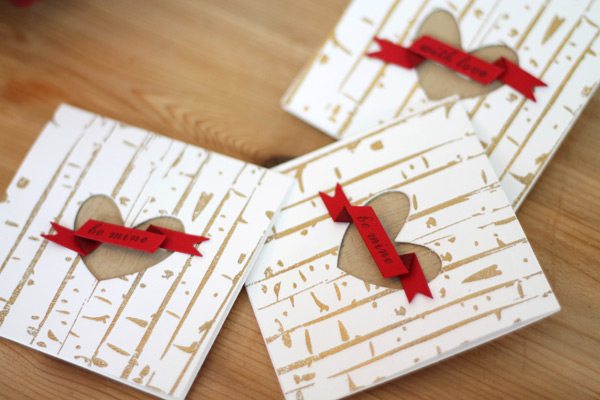
Today’s card set features the pretty, pretty Birch Trees background stamp from Clear & Simple stamps. I love it…and when you emboss it in gold…well, it’s just awesome. I was inspired by the carvings that you often see in tree trunks…but no actual trees were harmed in the making of this set. (Actually, considering I made these cards from paper, which came from trees…I suppose that’s not true. Welp. I’m a total hypocrite).
On each card, I die cut a heart and backed it with woodgrain embossed cardstock. To finish the design, I added these adorable & incredibly simple banner embellishments. I guess after this week’s Paper Ribbon Banner post, I’m still in a banner state of mind.
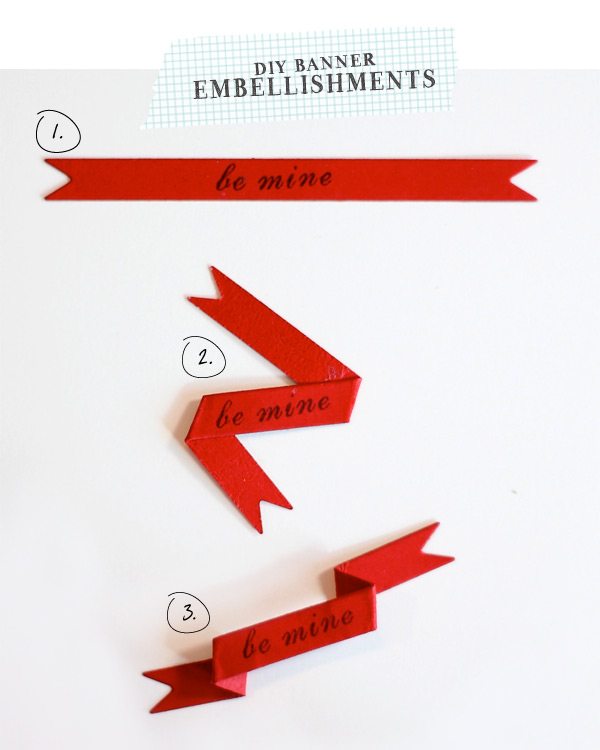
{1} Stamp a die cut banner from cardstock and stamp with your sentiment of choice.
{2} Fold the ends in opposing directions as shown.
{3} Fold ends back on themselves at an angle to create the look of a cascading banner.
TIP: Color the back of the banner with a dark maker (On this project, I used a dark brown marker). This creates depth in the look of your banner.
SUPPLIES:
Birch Stamp | Favor Flag Dies | Imprints 4 Impression Plate | Shapes: Hearts Die Collection
Thanks so much for stopping by today! I’ll see you tomorrow for the first installment of the Fiskars “Fuser’s Manual” Video & Tutorial series!



Amber, your stuff is AMAZING. I’m totally a paper girl, I’ve been obsessed with notebooks, cards, and all things pretty for as long as I can remember (even as a child, from your minted Valentine post it sounds like we have that in common!), but you have refined your love and skills into something simply stunning. You inspire me to go whip up some lovely handmade Valentines and send my family members little pretty personalized cards…although I sincerely wonder if mine can turn out anything like yours at all without all your awesome equipment? You’re also a blogging genius, an entertaining writer, and an open book, and I love that. I just had to stop by and see your lovely site after you were so kind and shared my photog tips post from Doe a Deery on facebook. Thanks so much for the shout out!! You better believe I’ll be passing your awesome site onto friends! Can’t wait to see more of your posts, what a beautiful blog you’ve built!
Love the gold embossed birch with the pop of red! Great idea to emboss in gold as totally changes the look. WTG and thanks for the tip on the folded banner inked on the back. : )
BREATHTAKING!
Too cute!!!
Just like the sticky-backed Post, It notes you can attach to your desk or monitor, the Stickies app can help you remember bits of information like phone numbers, appointments, and URLs.
This wikiHow teaches you how to create and manage virtual sticky notes on your Mac.