There have been roughly five times in my life when I decided I was going to take up sewing as a serious hobby. The first time, was in college when I was going to make a cover for my sofa. That never happened. The second time was in grad school when I was going to make my own duvet cover. That never happened. The third time happened a few years ago when I was going to make clutch purses for each bridesmaid in my wedding. That one actually happened. I made four custom bags. I will never made another clutch again.
Moral of the story is this: After three failed attempts to take up sewing, I now have a pretty respectable stash of fabric. Today I’m using them in a no-sew project that is perfect for National Letter Writing Month.
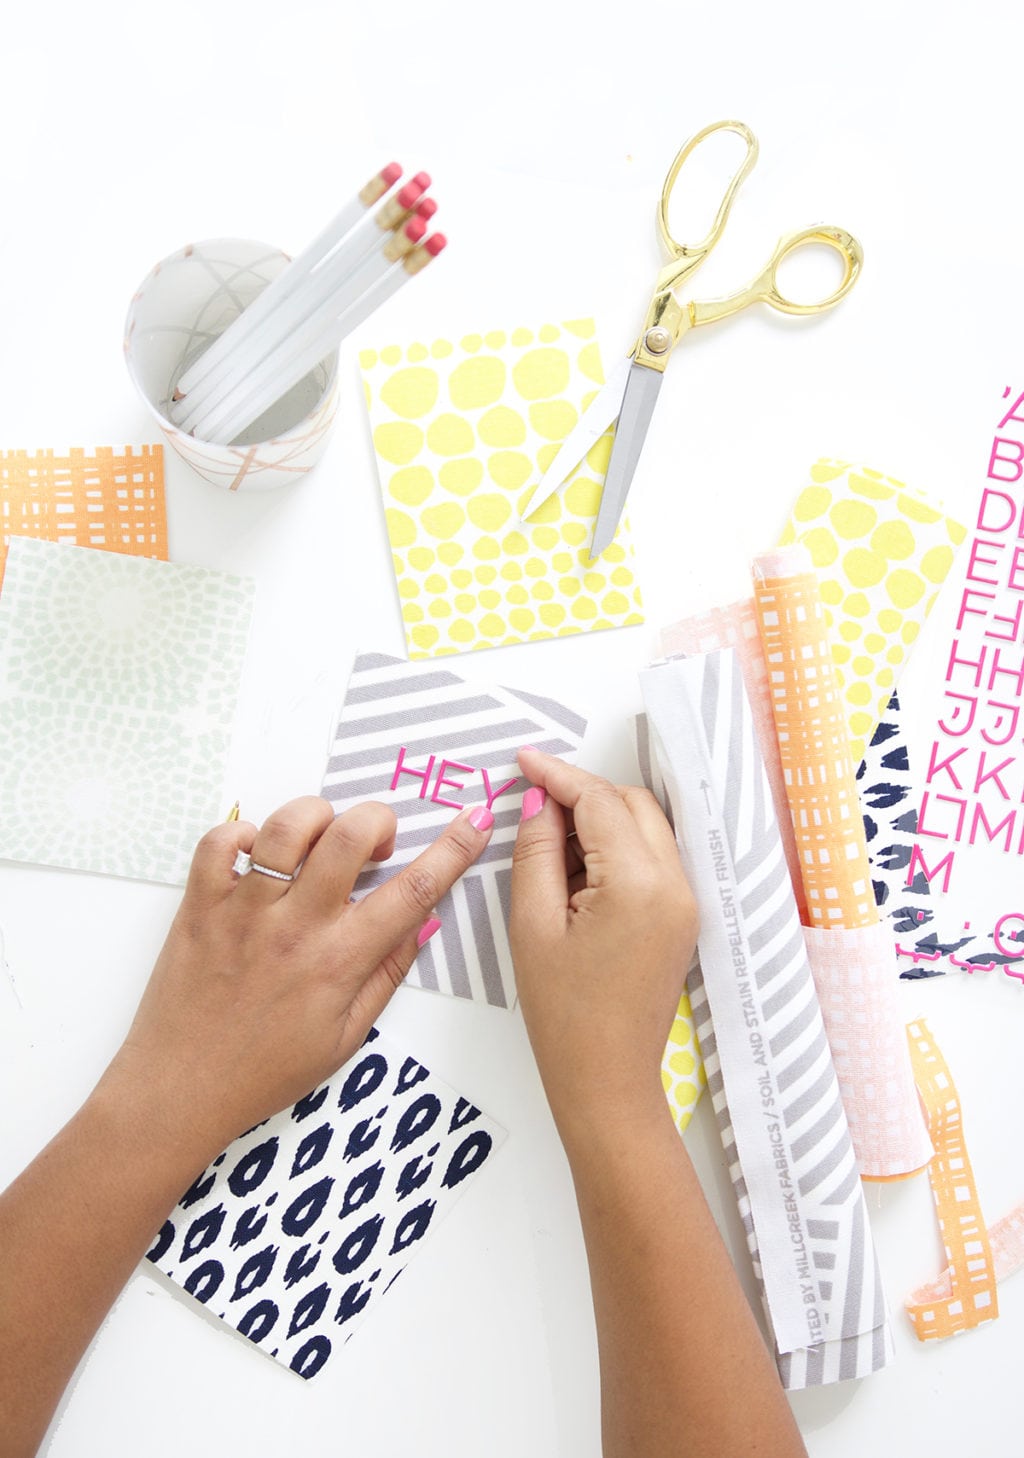
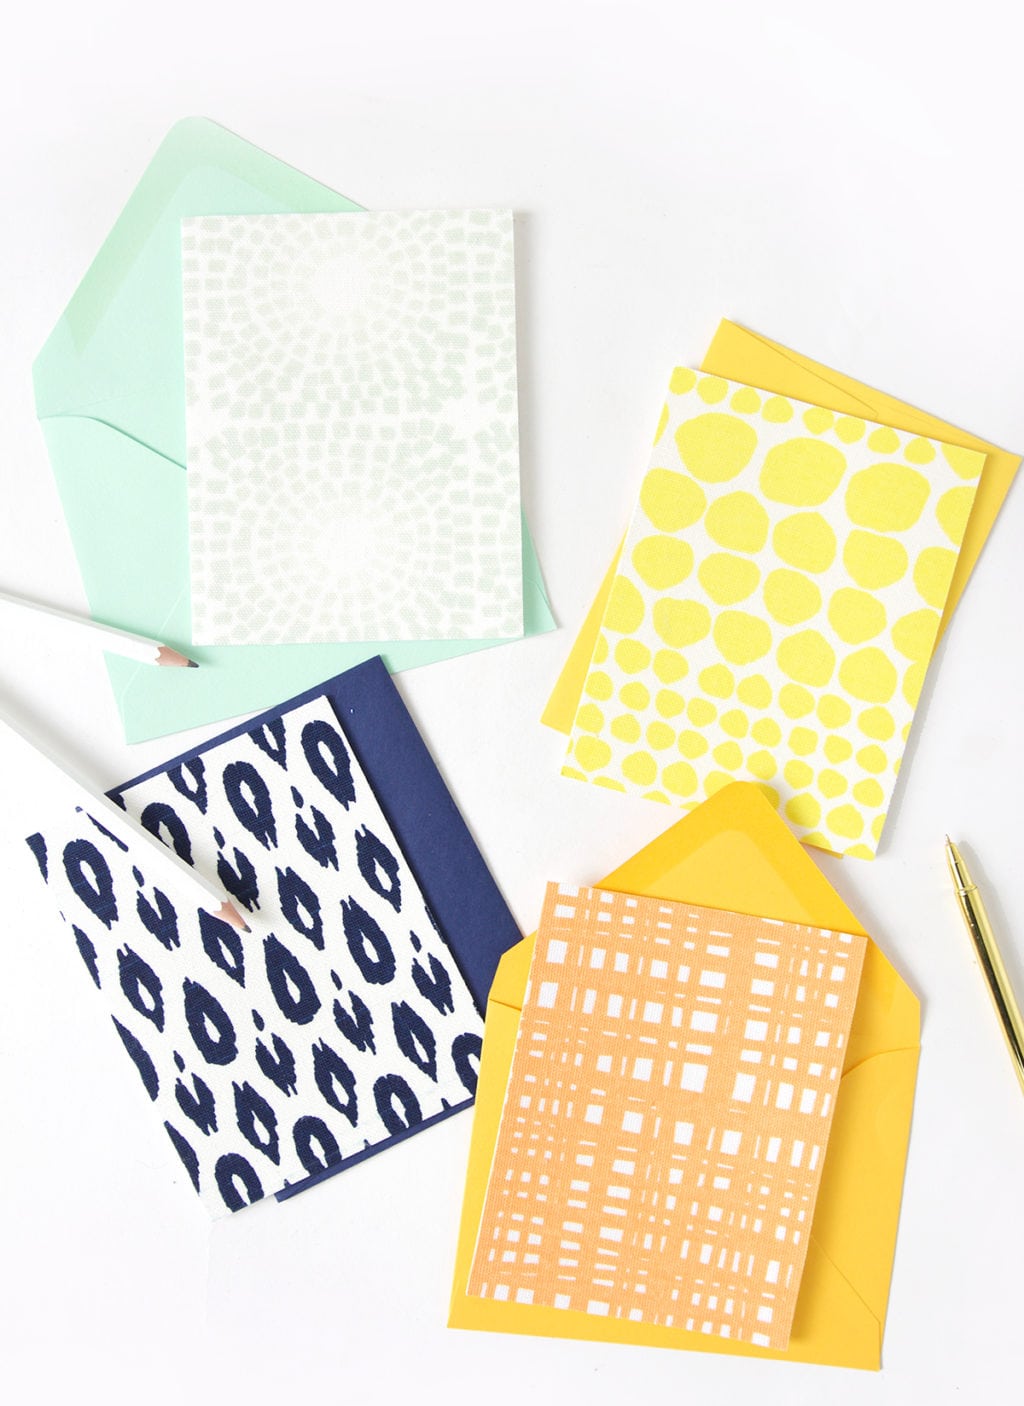
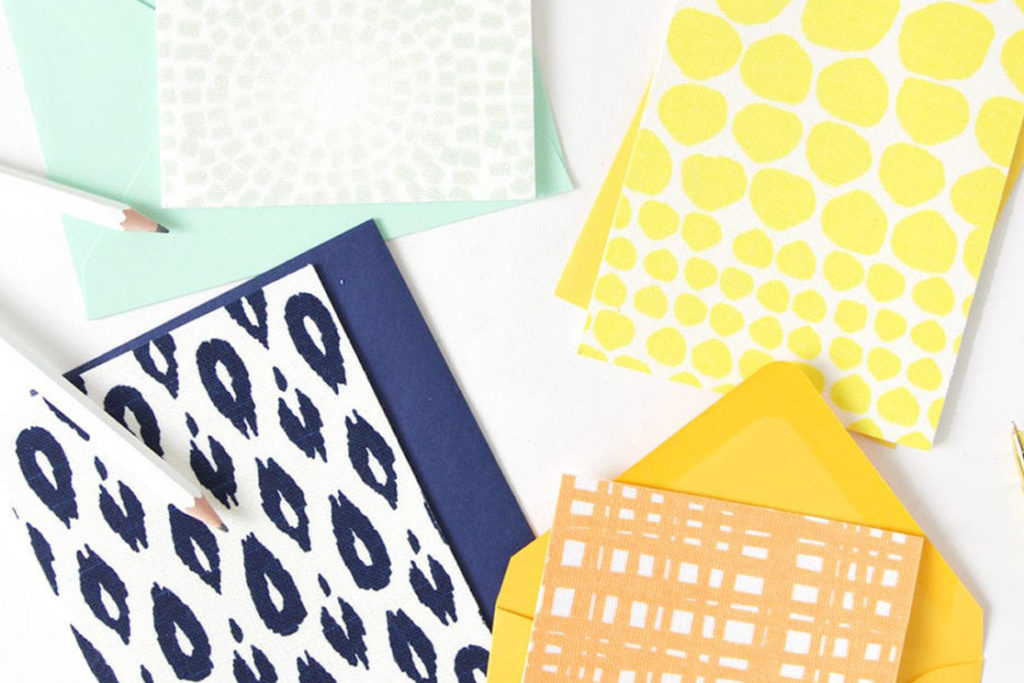
Fabric cards are simple to make, but the finished texture is something you don’t expect on a piece of stationery. Let me show you how easy they are to make:
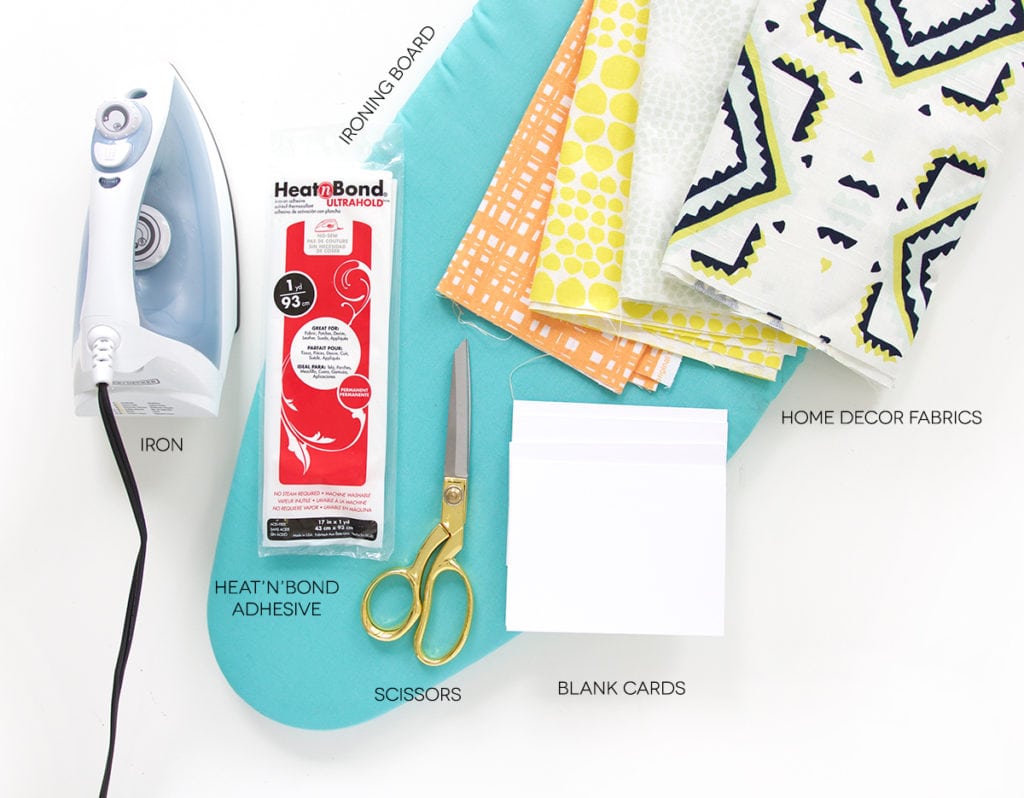
You’ll need:
- an iron & an ironing board
- heat n bond adhesive
- fabric scraps (I recommend Home Decor style fabrics, since they typically have a bit more texture to them)
- Blank cards
- scissors
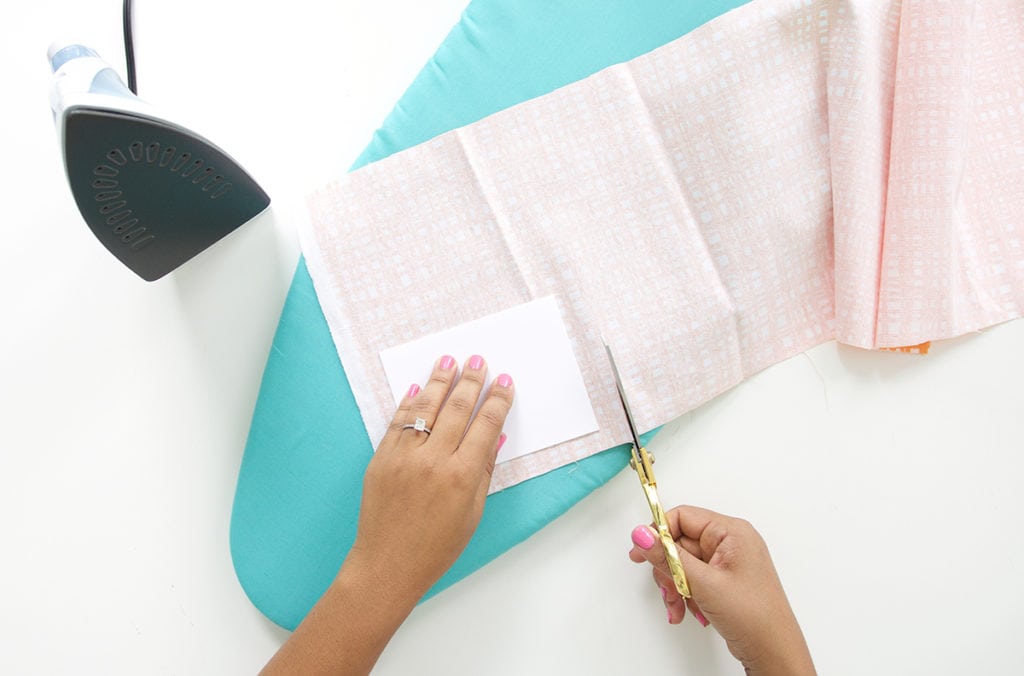 Cut a piece of fabric that is slightly larger than the blank card.
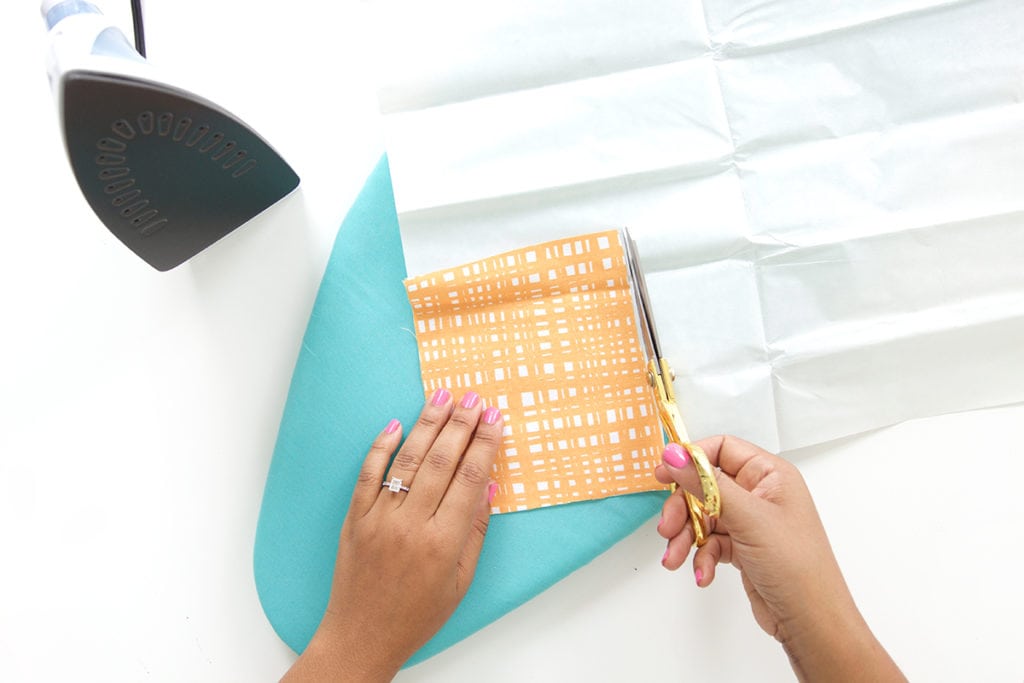 Cut a piece of Heat’n’Bond that is the same size as the fabric.
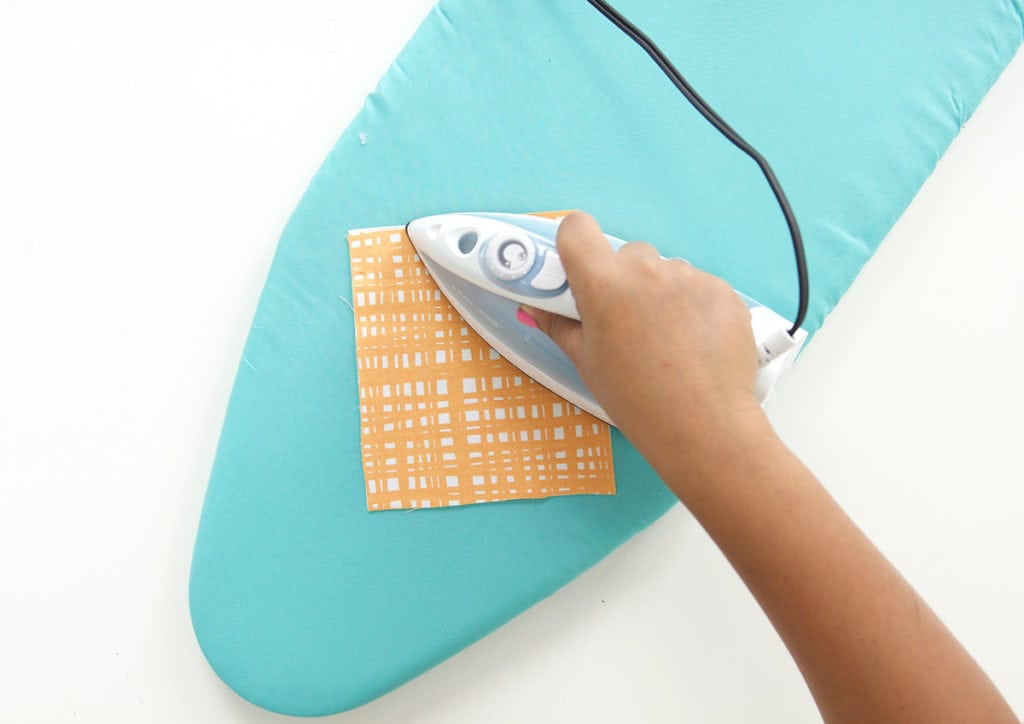 Iron the fabric onto the shiny side of the Heat’n’Bond.
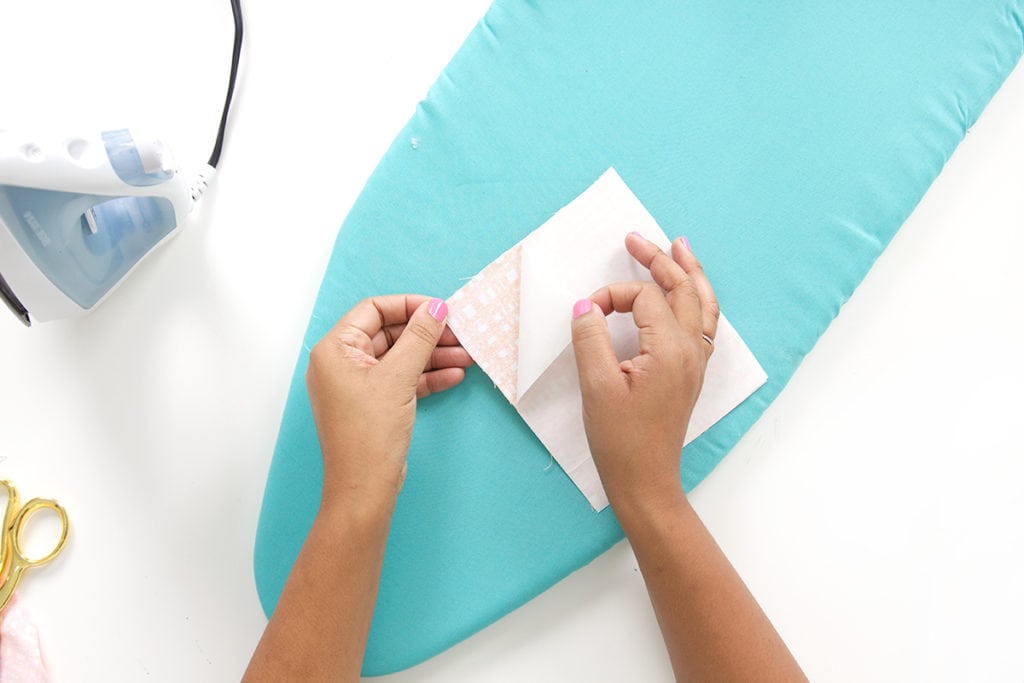 Once cooled, peel back the paper backing of the Heat’N’Bond.
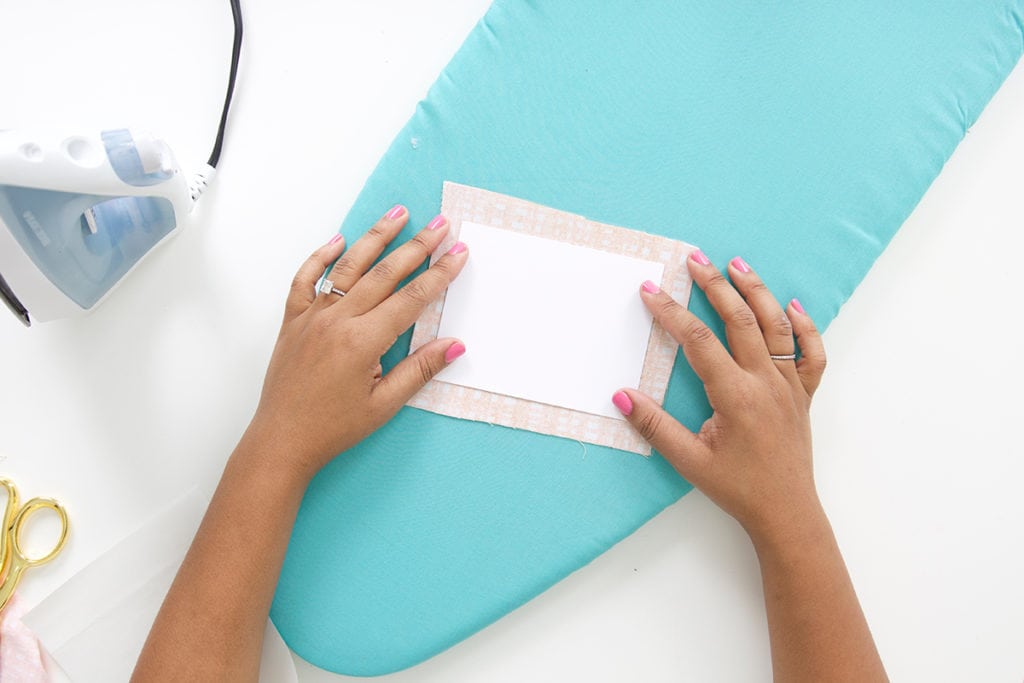 Place the blank card onto the Heat’N’Bond (the side that was just exposed by peeling of the backing).
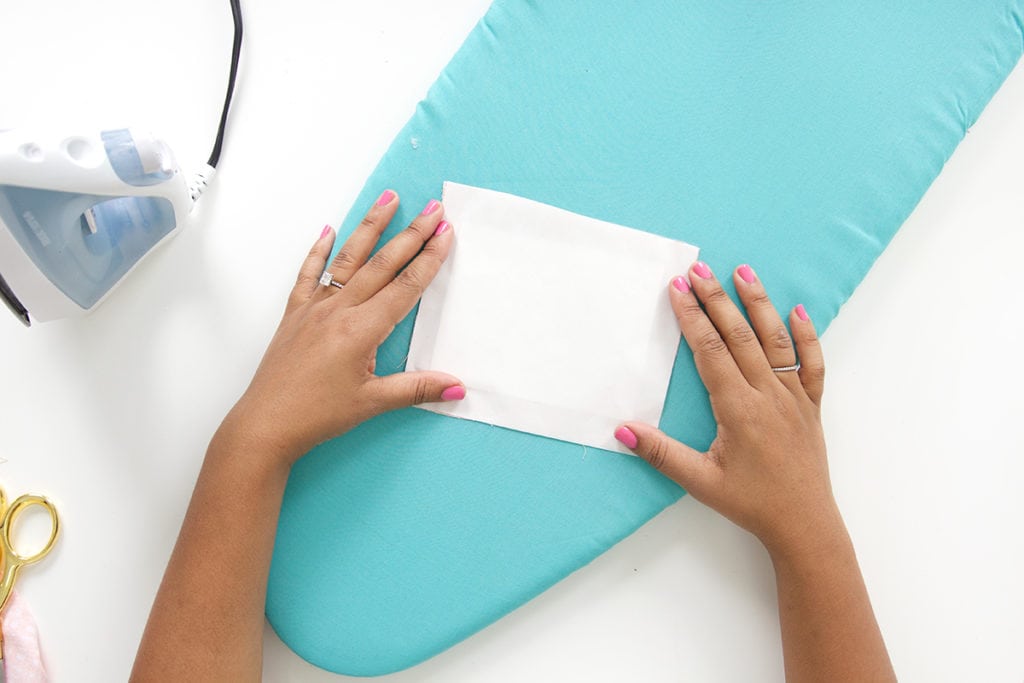 Cover the card with the backing (this will help protect your ironing board).
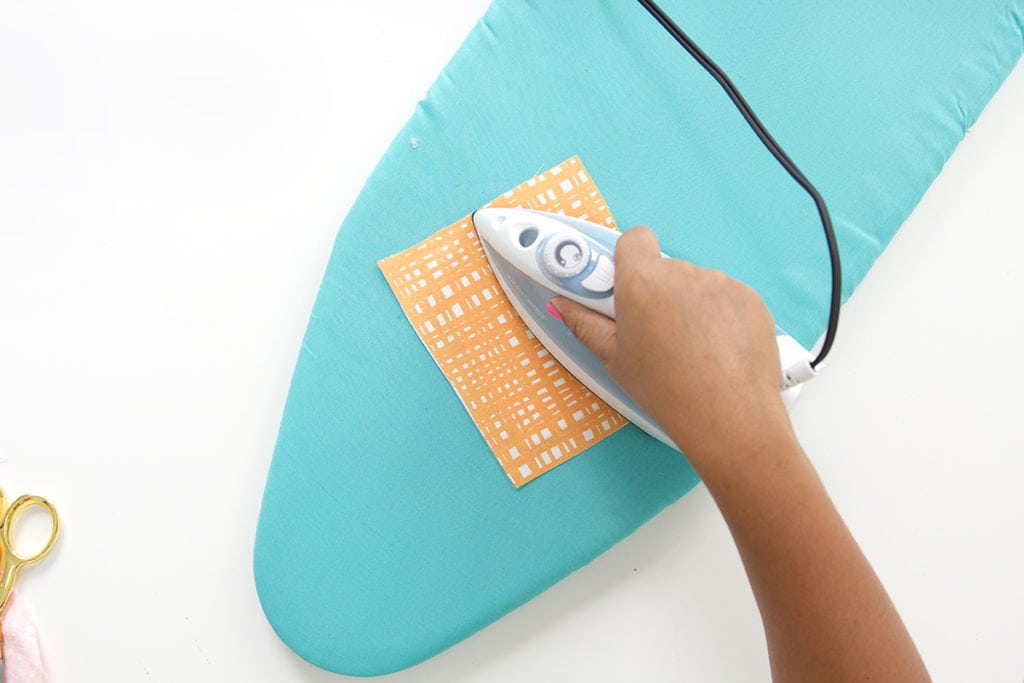 Flip the “sandwich” over so that the fabric is facing up, then apply the iron for a few seconds on all areas.
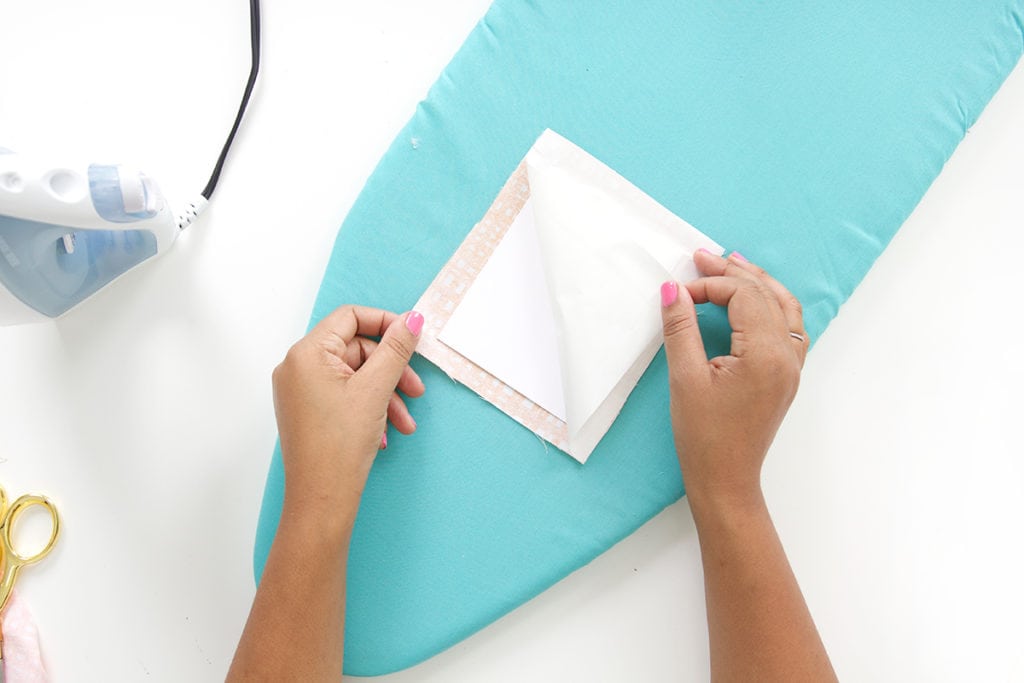
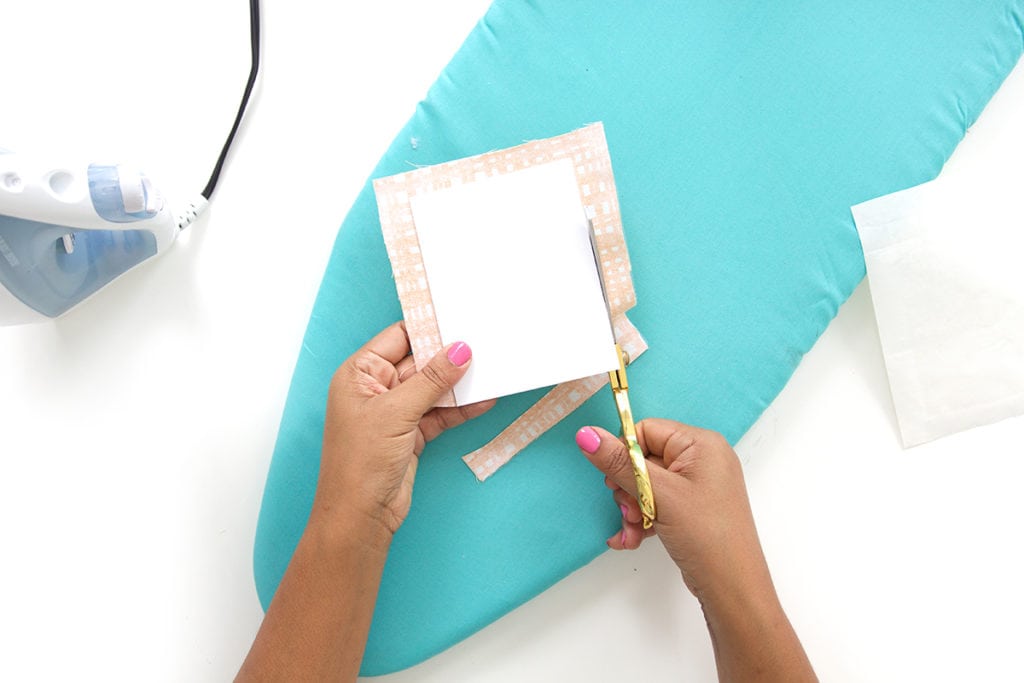
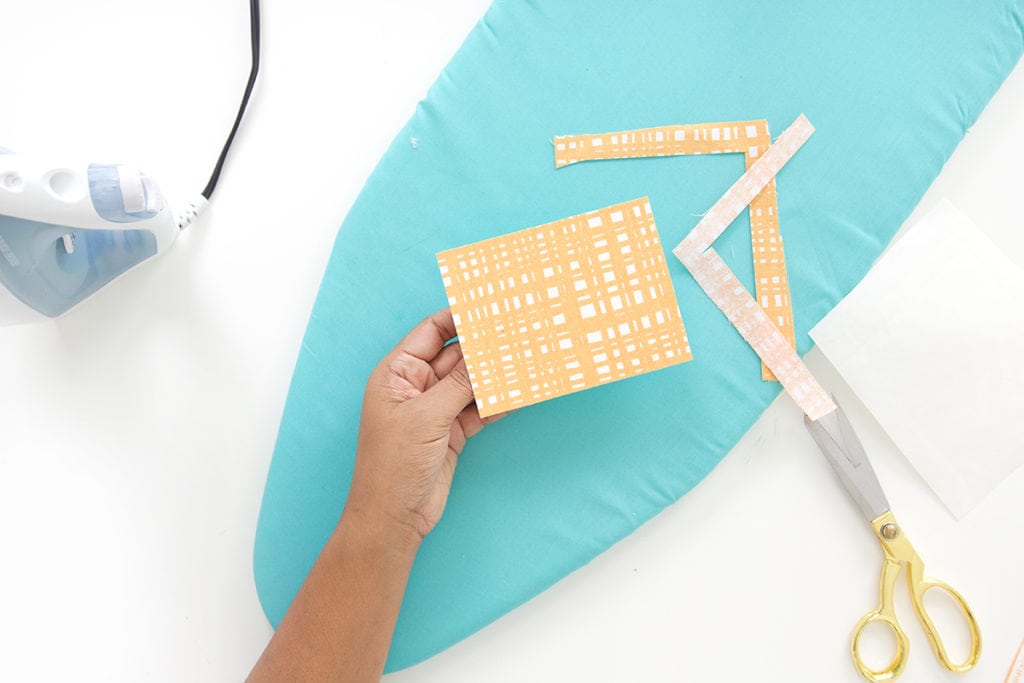 Peel the backing off again, then cut off any excess fabric around the blank card. Done!
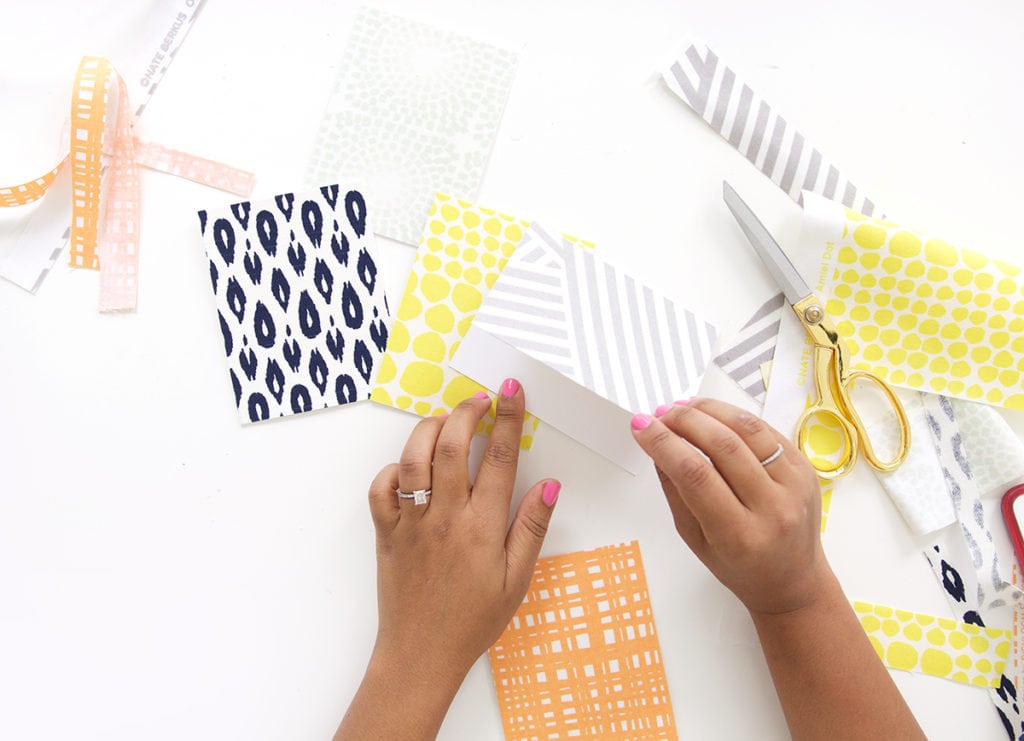
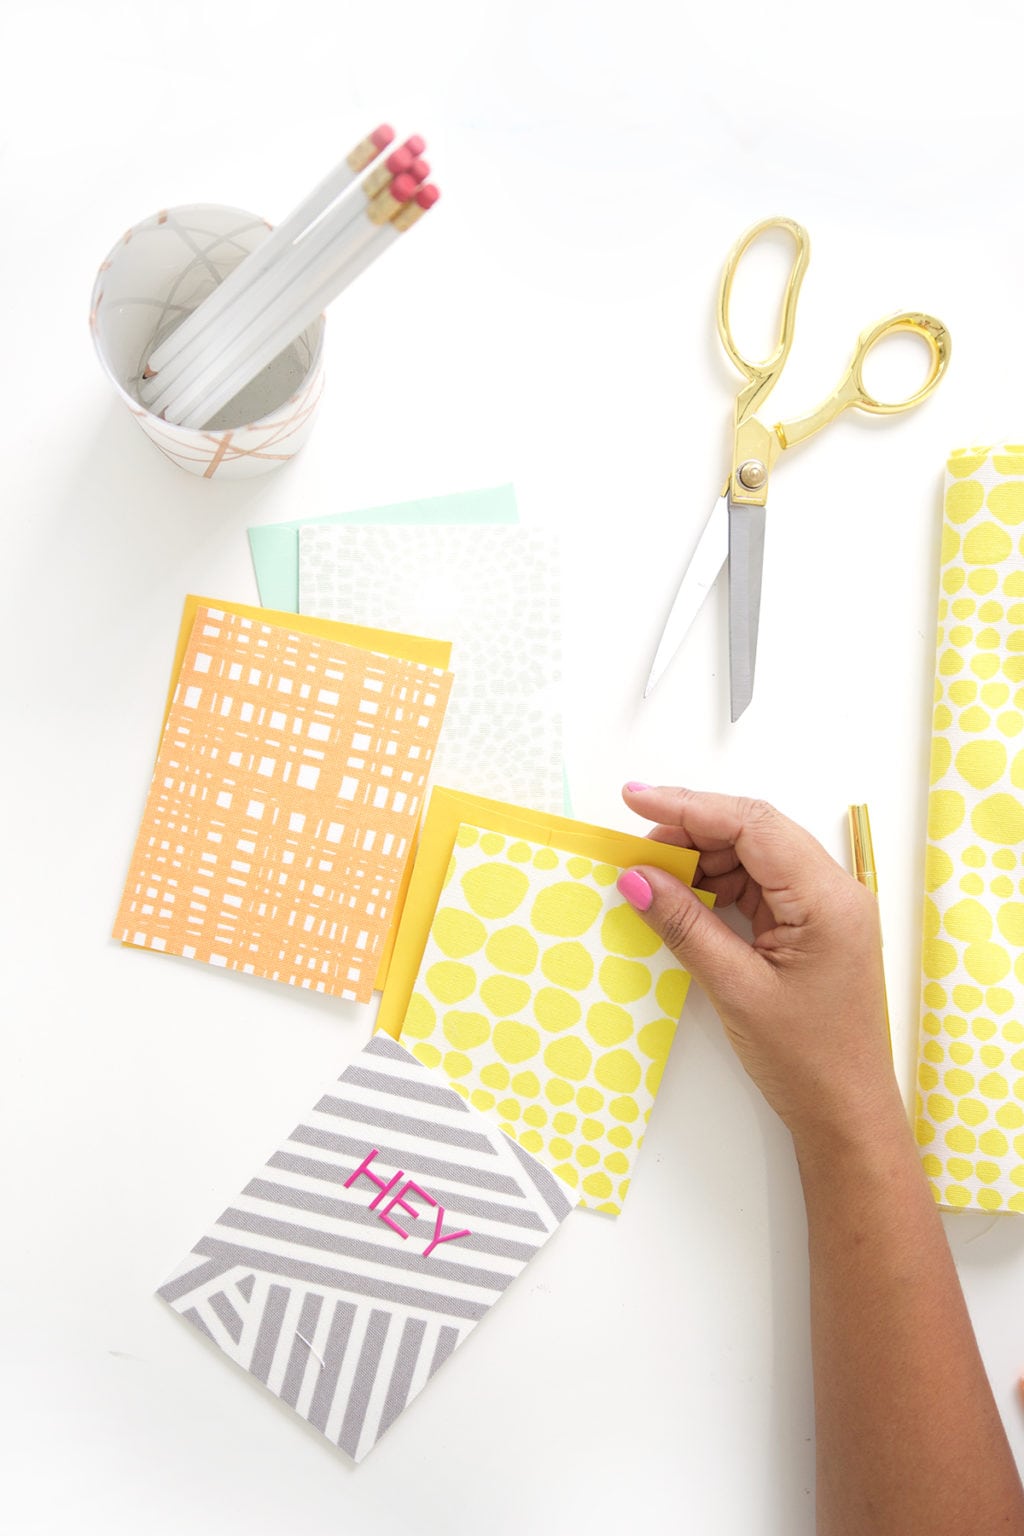
These cards are really easy to make and will add something different to your stationery collection. You can leave them plain, or add some stickers to the front. Either way, these cards are winners and deliver a good bit of “wow” when you pull them out of the envelope.
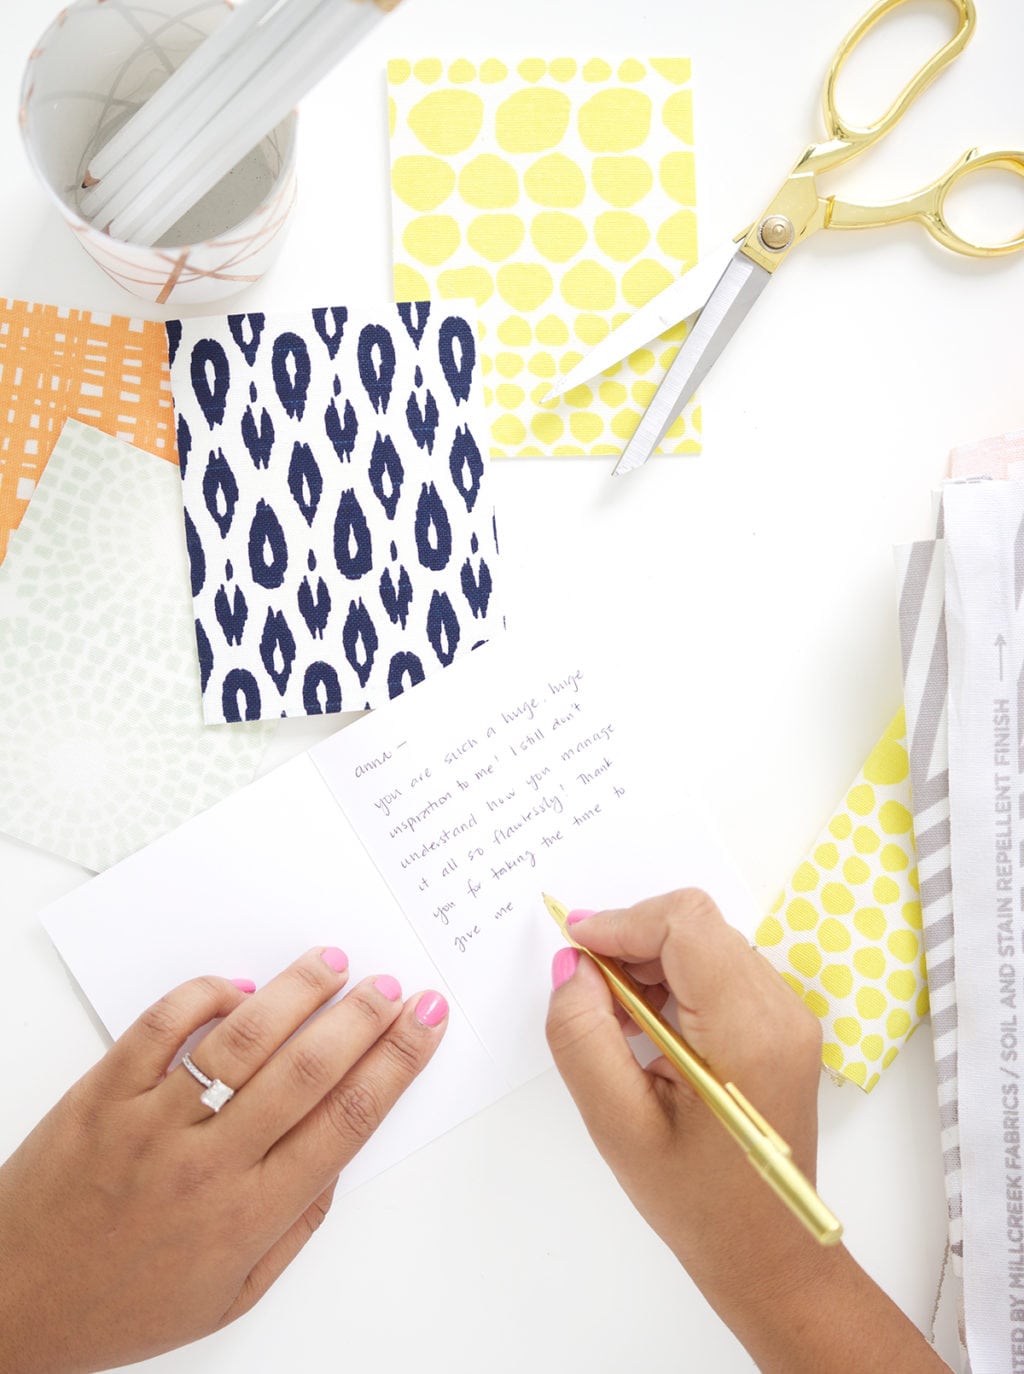
Get your pens and pencils revved up. It’s Letter Writing season!



online apotheek: Betrouwbare online apotheek zonder recept – ApotheekMax
https://apotekonlinerecept.com/# Apoteket online
apotek online: Apotek hemleverans recept – apotek online
http://apotekonlinerecept.com/# apotek online recept
kamagra [url=https://kamagrapotenzmittel.com/#]Kamagra Oral Jelly kaufen[/url] Kamagra Original
apotek pa nett: Apotek hemleverans idag – Apoteket online
http://apotheekmax.com/# ApotheekMax
Kamagra Gel: Kamagra kaufen – Kamagra kaufen ohne Rezept
Apotek hemleverans recept [url=https://apotekonlinerecept.shop/#]Apotek hemleverans idag[/url] apotek pa nett
https://kamagrapotenzmittel.com/# Kamagra Gel
kamagra: Kamagra Oral Jelly – Kamagra kaufen ohne Rezept
https://kamagrapotenzmittel.shop/# Kamagra kaufen
apotek pa nett: apotek online recept – apotek pa nett