Have you ever been to a craft fair? I absolutely LOVE them. So much fabulous inspiration at each booth.
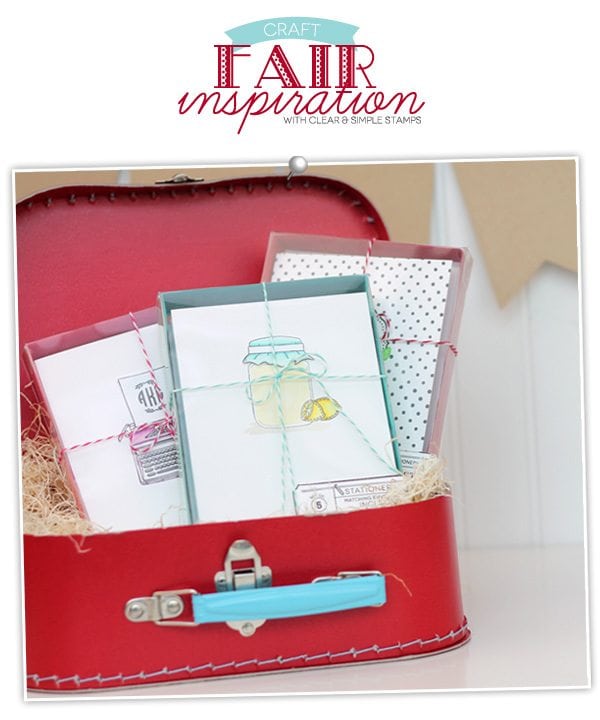
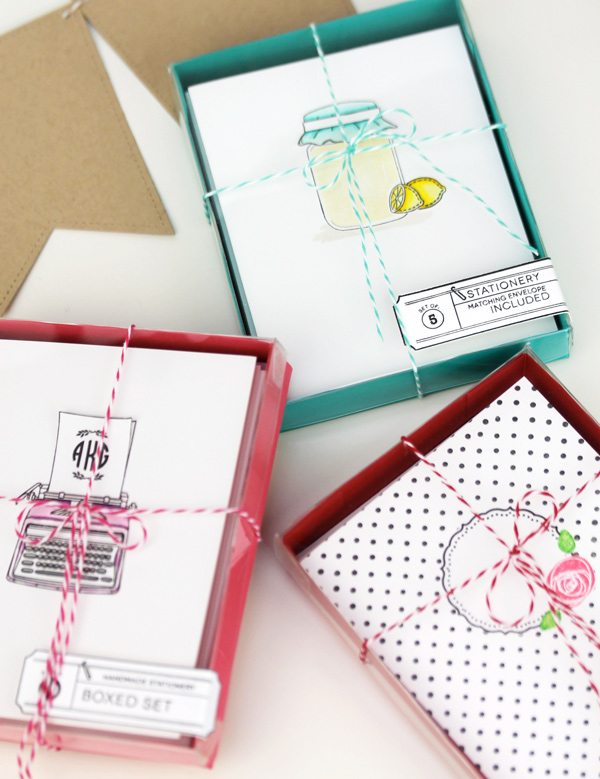
So today, I’ve got some inspiration for a craft fair booth of your own. See, if I had a craft booth, I would make it bright and colorful with a selection of handmade cards that could be customized for each customer. If I had a craft booth, I would use the File It: Stationery set from Clear & Simple Stamps to give my card sets a professional look.
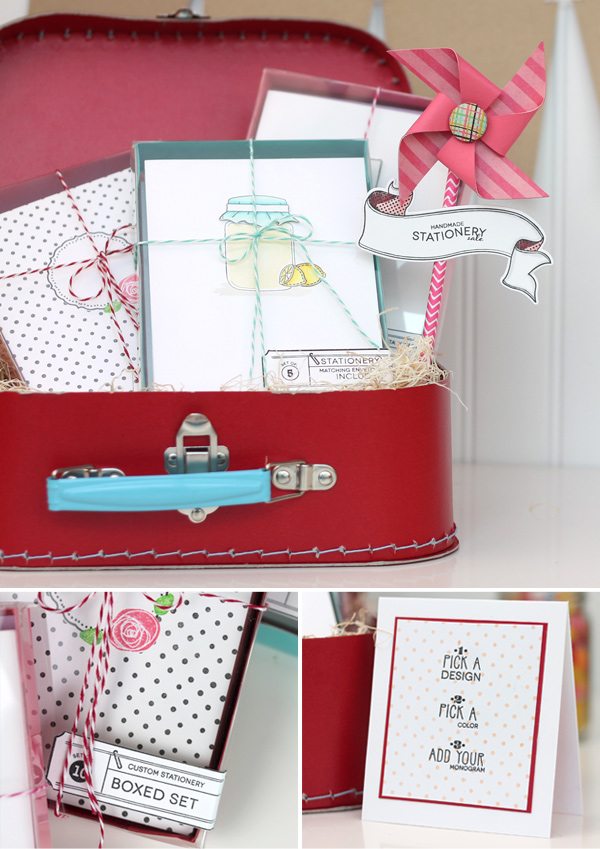
If I had a craft booth, I would display my cards in a cute paper lunch box with a kraft banner as the backdrop and adorable paper pinwheel accents.
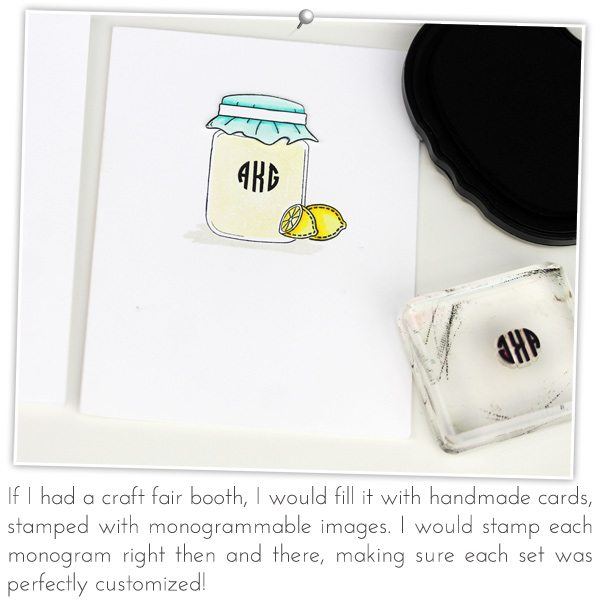
In my craft fair booth, I would sell a selection of monogrammable card sets, that would be personalized right then and there. Each craft fair customer would select her favorite card set, an ink color and would stamp her monogram on to the cards.
Of course, I might gently nudge customers toward selecting my personal favorite of all the card designs…the mason jars. Everyone love monogrammed mason jars, right?
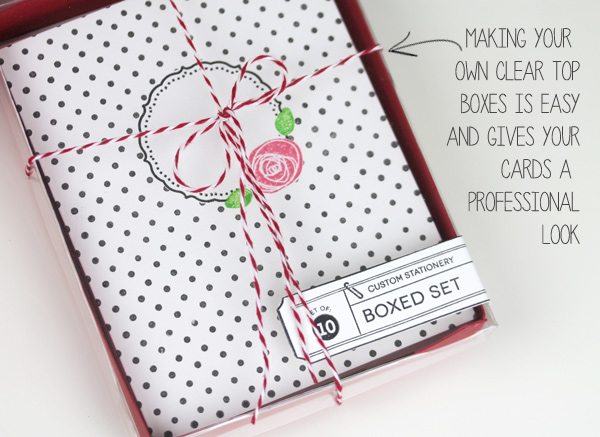
If I had a craft fair booth, I would make my own clear top boxes to package my cards, because they are just so simple to create!
To make an A2 sized clear top box…
{1} Start with a 6 1/2 x 7 7/8″ “piece of cardstock in the color of your choice
{2} Use your scoring tool to score a line 1″ from each edge of the colored cardstock
{3} Cut a piece of clear cardstock to the same size of the colored cardstock
{4} Score the clear cardstock as follows: on the left size score one inch from the edge. On the right side score 7/8″ from the right edge. This will create a slighty larger clear top that will easily slip over the bottom of your box. Easy, right?
To finish off your box and add an element of professionalism, you can add stamped labels from File It: Stationery.
Are you inspired to create a few craft fair goodies? Have you ever had a craft fair book of your own?
SUPPLIES:
Well Preserved Medium | Well Preserved Large | Perfect Harvest | File It: Stationery | Alpha Monogram | Banner Flags 3








пинап казино – пинап казино
пин ап: https://pinupkz.life/
пин ап – пин ап казино
пин ап – пин ап зеркало
TadalafilEasyBuy.com [url=http://tadalafileasybuy.com/#]Buy Tadalafil 5mg[/url] cialis without a doctor prescription
пин ап зеркало: https://pinupkz.life/
пинап казино – pinup 2025
https://apotekonlinerecept.shop/# Apotek hemleverans idag
Online apotheek Nederland zonder recept [url=https://apotheekmax.com/#]de online drogist kortingscode[/url] online apotheek
kamagra: Kamagra Oral Jelly – kamagra
apotek pa nett: Apotek hemleverans idag – Apotek hemleverans recept
Apotek hemleverans idag: Apotek hemleverans recept – Apoteket online
https://apotheekmax.com/# Apotheek Max
de online drogist kortingscode [url=https://apotheekmax.shop/#]Betrouwbare online apotheek zonder recept[/url] Betrouwbare online apotheek zonder recept
Kamagra Oral Jelly kaufen: Kamagra kaufen ohne Rezept – Kamagra Original
https://apotekonlinerecept.com/# Apoteket online
Kamagra kaufen ohne Rezept: Kamagra kaufen ohne Rezept – Kamagra Oral Jelly kaufen
Kamagra Original: Kamagra Original – Kamagra Oral Jelly
Apotek hemleverans idag [url=http://apotekonlinerecept.com/#]Apoteket online[/url] Apotek hemleverans idag
http://apotheekmax.com/# Betrouwbare online apotheek zonder recept
http://apotheekmax.com/# de online drogist kortingscode
Apoteket online: apotek pa nett – Apotek hemleverans idag
online apotheek: Apotheek online bestellen – online apotheek
https://kamagrapotenzmittel.com/# Kamagra online bestellen