Watercolor is the new “it” look in crafting. Or at least we’re gonna pretend it is because that makes today’s post way more “trendy.” I’m guessing that the whole appeal of watercolor is the fact that you can be a little messy and still end up with a beautiful finished product. Such is the case with today’s project. I literally put this post together in the twenty minutes I had free between laundry, writing a manuscript for work and finishing up my Home Depot Style Challenge Patio assignment. It was a busy day. I only have enough time for watercolor. Turns out, twenty minutes is plenty. Here’s how it’s done:
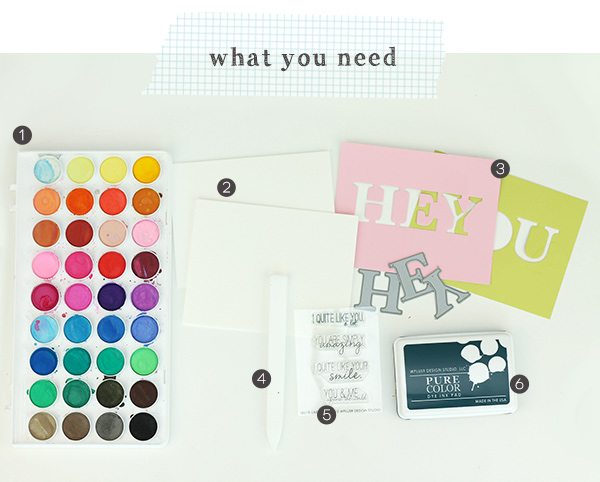
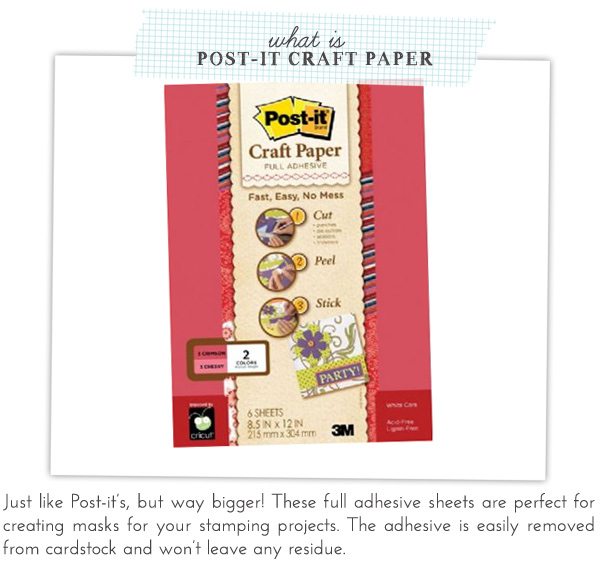
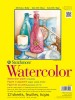
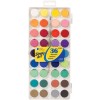
{1} A watercolor palette {2} Notecards made from watercolor paper {3} Post-It Craft Paper cut to the same size as the notecards and die cut with sentiments using the Memory Box Large Alphabet Dies {4} Bone folder (I highly recommend this Teflon bone folder which is quite possibly my most coveted craft item!) {5} WPlus9 Quite Like You Stamp Set {6} Inkpad (I’m currently jonesing over the Wplus9 Pure Color Collection which stamps beautiful & crisp on watercolor cardstock). {7} NOT SHOWN: a heat gun
NOTE: All supply links are at the end of this post
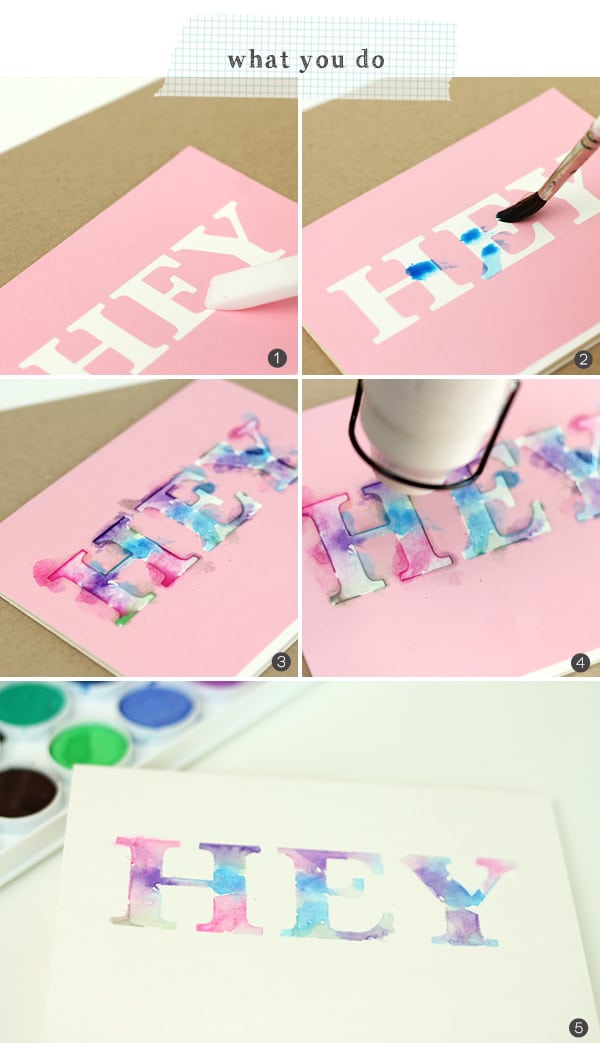 {1} Adhere the Post-It Craft Paper to the card front and use the bone folder to ensure that all the openings are well adhered to the paper. This way – no color will seep through.
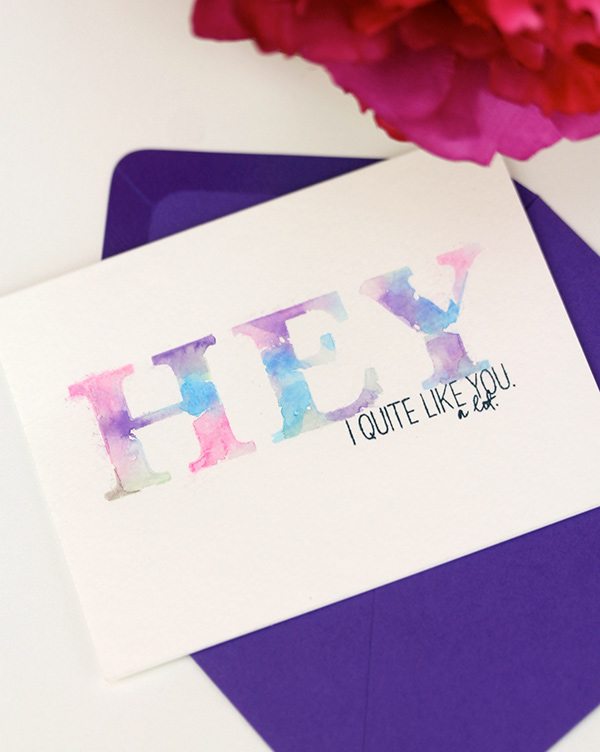
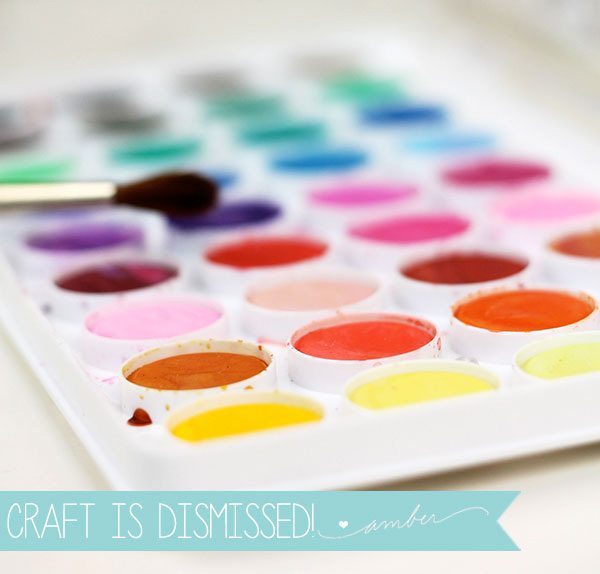
{2} Begin applying watercolor. Do this in dabs rather than with a swiping motion.
{3} Continue adding watercolor until most of the sentiment is covered. A few empty spots goes a long way to making the finished product look a little more handmade and artsy.
{4} Use the heat gun to dry the watercolor immediately. This is great for impatient crafters like me!
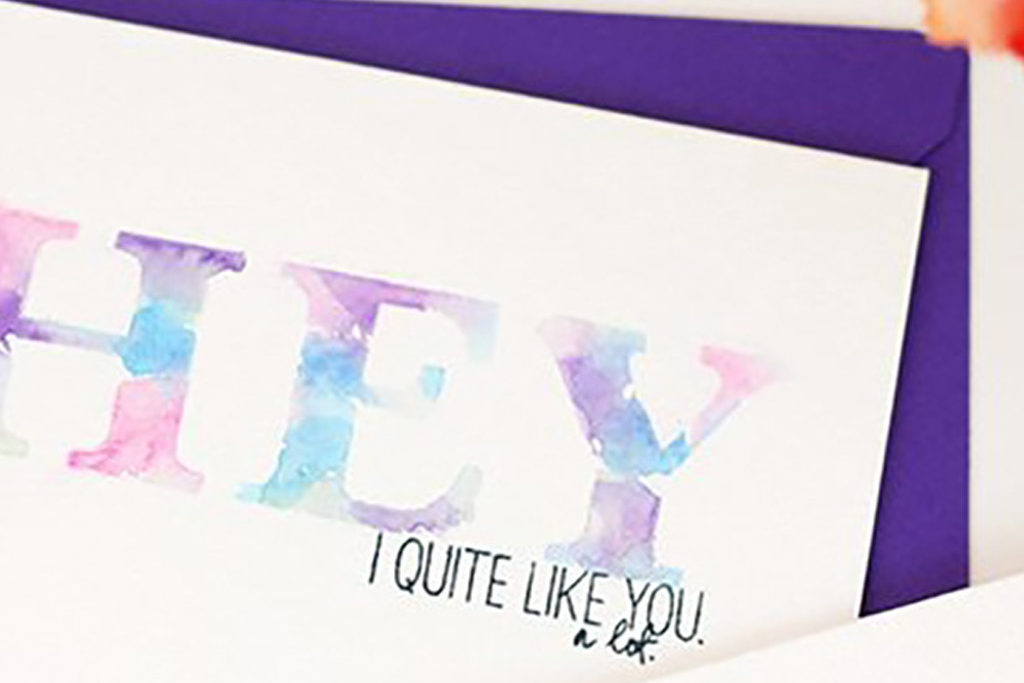
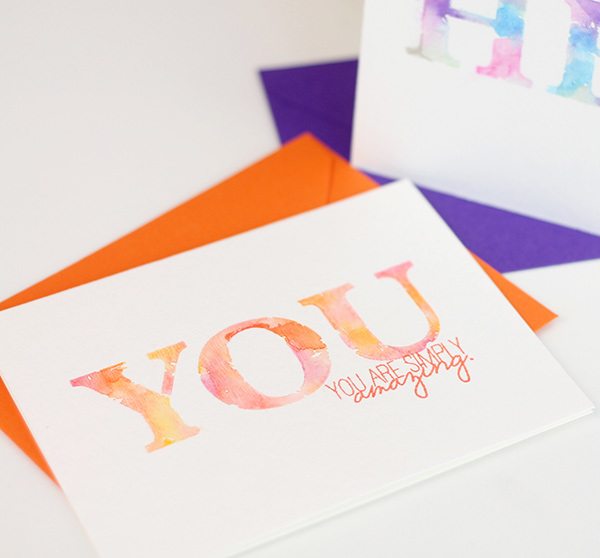
{5} Peel off the Post-It Craft Paper to reveal the sentiment.
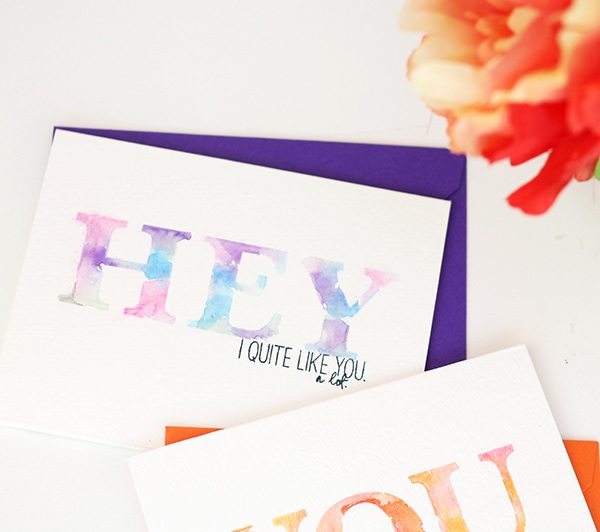
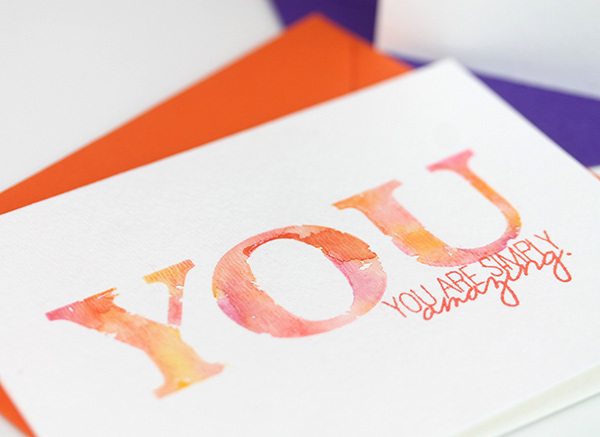
3You can have a lot of fun with color combinations. I love this card which I created with shades of orange and red. There really is no going wrong! Just have fun with it. 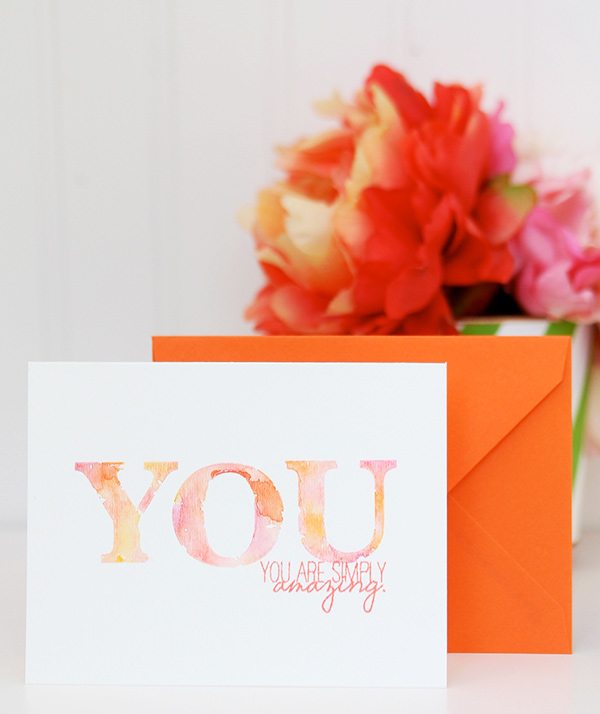


https://apotekonlinerecept.com/# Apotek hemleverans recept