You can letterpress paper. Sure. That’s been done. Let’s try something a little different, mmkay?
The Foil Files series continues today with another project featuring a creative take on crafting with foil. Today though – we’re crafting with real foil. Like the foil from the grocery store. That stuff in your pantry. Grab it and take it to your crafting table. This is a good one.
I was inspired to try this project while I was walking the floors of the 2014 Craft & Hobby Association Tradeshow. I saw a display by Sizzix, featuring a die specifically made for customizing mason jar lids. I loved it…and immediately began brainstorming ways to recreate the look at home with supplies that I already own. Here’s how I did it:
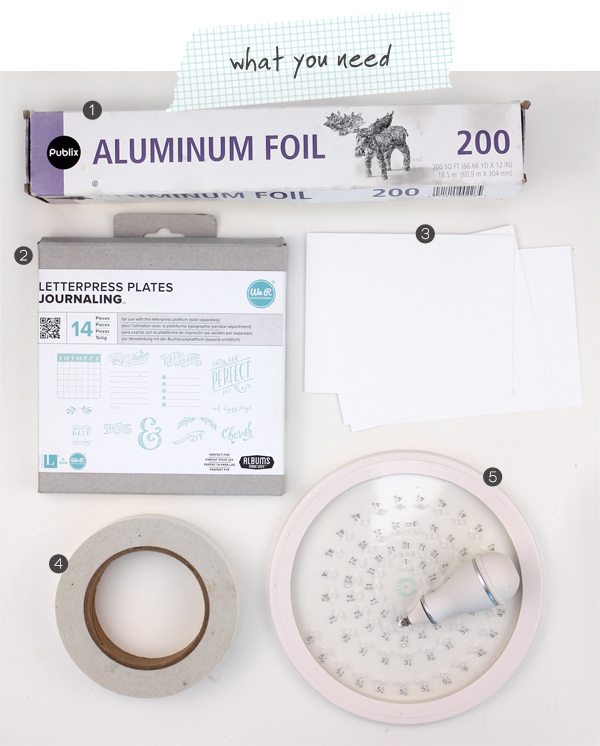
{1} Aluminum Foil: Just grab what you have on hand. I used the regular stuff, although I’m sure you could use heavy duty foil as well.
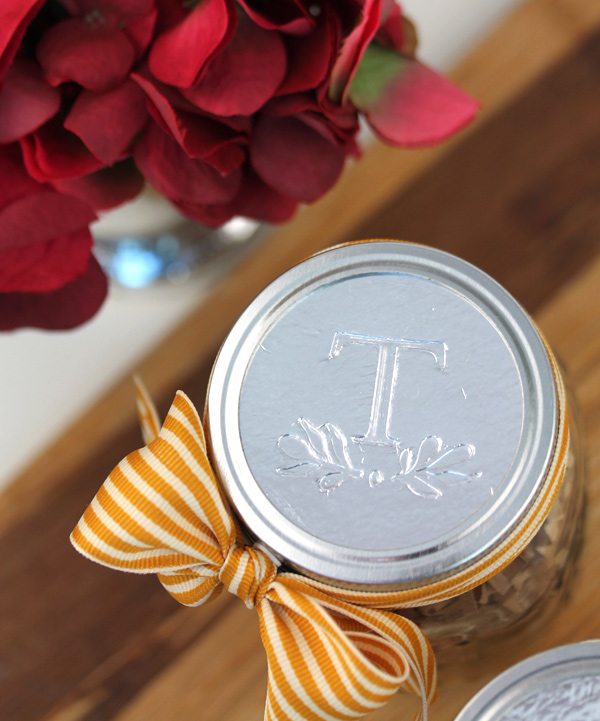
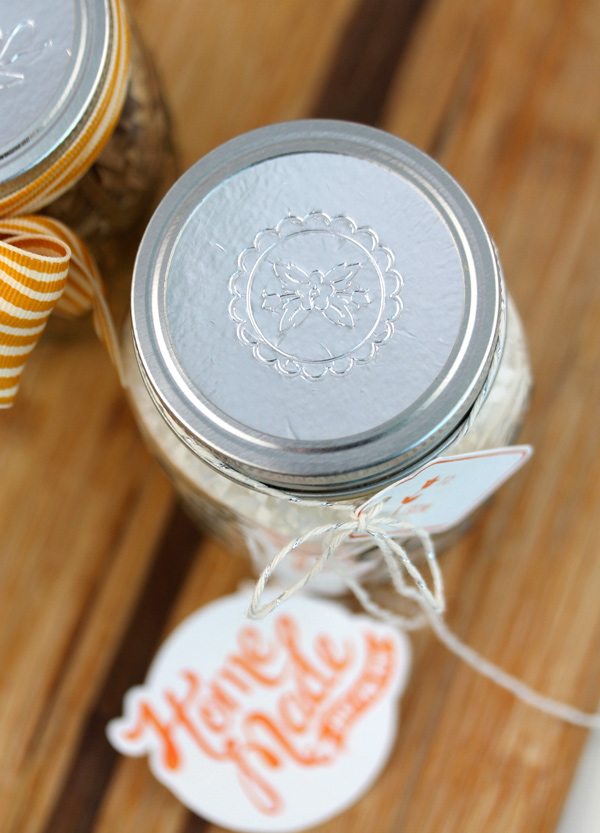
{2} Letterpress Plates: This is what you’ll be using to customize the lid. We R Memory Keepers has a ton of different designs to choose from. For my projects, I used the Homemade Letterpress Plate set for the floral circle image, the Journaling Letterpress Plate set for the leaf image, and the Scholastic Printing Plate set for the monogram.
{3} Flat Letterpress Notecards: There are lots of companies that make letterpress weight paper. I like the Lifestyle Crafts Flat A2 Letterpress Notecards. They are thick enough to create a nice impression.
{4} Double-sided adhesive: The wider the adhesive, the better. If you have a full sheet of double sided adhesive like THIS, even better!
{5} Circle Cutter: I am a big fan of the Martha Stewart Circle Cutter. I’ve used it HERE and HERE, in case you need some convincing!
You’ll also need traditional mason jars for this project…but considering the never ending mason jar trend, you probably have one, two or ten on hand…or is that just me?
{1} Cover the letterpress notecard in double sided adhesive. If you are using tape, like me, adhere the tape in rows right next to each other to create a seamless layer of adhesive. If you are using full sheet adhesive, this step is much easier. Just apply it to the notecard.
{2} Peel off the adhesive backing
{3} Place aluminum foil over the exposed adhesive and smooth it into place.
{4} USe your circle cutter to cut a circle from the foil covered paper. If you are creating a lid for a standard mason jar, this circle should be 2 5/8″ in diameter.
{5}…You should get a clean cut circle like this.
{6} Arrange the letterpress plates on the foil circle
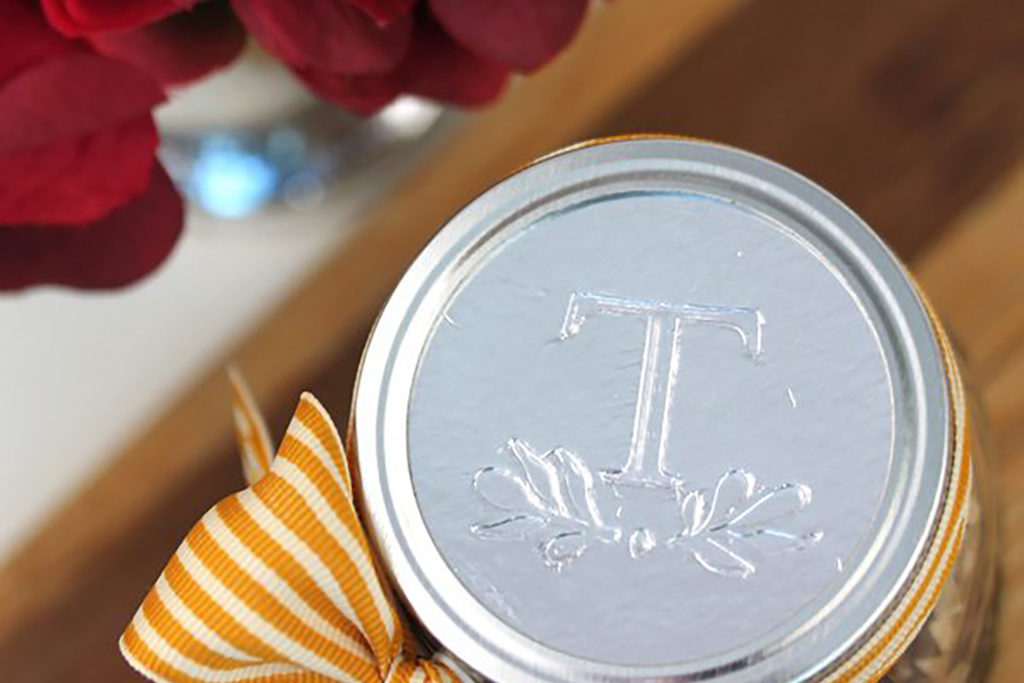
{7} Run the letterpress plate and the foil circle through your manual die cutting machine using the Lifestyle Crafts Letterpress Starter Kit. The pressed foil will fit under the mason jar ring.
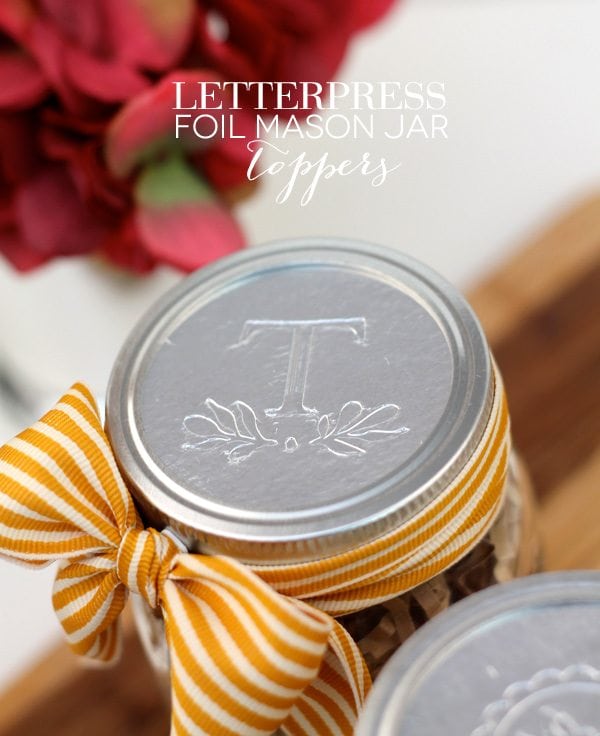
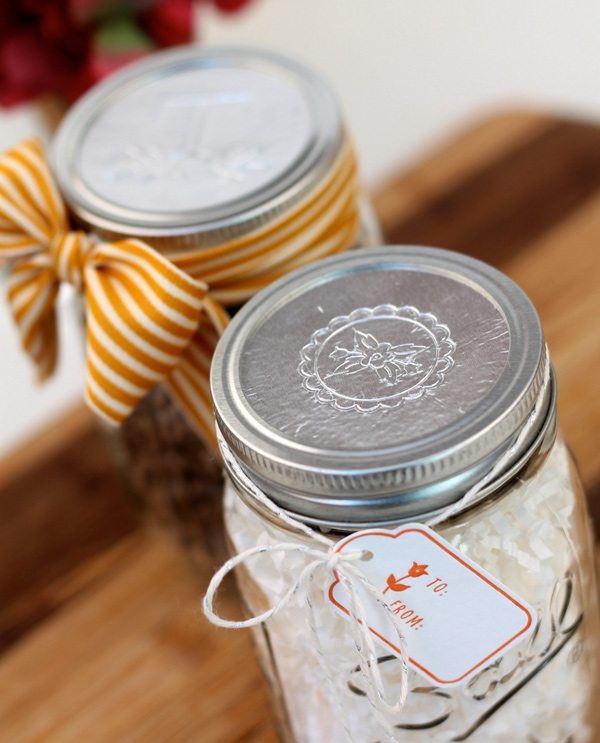
The finished product is a customized topper for your mason jar that is way prettier than the generic one. You can add a monogram or simple design. I’m thinking these would make beautiful place settings for Thanksgiving, or maybe just a simple way to package up homemade treats.




Love this idea!
I just got a letter press a few weeks ago. Love this idea. Thank you so much for sharing this wonderful idea.
Wow – so clever! Thank you for all the fabulous photographs 🙂
Do you have any tips on using that Martha Stewart circle cutter? I feel like when I try to use it, it never does the cutting quite right (i.e., the circle is off or the ends don’t meet up).
Hey Shirley! I’m happy to help out on this one. When you use the cutter, make sure to apply good pressure on the edge of the cutter with your non cutting hand. This will make sure it doesn’t slip. Also, when cutting, don’t press down with a lot of pressure. Instead, use light pressure and go around with the blade two or three times. This usually results in a pretty close to perfect circle everytime! Practice on some scrap paper first to get the hang of it. Hope this helps!
Thanks for making my work a lot easier. your post are appreciated.