It’s here. Finally. Perhaps the most requested tutorial I’ve ever had: How to Make Beaded Bracelets with Elastic! This tutorial will walk you through EVERYTHING: How to tie a bracelet knot, how to tie a surgeon’s knot, how to measure your bracelet so it’s the right size…and lot’s more.
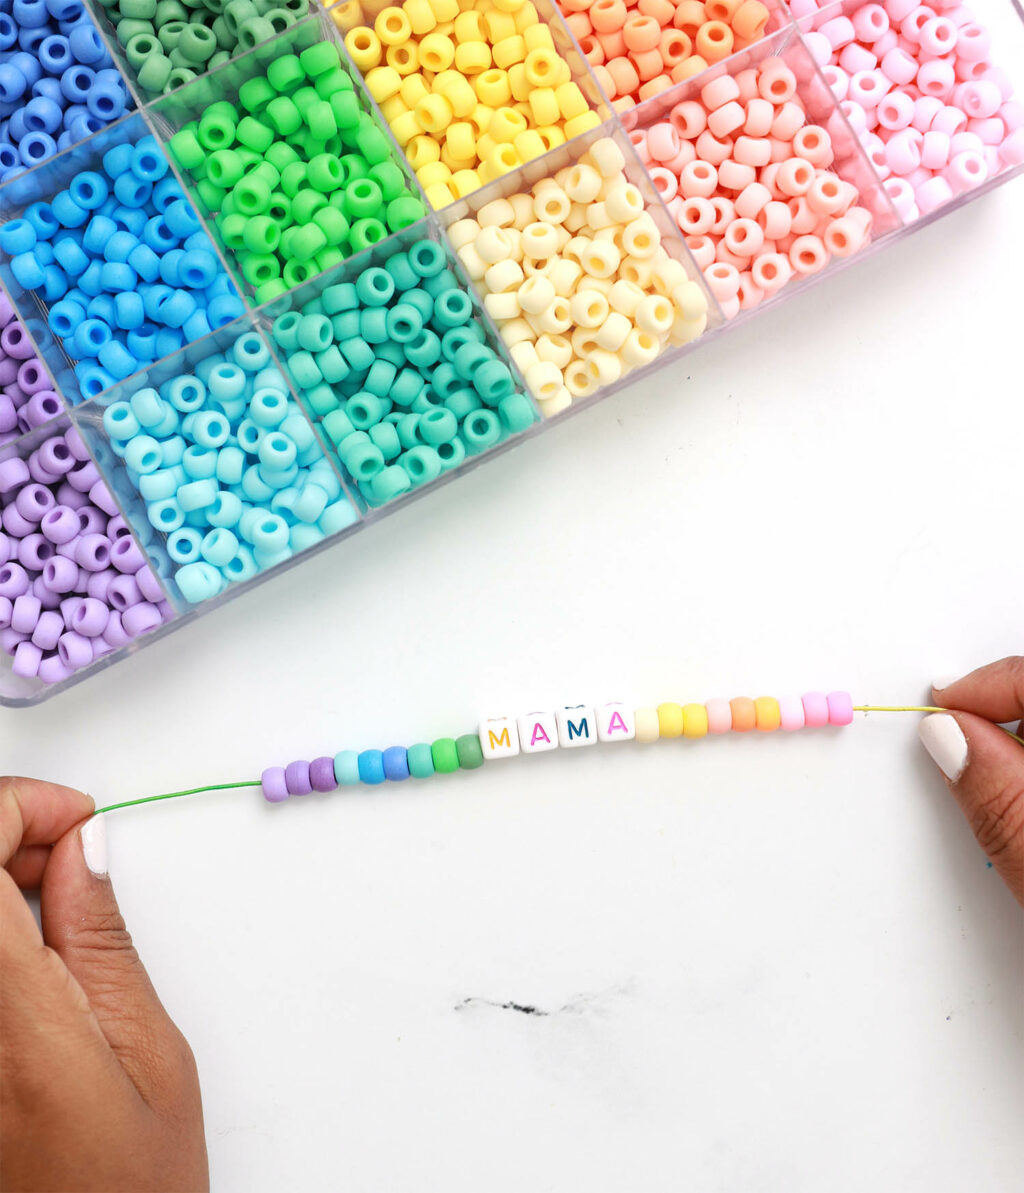
Supplies for Making Beaded Bracelets with Elastic
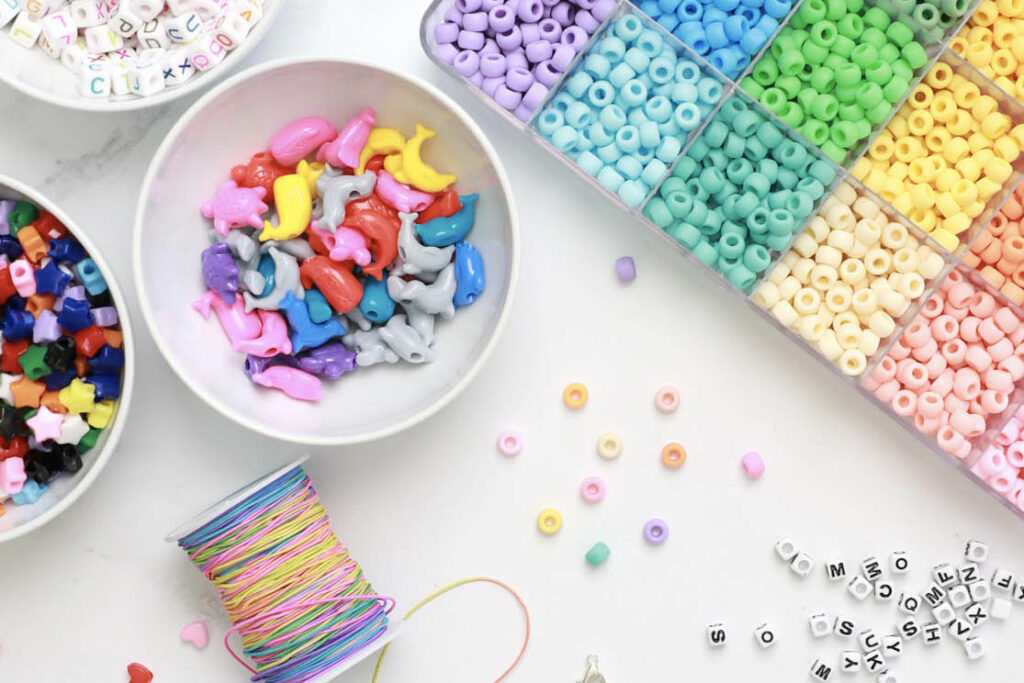
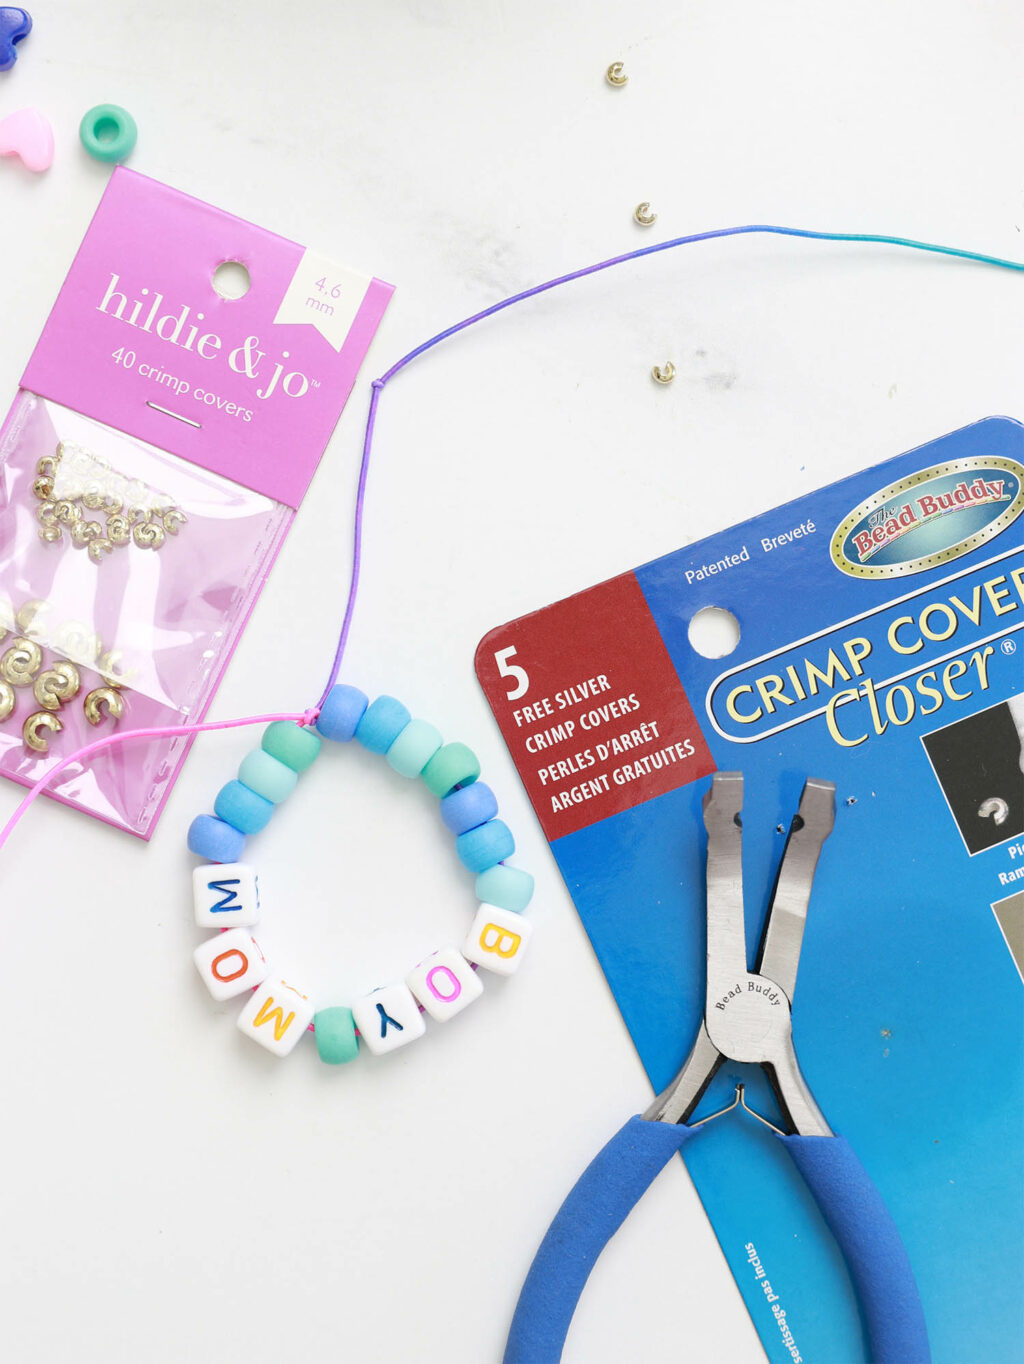
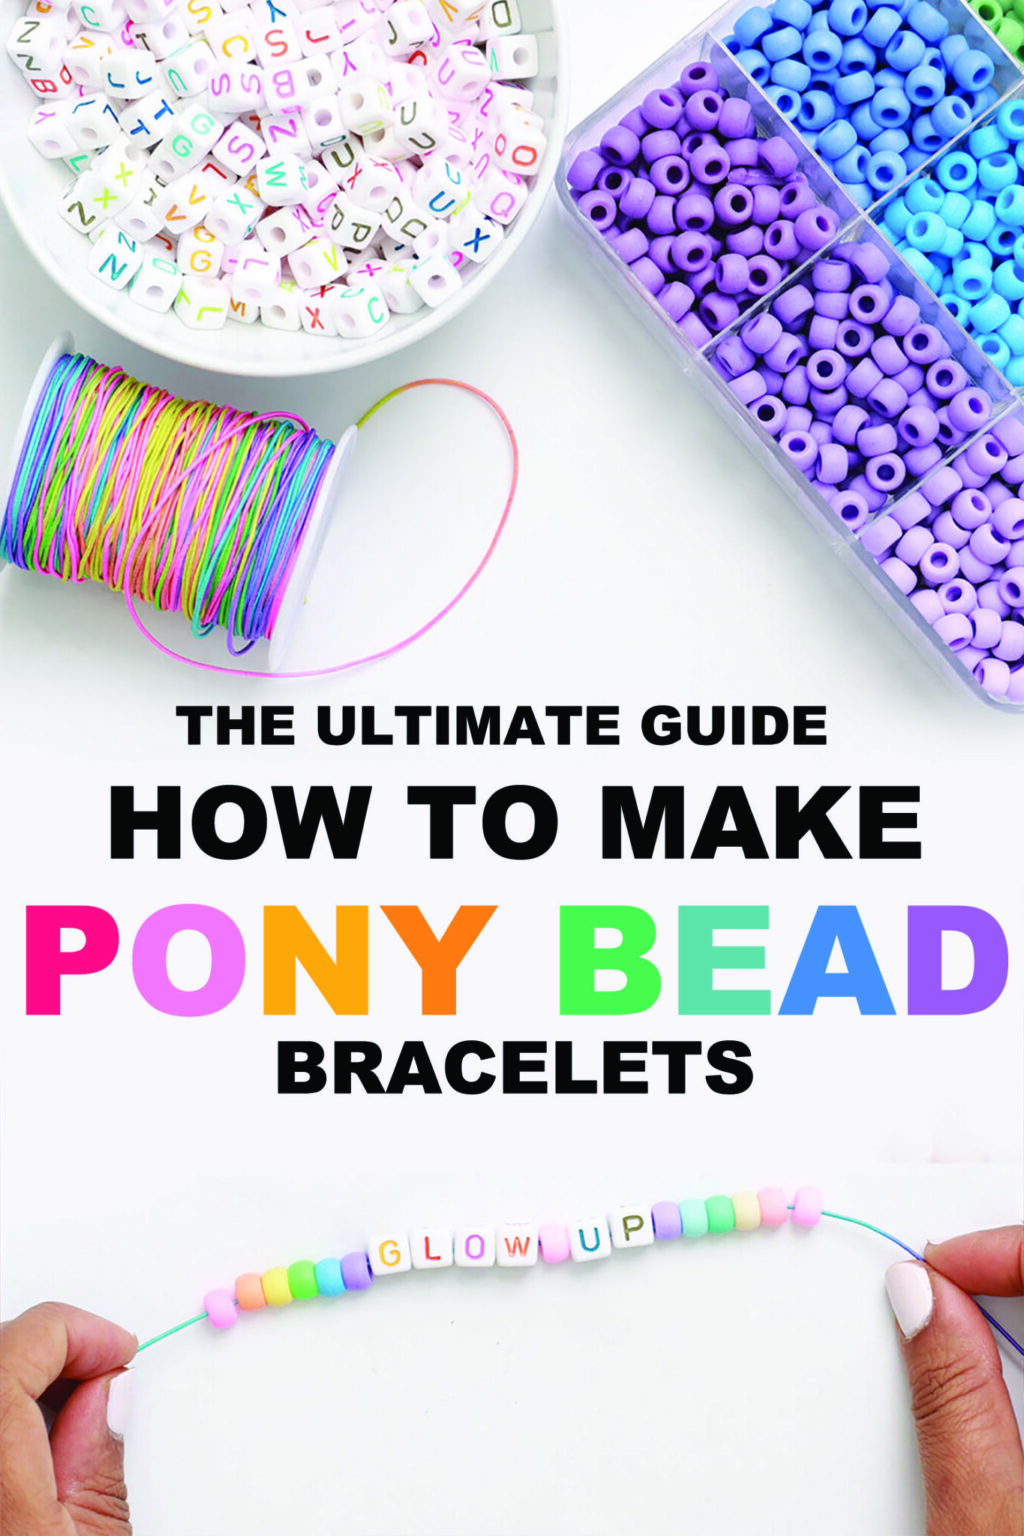
With the supplies pictured above, you can create tons of pony bead bracelets. Once you get the hang of it, you can start getting creative and adding on charms, tassels and more.
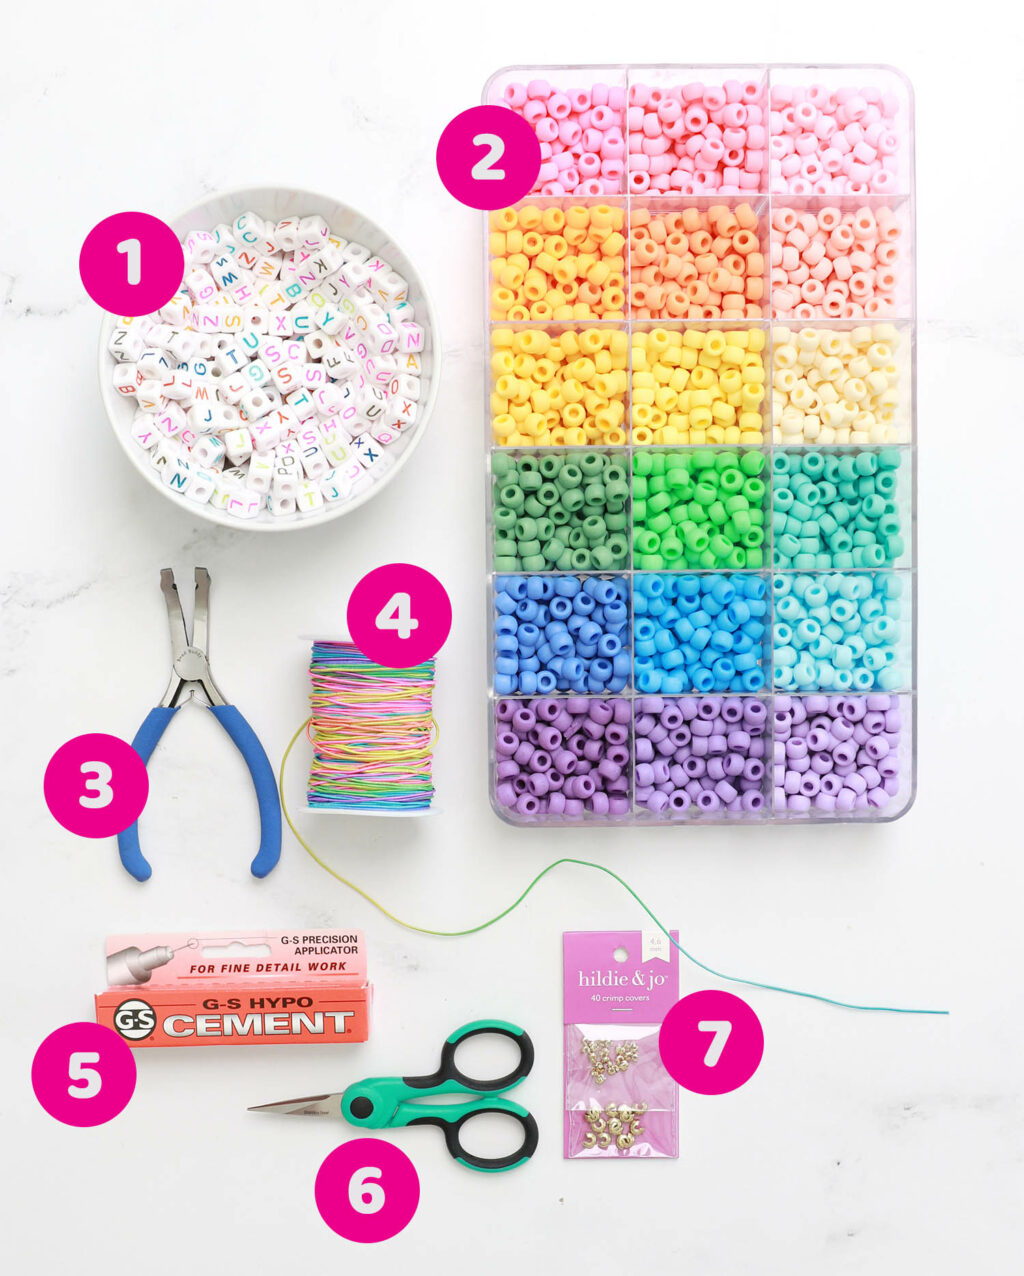
The basic supplies you will need are:
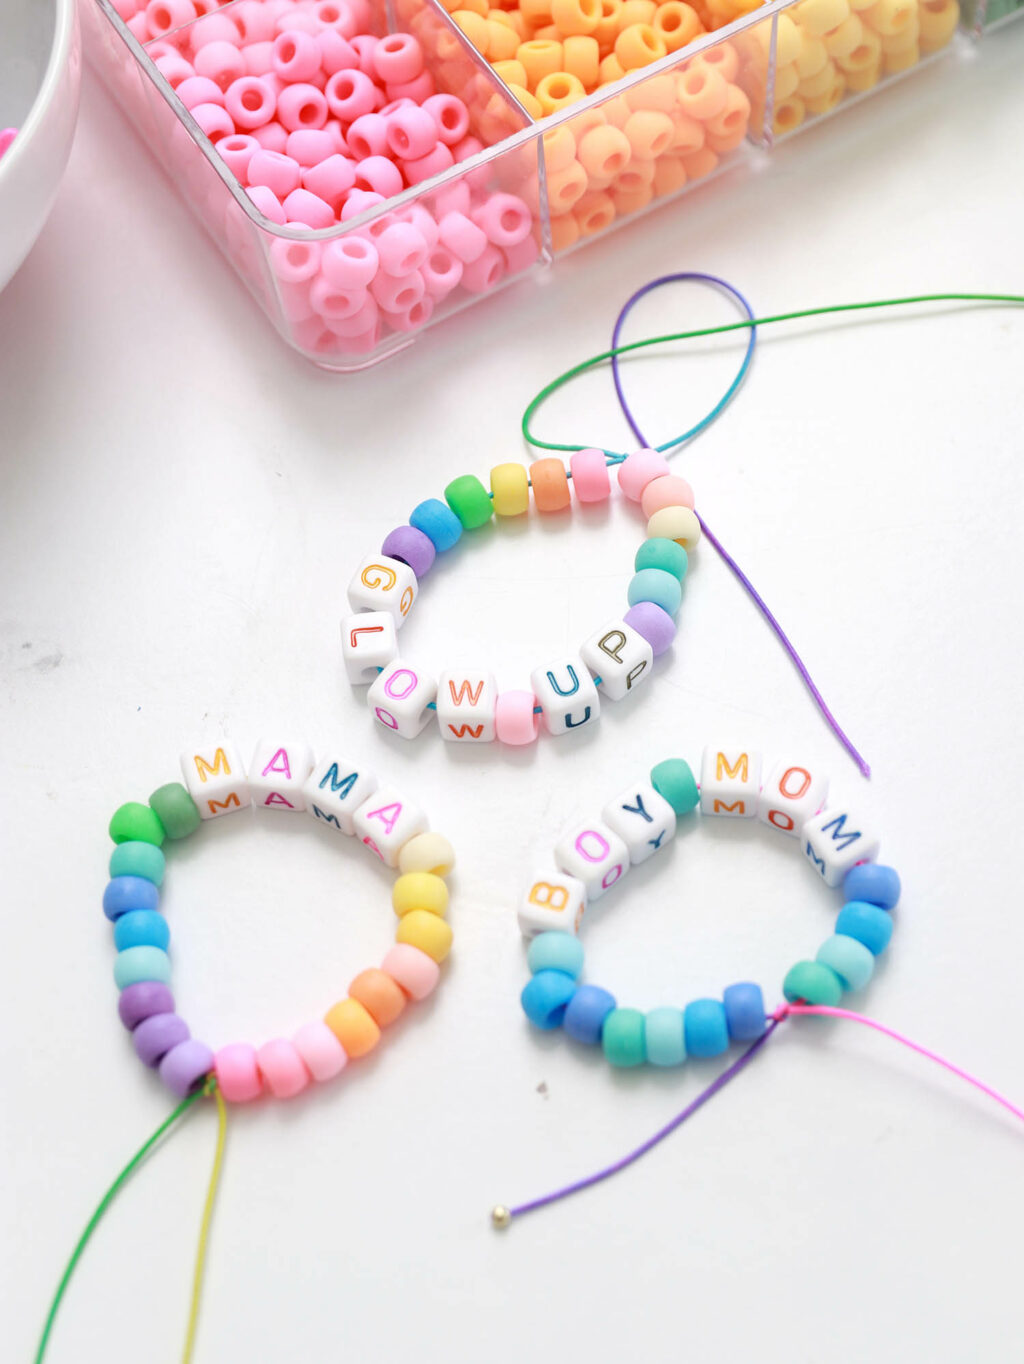
- Alphabet Beads: THESE are the ones that I love most but you can also use this multi-pack or these colorful alphabet beads
- You’ll want a great selection of colorful pony beads to make your bracelet. THIS rainbow pack is by far my favorite. We’ve had our box of beads for months and still have plenty to use for more bracelets.
- Crimp Cover Pliers: This tool is a must have if you want to create a neat, finished end on your bracelet.
- Elastic: I recommend using 1mm elastic for making beaded bracelets.
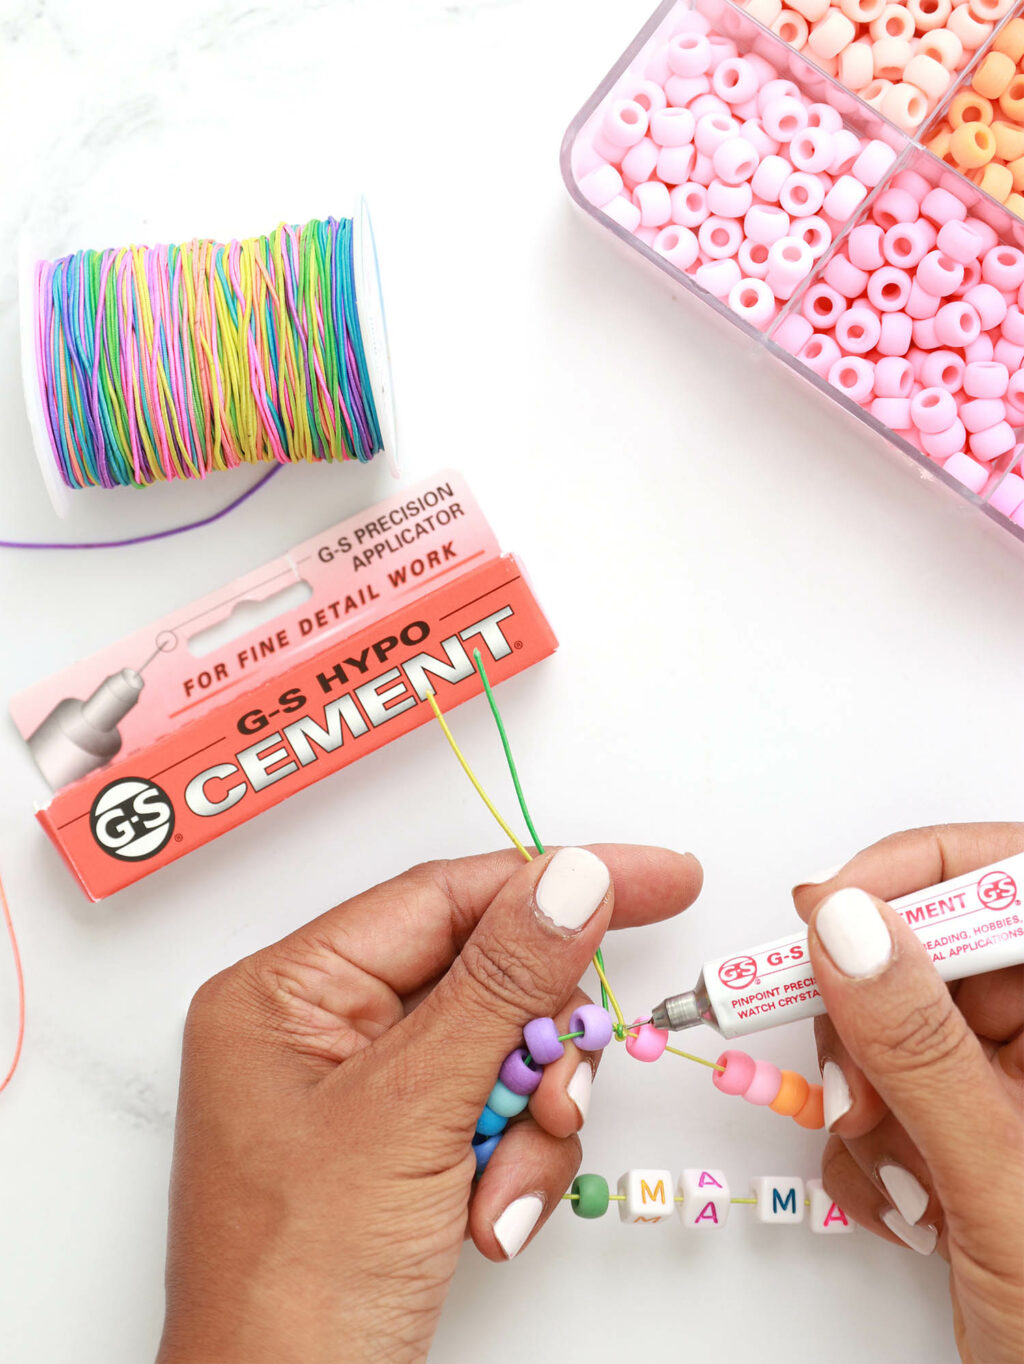
- Jewelry Glue: You’ll want to use a dab of glue on your bracelet knots to make sure they are secure. This glue has a thin, fine applicator so you don’t end up with glue everywhere. It’s easy to apply only to the small knot.
- Scissors: any pair of scissors will do, but I really like these for small detail work.
- Crimp Covers: you’ll want to get the 3mm crimp covers. They are a must have for this project if you want to create finished ends on your bracelet that won’t unravel.
How to Make Beaded Bracelets with Elastic
Alright! We’ve got all our supplies gathered up, let’s make some bracelet. Beware: you can’t just make one. Once you get this down, you’ll want to make pony bead bracelets all day long!
How to Measure your Wrist
Before you start designing your bracelet, you’ll need to make sure the finished product will fit your wrist. Every wrist is different, especially if you’re doing this with little ones. Here’s the easiest way I’ve found to get the right wrist measurement.
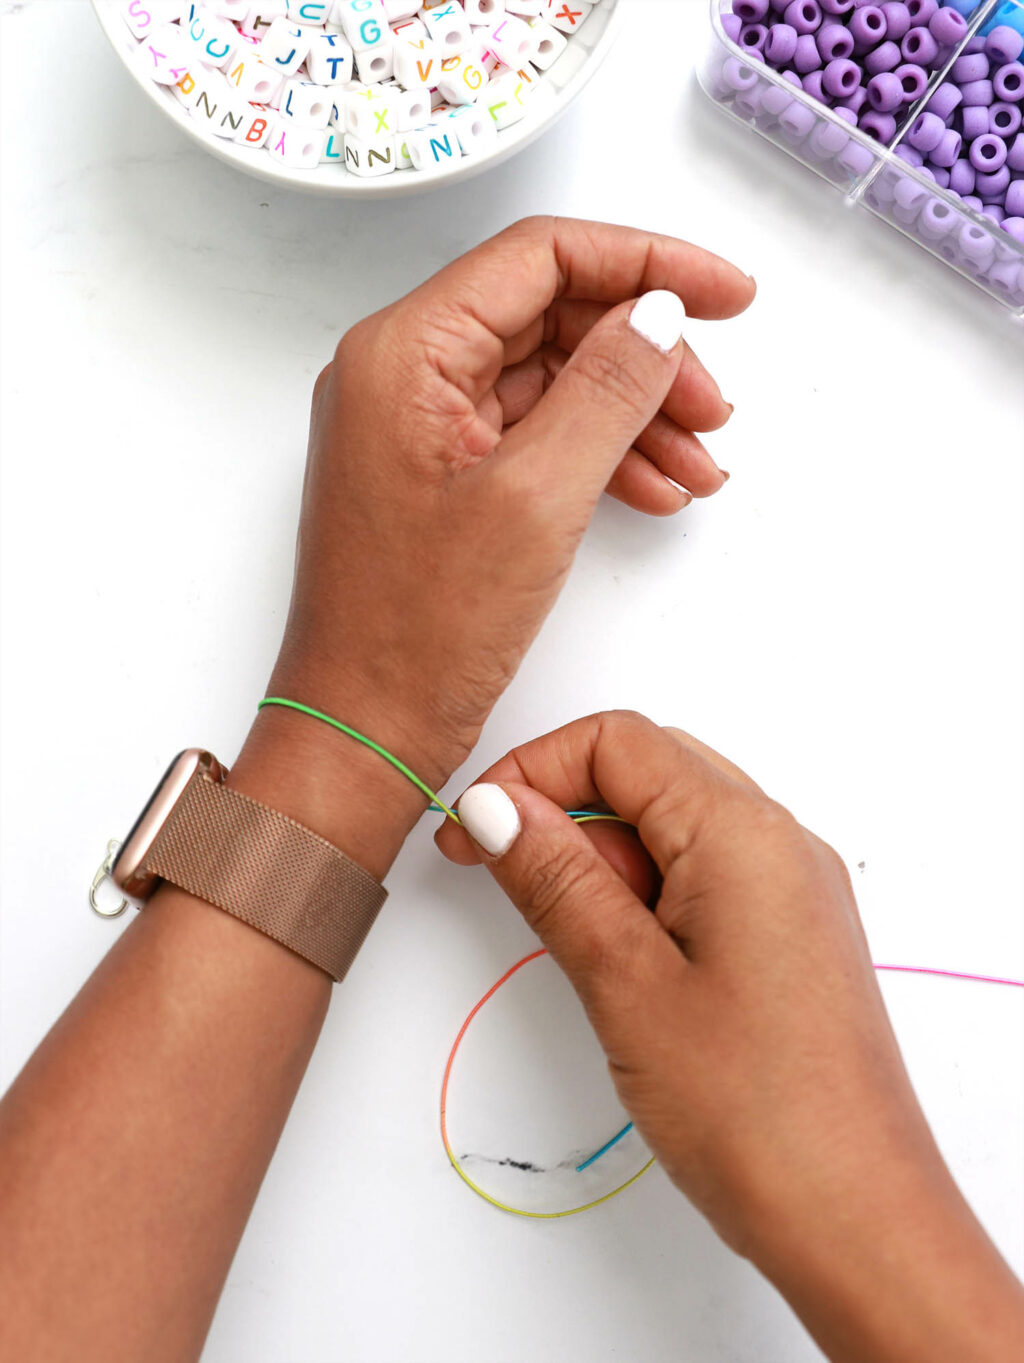
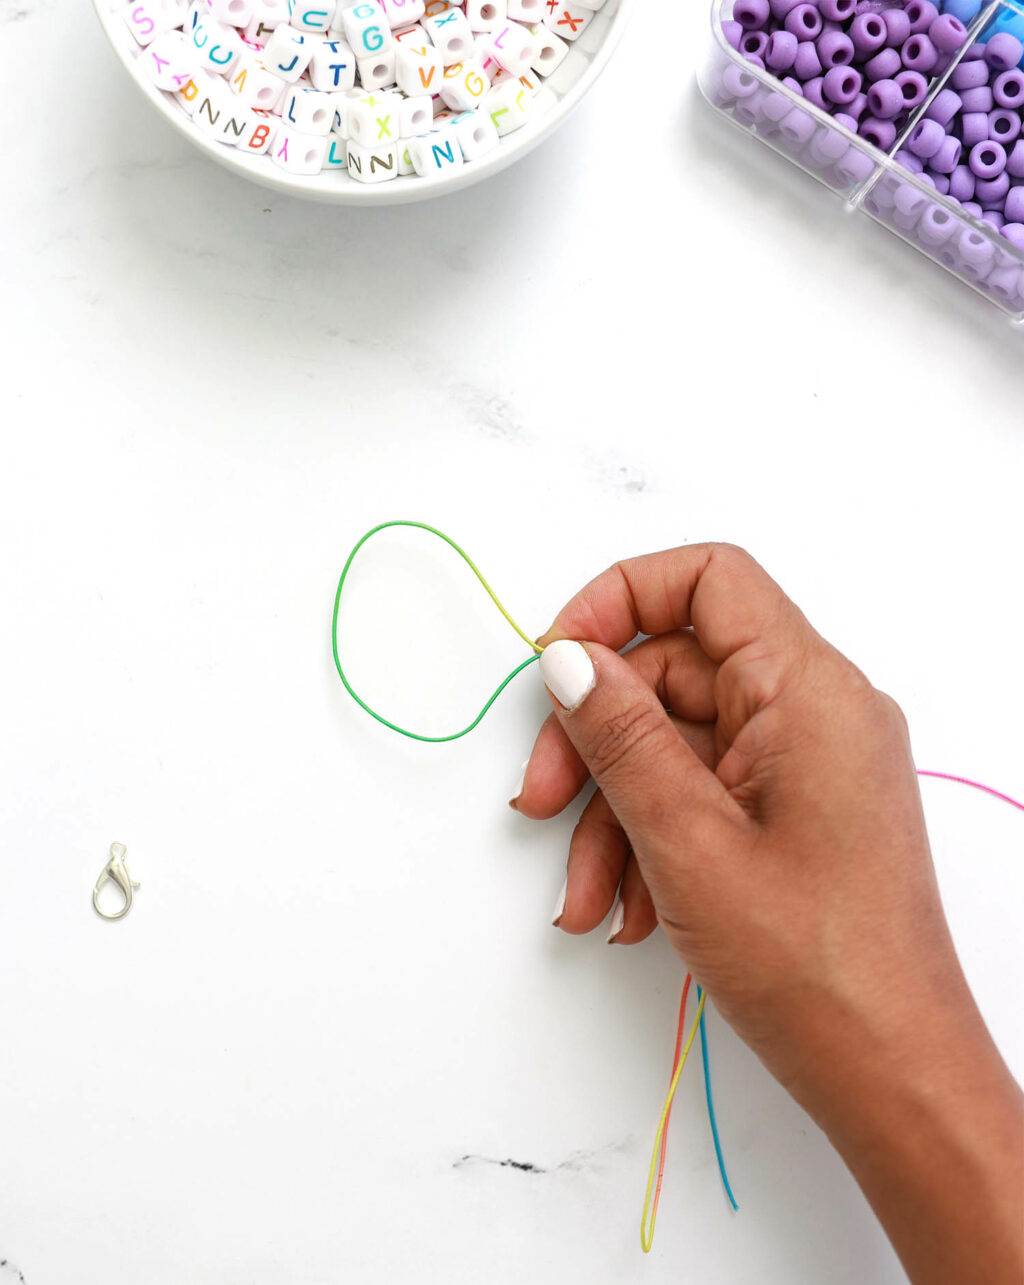

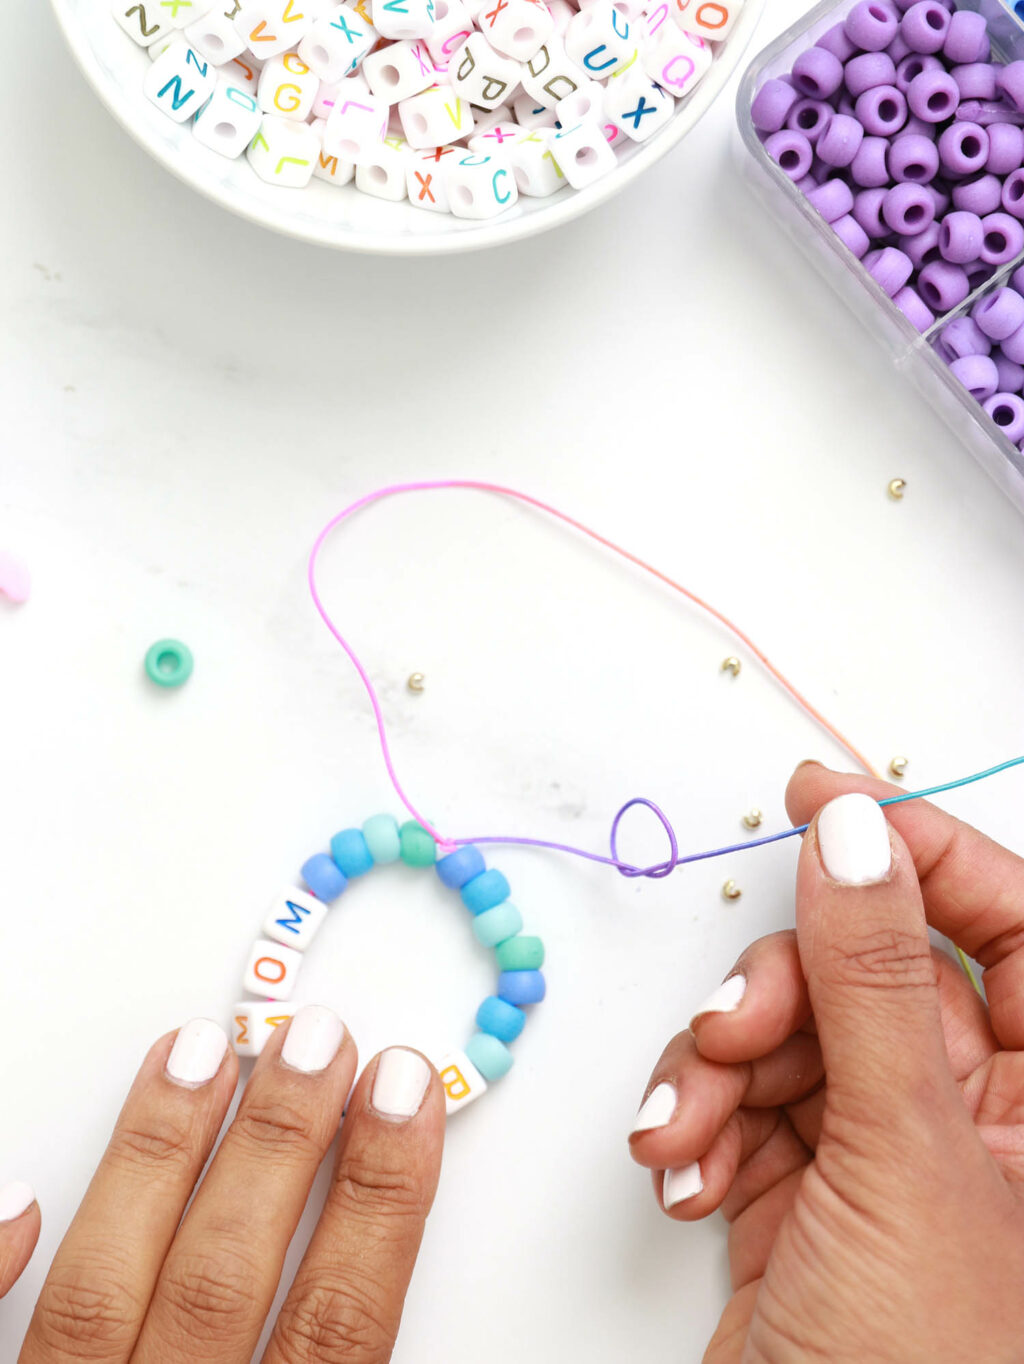
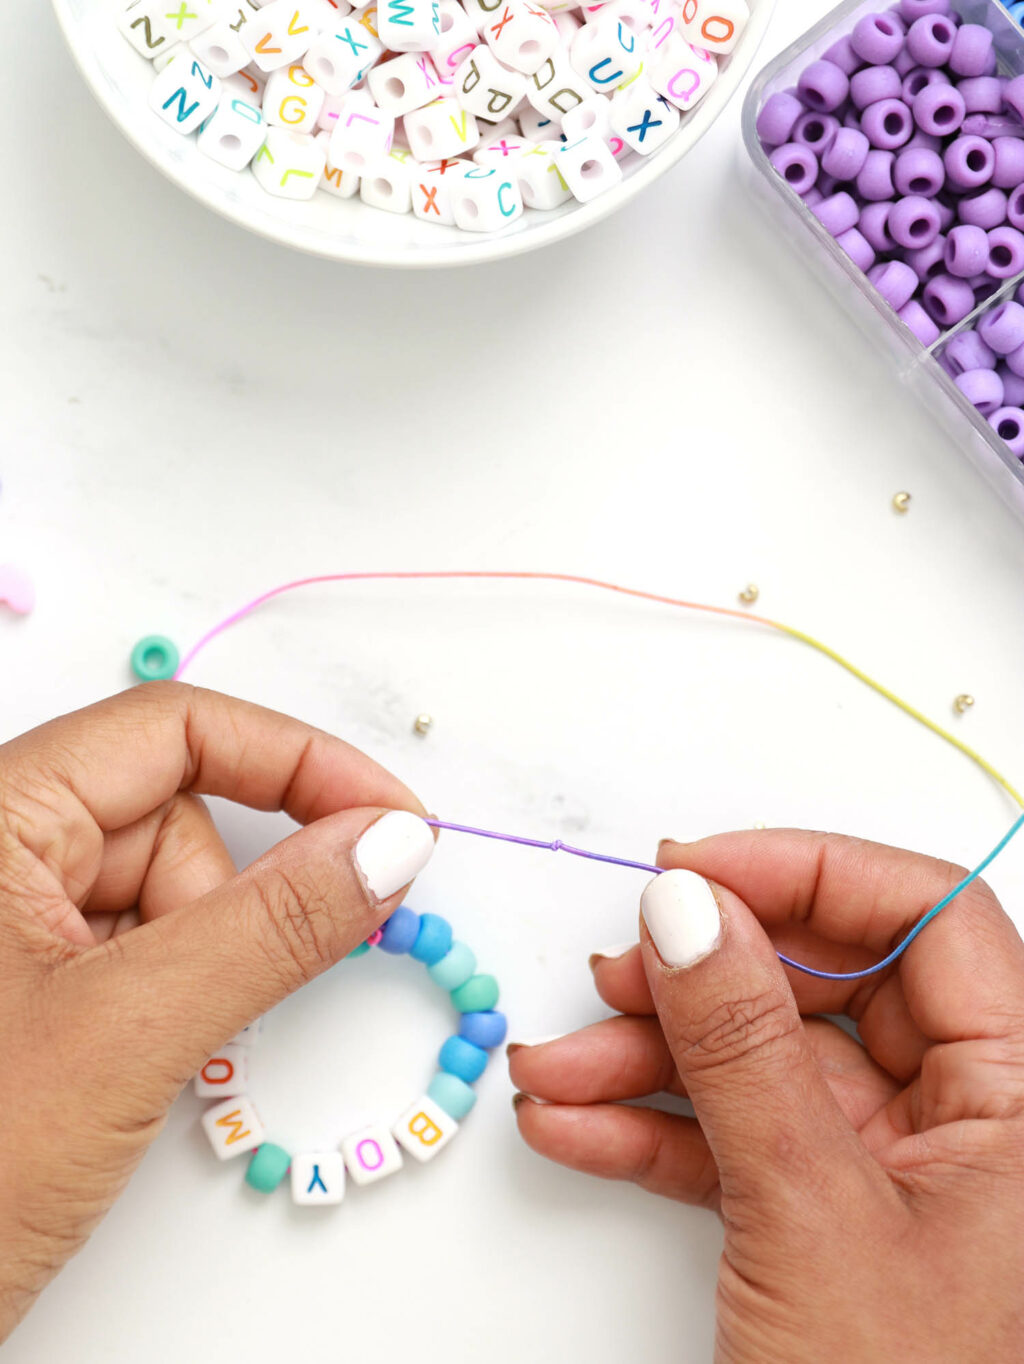
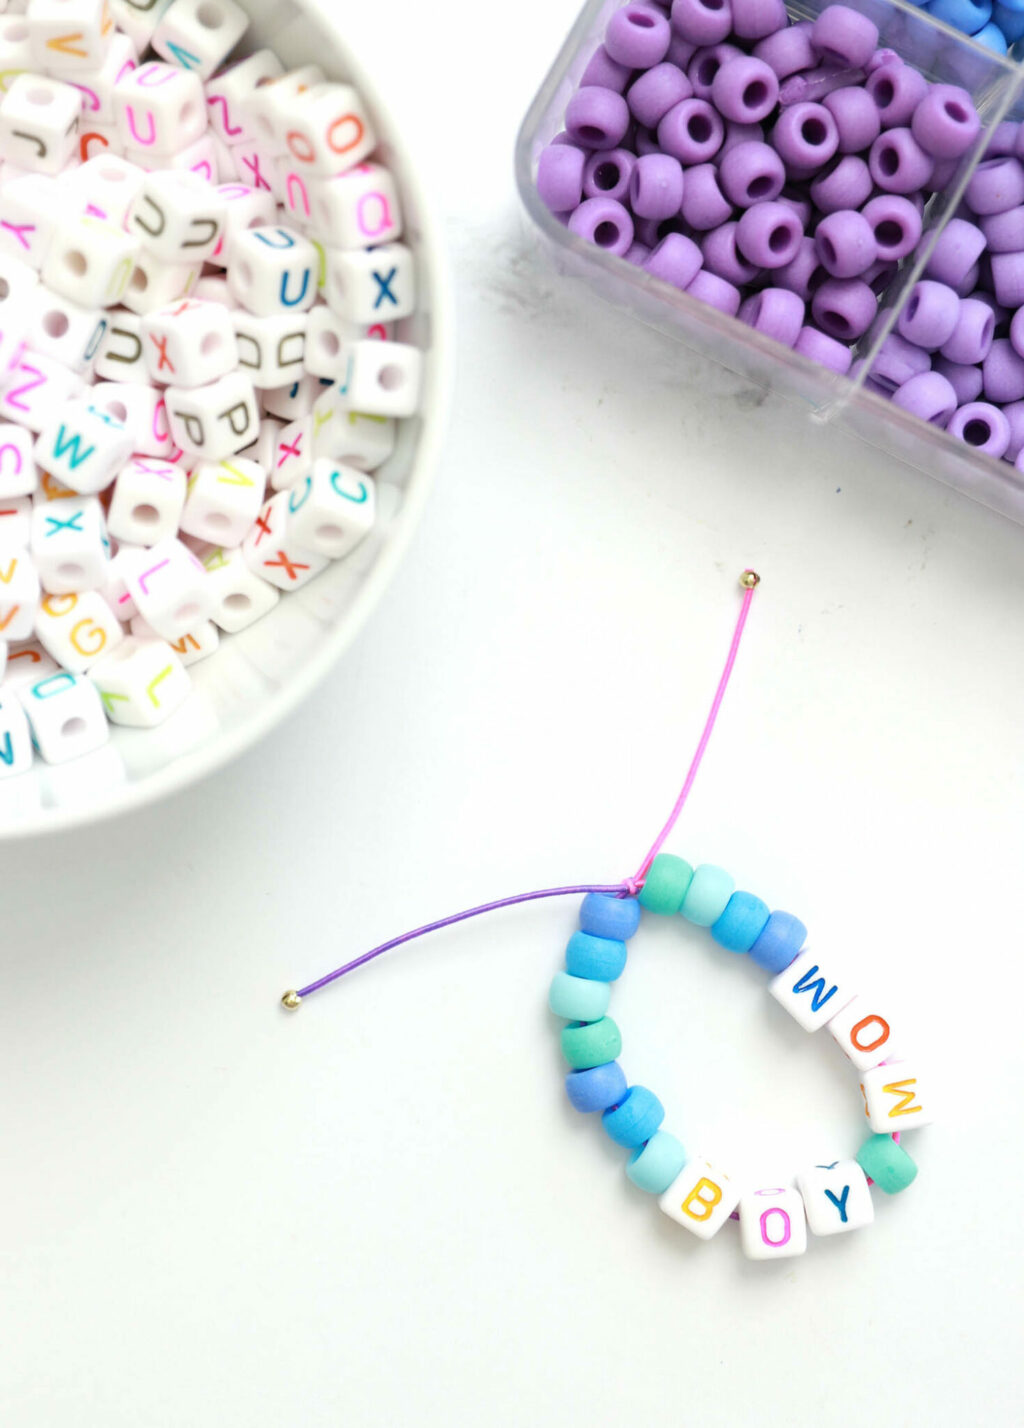
How to Tie a Knot on your Beaded Bracelet
This is by far the biggest pain point when making your own beaded bracelet. You want to tie a knot so that your bracelet doesn’t come apart! To do this, you’ll want to tie a surgeon’s knot. Watch the video below to learn how to tie a surgeon’s knot.
Once you’ve created the surgeon’s knot on you bracelet, use a bit of glue to make sure it’s secure.
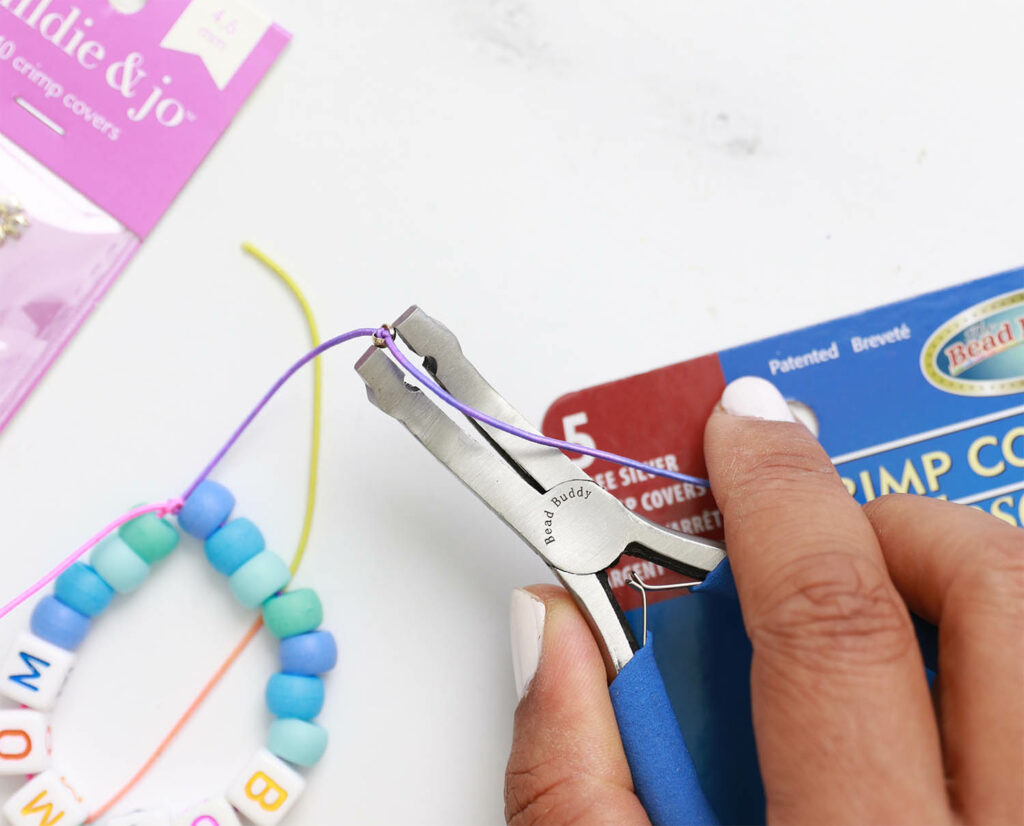
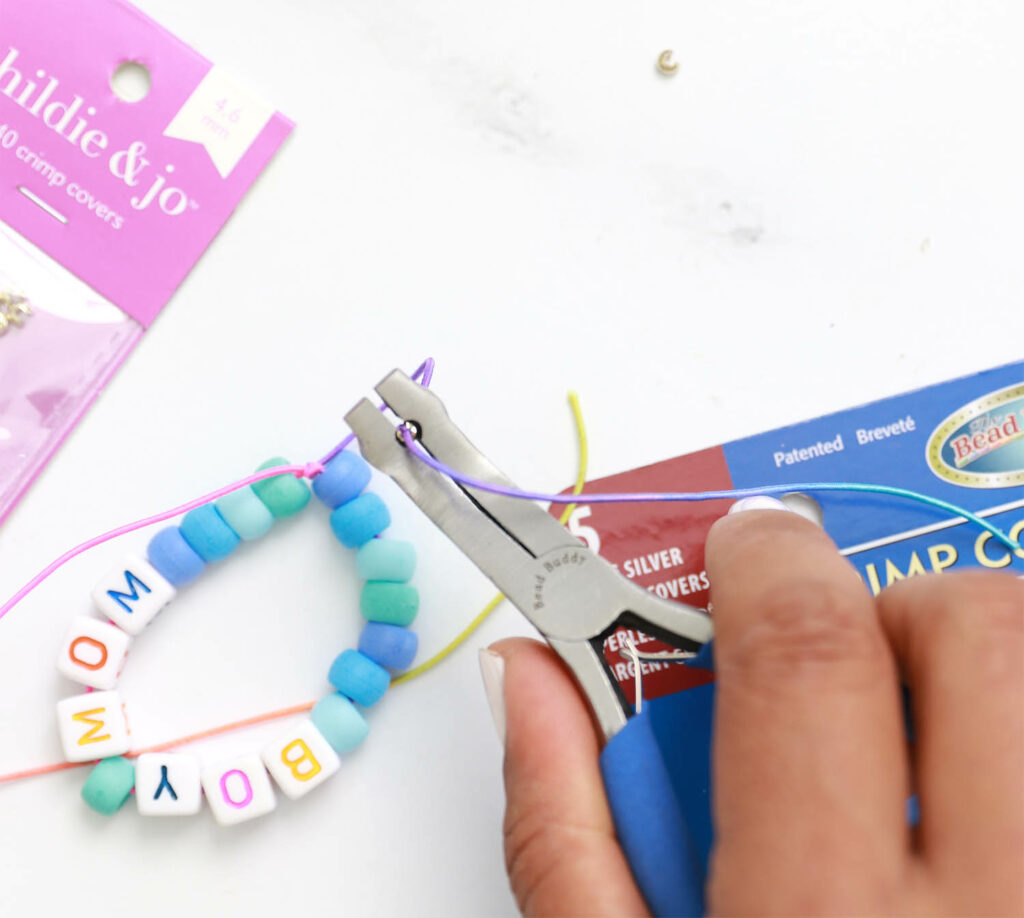
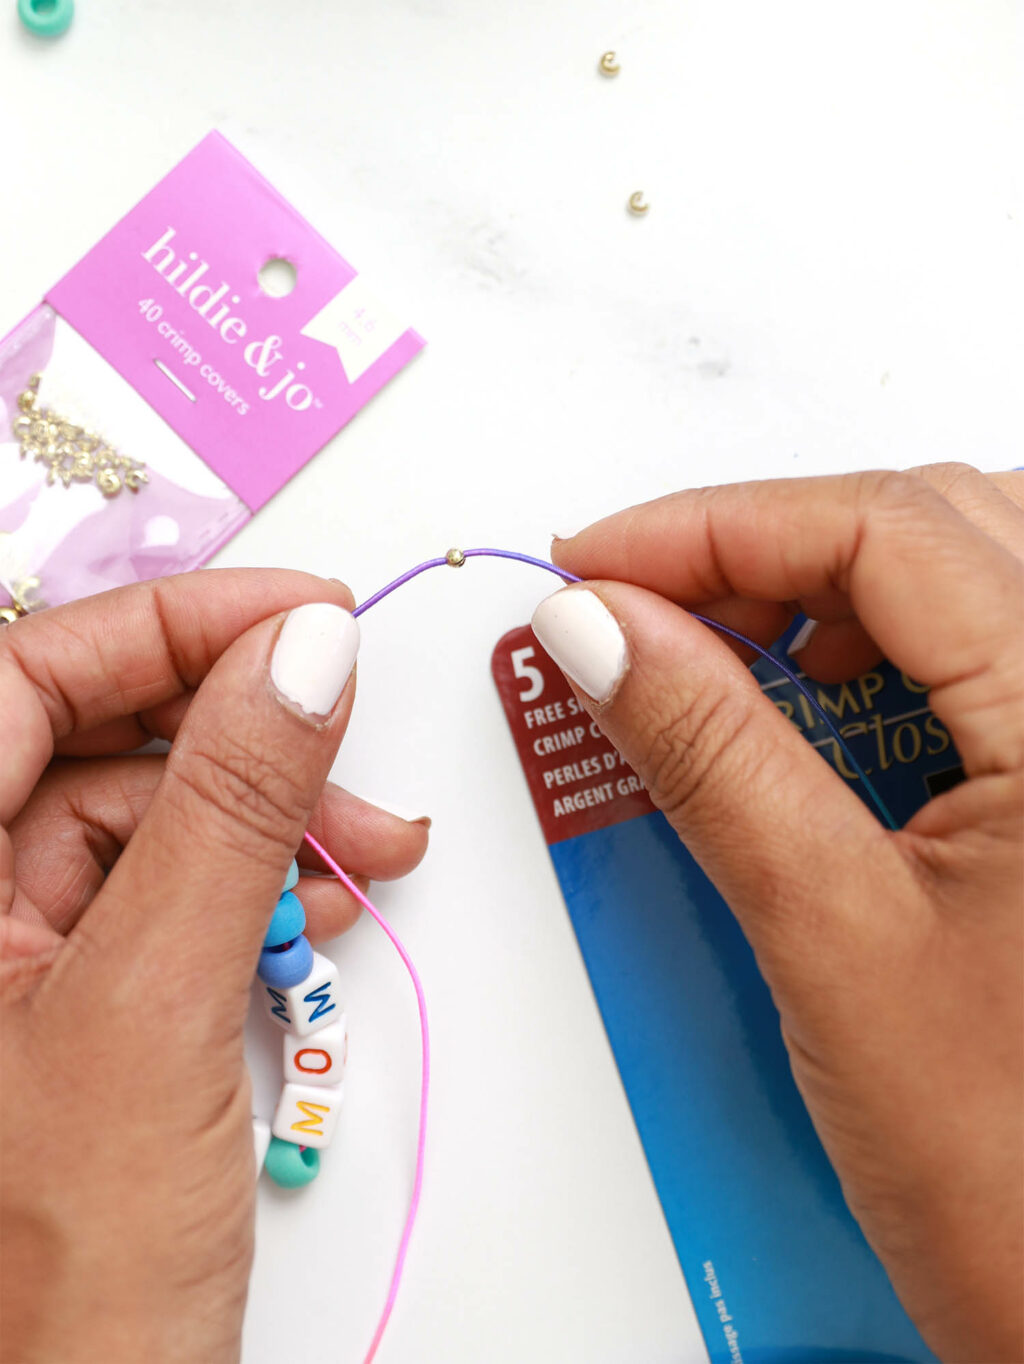
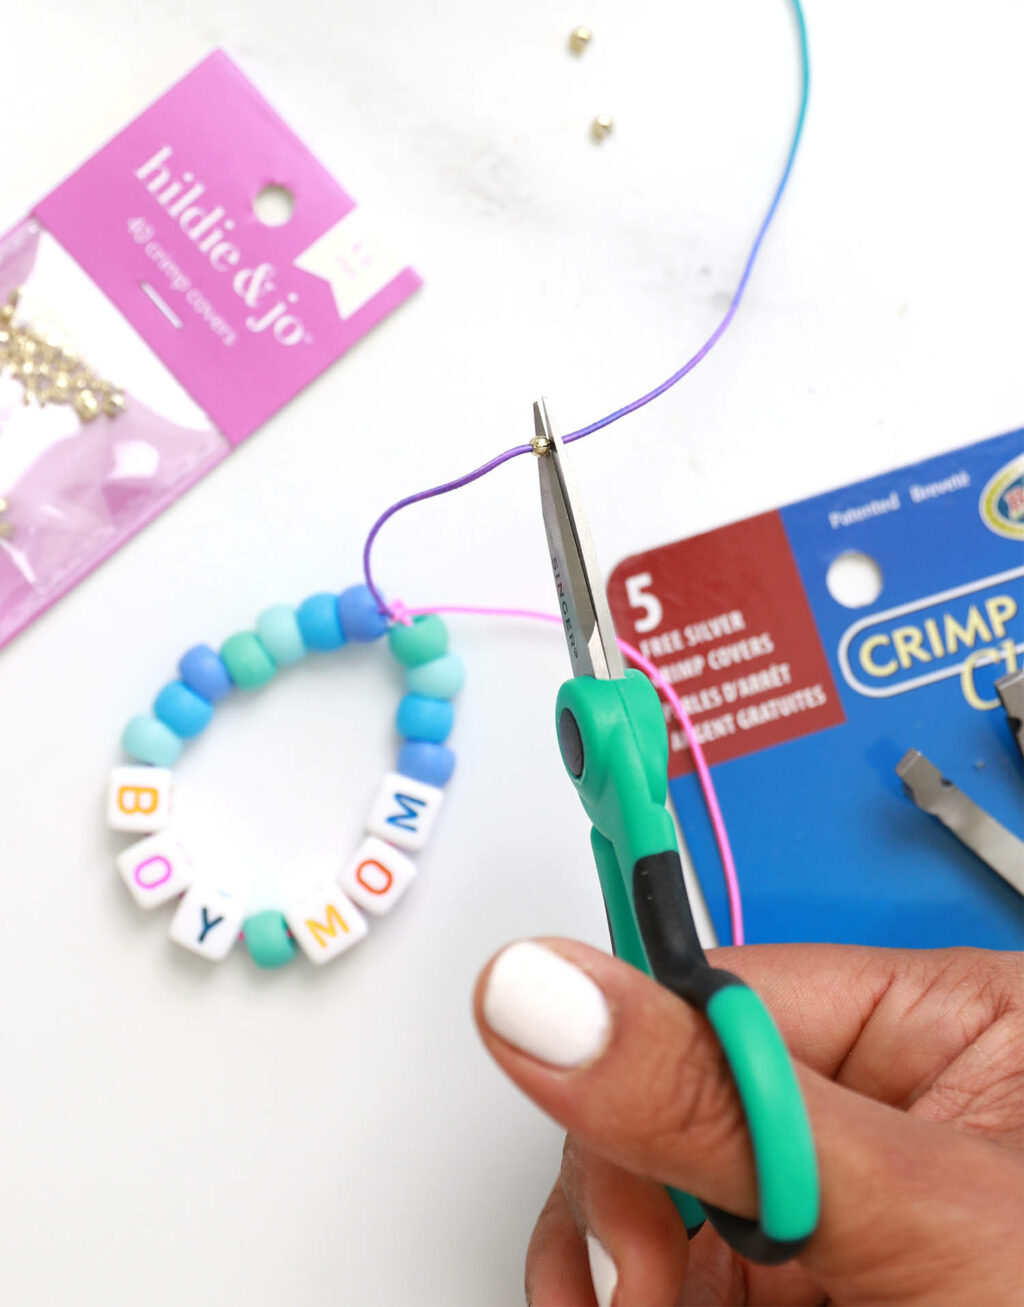
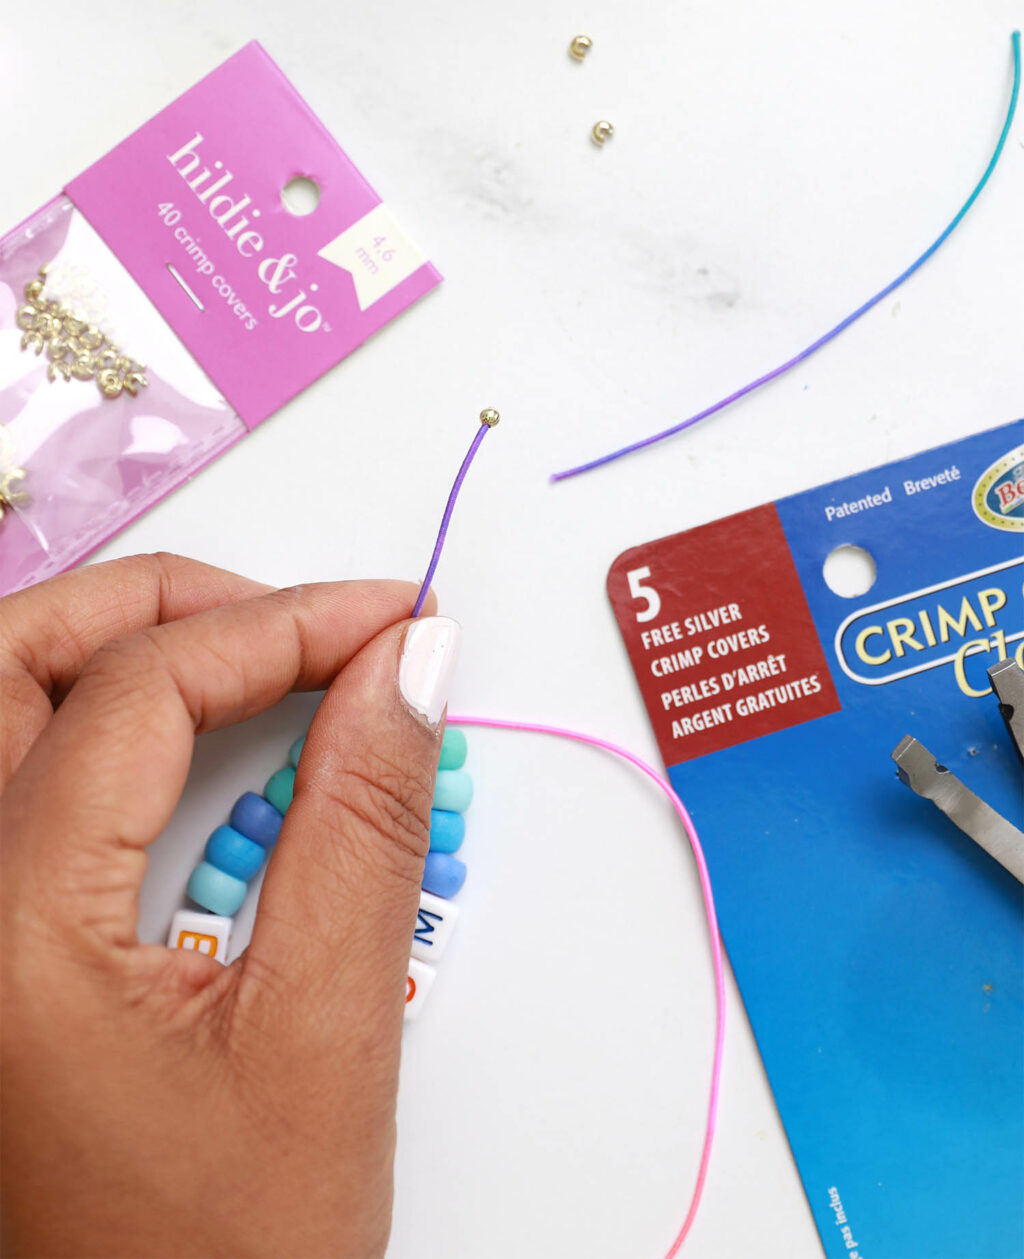
How to Finish off the Ends of your Bracelet
When your bracelet is knotted, you’ll have two free ends that you’ll want to finish off. If you leave them be, they will unravel over time and become very frayed. There’s an easy way to avoid this by using crimp covers and a crimp cover plier tool.
Easy Beaded Bracelets for Kids
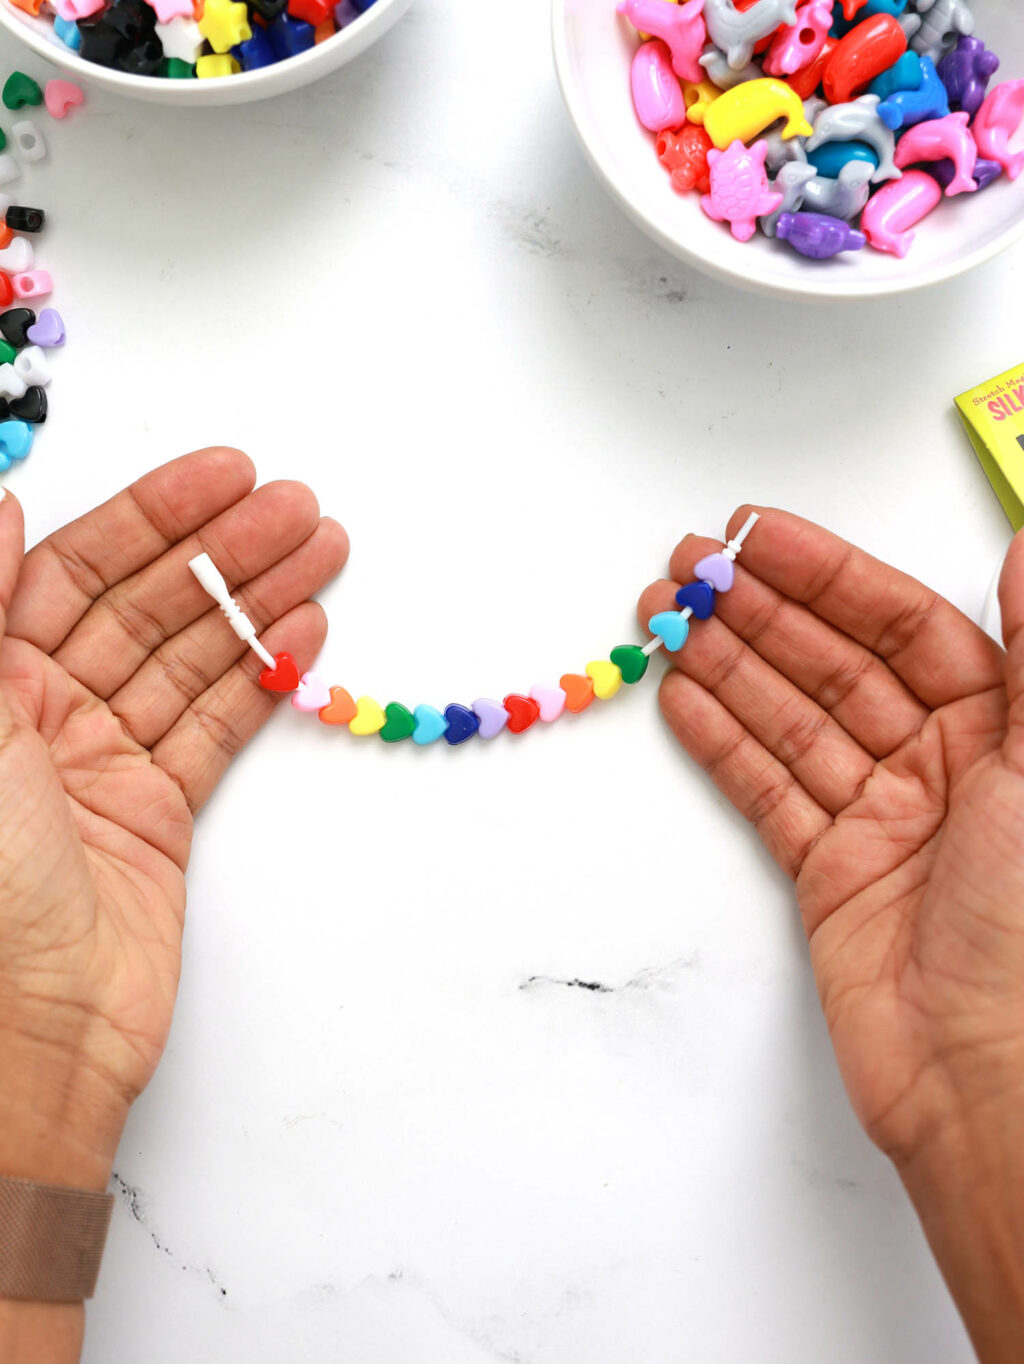
If you’re looking for a much simpler way to make beaded bracelets, I’ve got you! This is super helpful if you’re crafting with kids who may need a lot of help through each of the steps. You can use
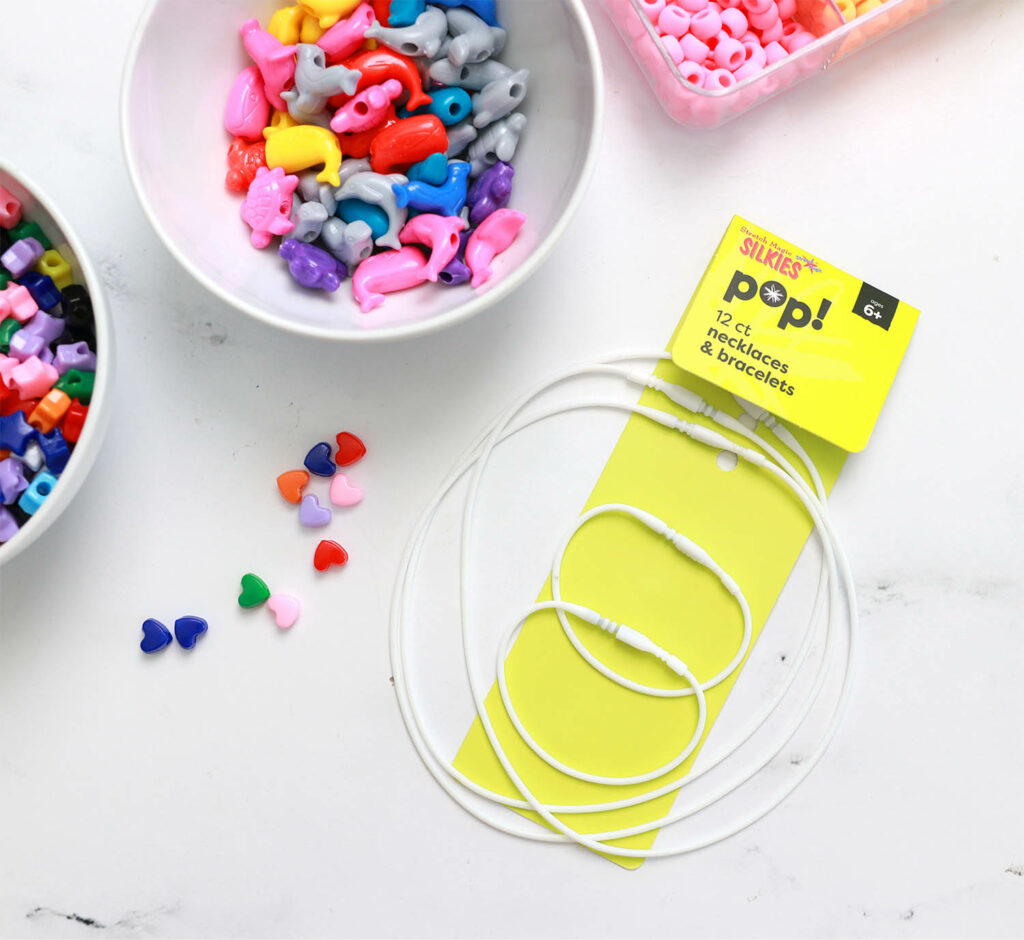
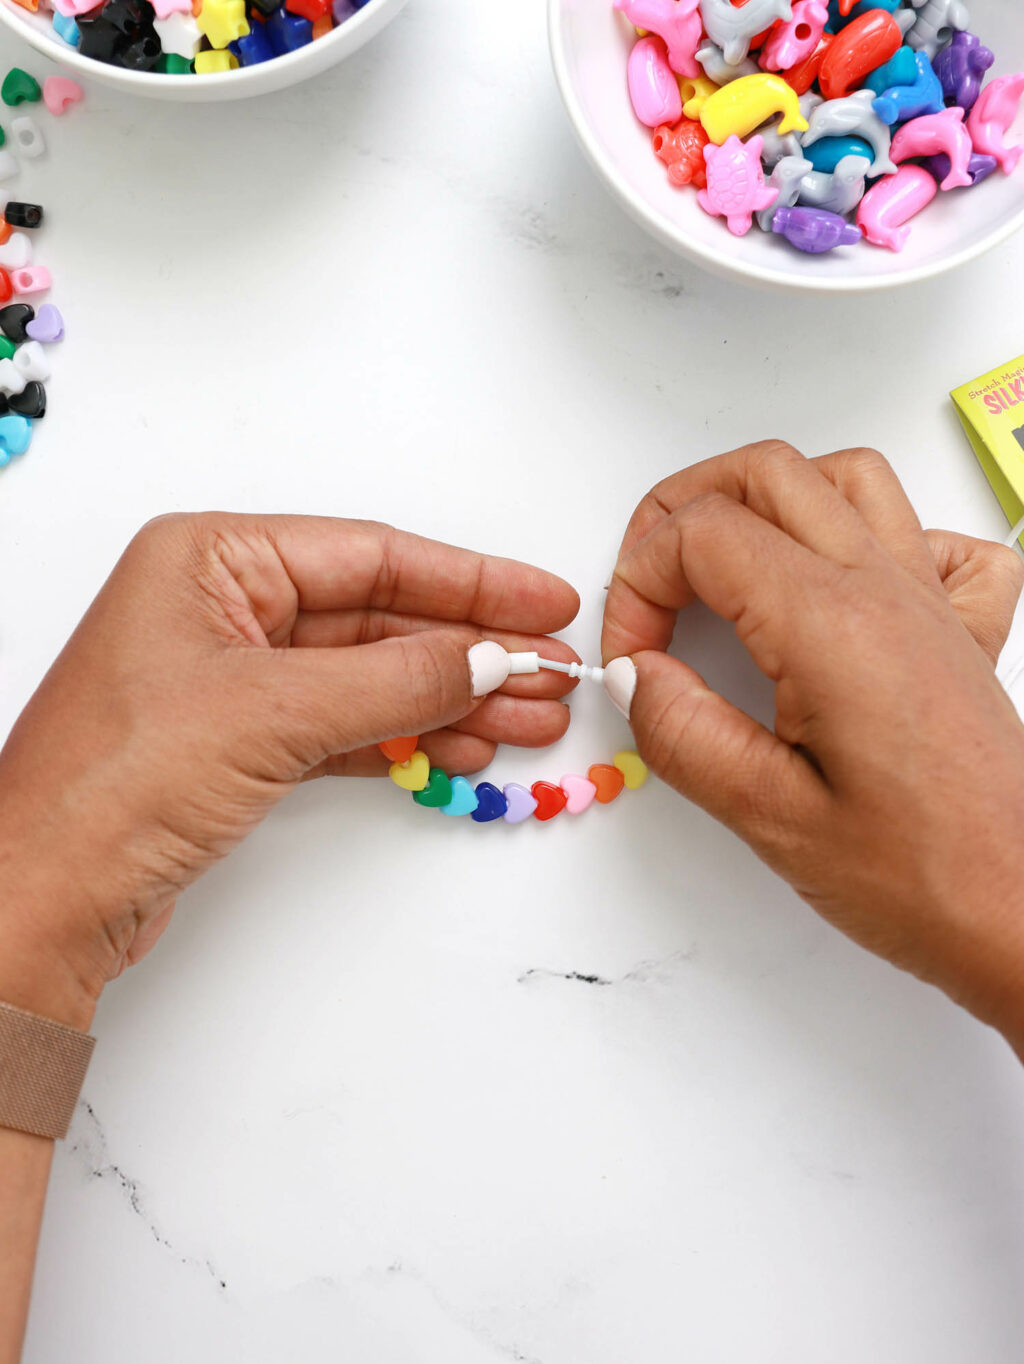
I found these cool necklace and bracelet strands that have an easy closure on them. Once you push the closure together, the bracelet stays together quite well so you don’t have to worry about it coming apart. No need for tying knots, using special glue or finishing off the ends.
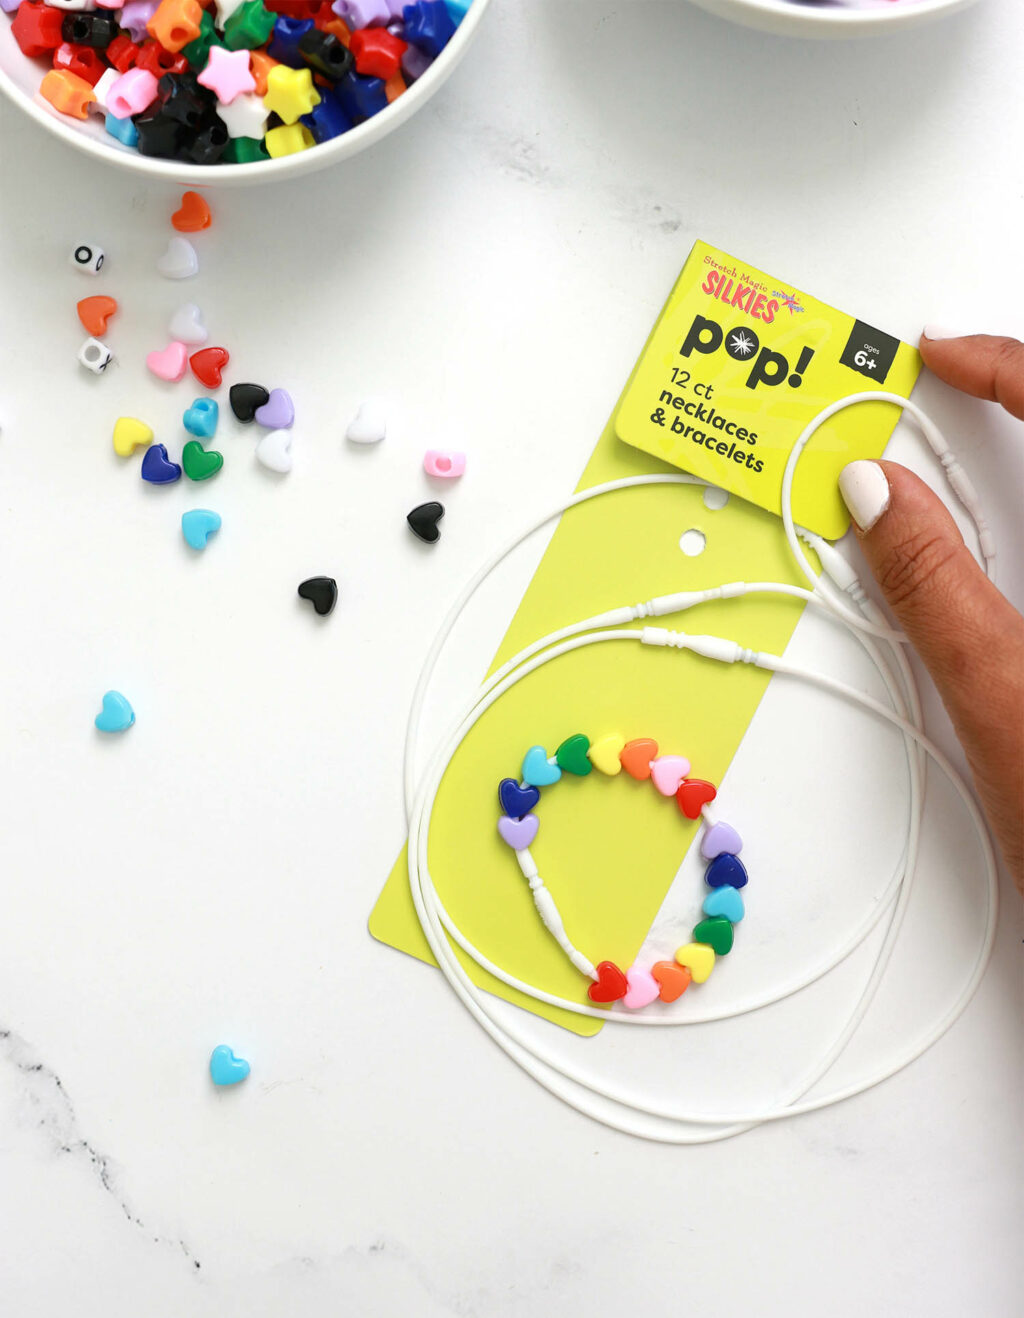
How easy was that?! Just make sure you pick up a few packages of those Silkie Bracelets and Necklaces because your kids will go through them quickly!
This awesome tutorial was created in partnership with Joann Fabric & Craft Stores! Thanks for supporting the sponsored content that keeps the lights on in this joint!


подъем домов новокузнецк
замена венцов новокузнецк
ремонт фундамента новокузнецк
подъем домов новокузнецк
ремонт фундамента кемерово
ремонт фундамента новокузнецк
ремонт фундамента кемерово
ремонт фундамента новокузнецк
ремонт фундамента кемерово
подъем домов кемерово
замена венцов новокузнецк
ремонт фундамента новокузнецк
подъем домов кемерово
ремонт фундамента новокузнецк
подъем домов новокузнецк
подъем домов кемерово
ремонт фундамента кемерово
ремонт фундамента новокузнецк
ремонт фундамента кемерово
ремонт фундамента кемерово
замена венцов кемерово
подъем домов новокузнецк
замена венцов кемерово
ремонт фундамента новокузнецк
замена венцов кемерово
замена венцов кемерово
подъем домов новокузнецк
подъем домов новокузнецк
замена венцов кемерово
подъем домов кемерово
подъем домов кемерово