
Every once in a while, it’s good to revisit the basics and remind ourselves that the simplest technique can result in the most impressive projects.
One of my go-to crafting materials for simple-yet-stunning crafting is ….drumroll, please…vinyl!
For years, vinyl was one of those material that confused me and intimidated me. I avoided using it with my Cricut machine and stuck to what I knew…which was usually paper.
Fast forward to the moment when specialty vinyls started showing up…and I was immediately sucked in. Give me a brushed metal or holographic finish, and I’ll be your best friend for life! I’m willing you guess you may feel the same way! Or maybe you’re a vinyl pro and you just need a little inspiration for how to use up your growing stash. As always, I’ve got you!
Make sure you Pin this project to your crafting Pinterest board so you have it to reference back to!
First things first, let’s talk about vinyl and where you can find lots of it. Yep. You guessed it…JOANN. You already know my love of all things JOANN, so it was only a matter of time before I started talking vinyl.
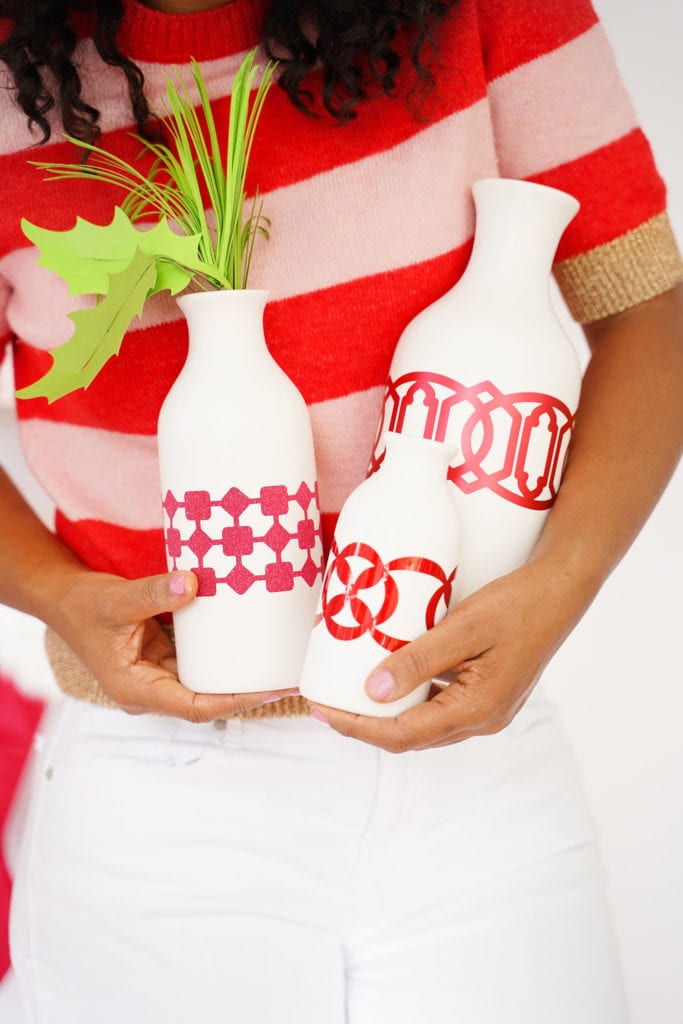
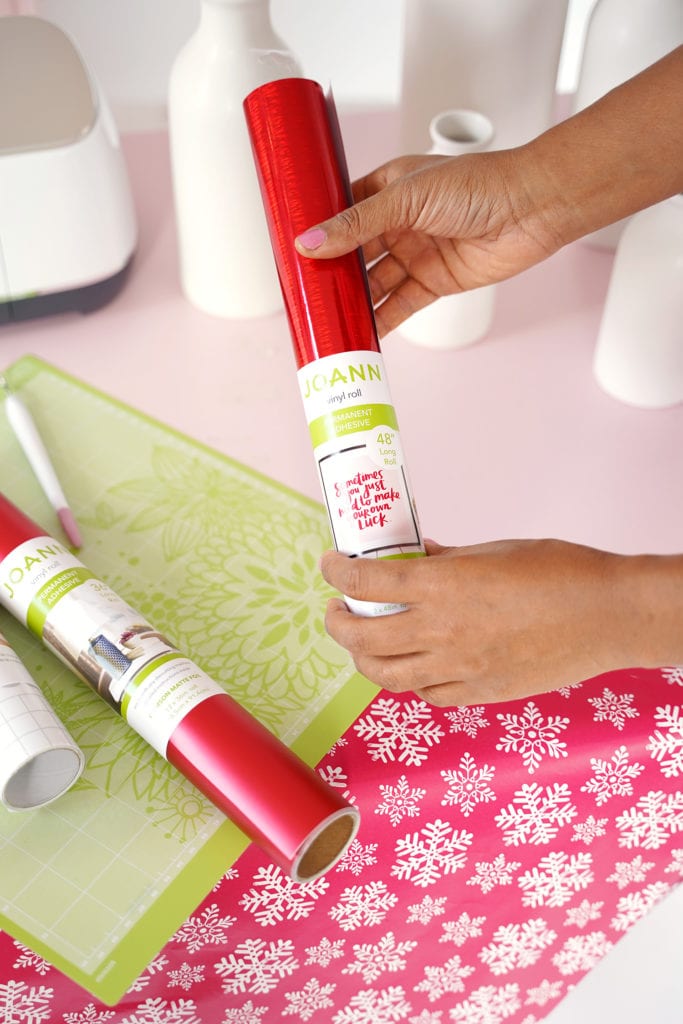
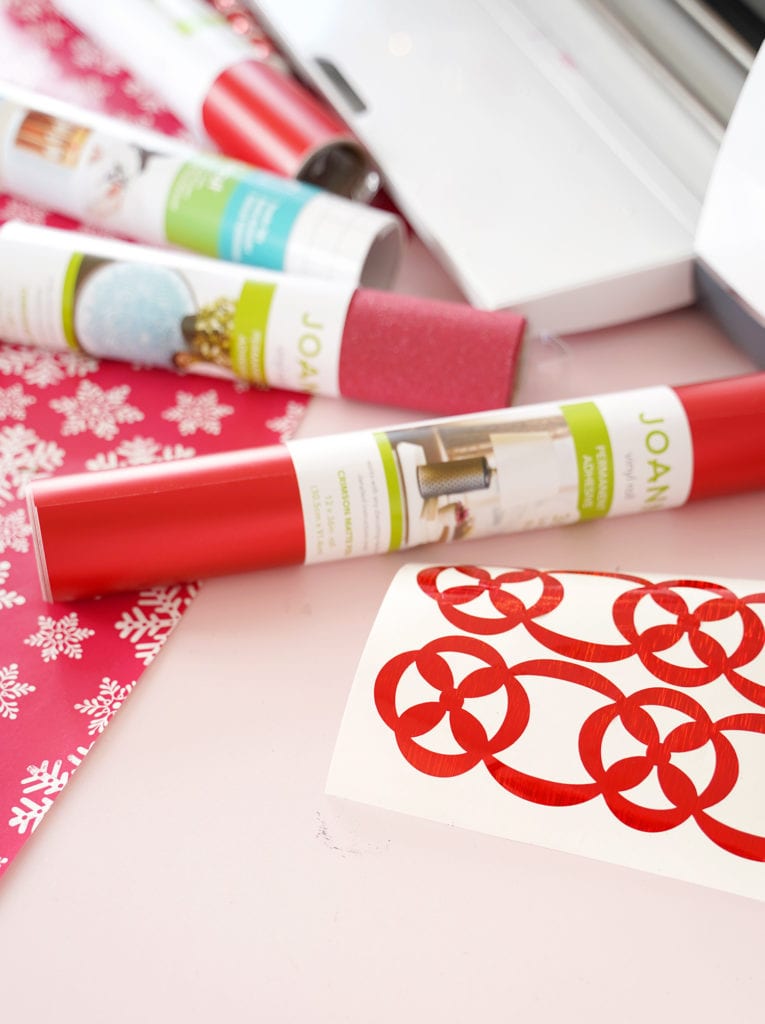
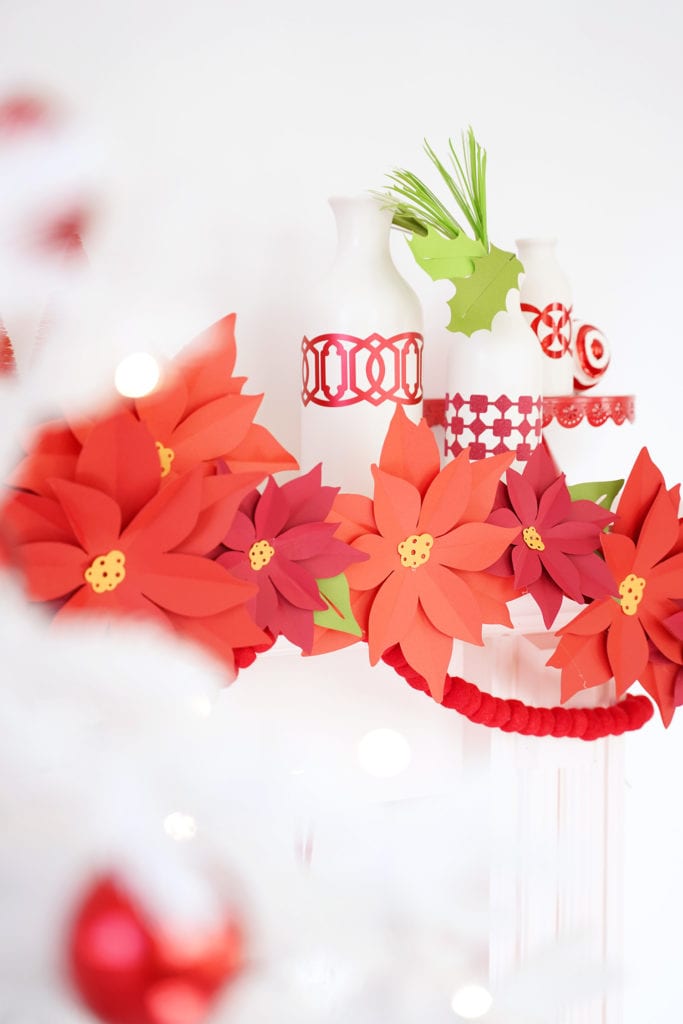
Recently JOANN released their own house line of vinyls that you can find in the exact same aisle with the Cricut products. You’re going to flip for all the colors and finishes available in JOANN vinyl and how they work seamlessly with all the Cricut vinyl that we know and love. My favorite feature of the JOANN rolls is that they offer lots of finishes for the same color. This means, my all-red, monochromatic holiday decor can have a touch of sparkle and sophistication by using the Crimson Glitter, Crimson Brushed Metal and Crimson Laser vinyls. All the same color, but slightly different finishes.
HOW TO CUT AND APPLY YOUR VINYL
I love using vinyl with my Cricut Maker. You DO NOT have to do this, though. You can absolutely cut your vinyl with scissors, a craft knife or paper punches to create your own custom design. If you wont’ be using a Cricut with your vinyl, scroll down to Step 4.
CLICK HERE FOR THE BORDER DESIGNS I USED FOR THIS PROJECT
 STEP 2:
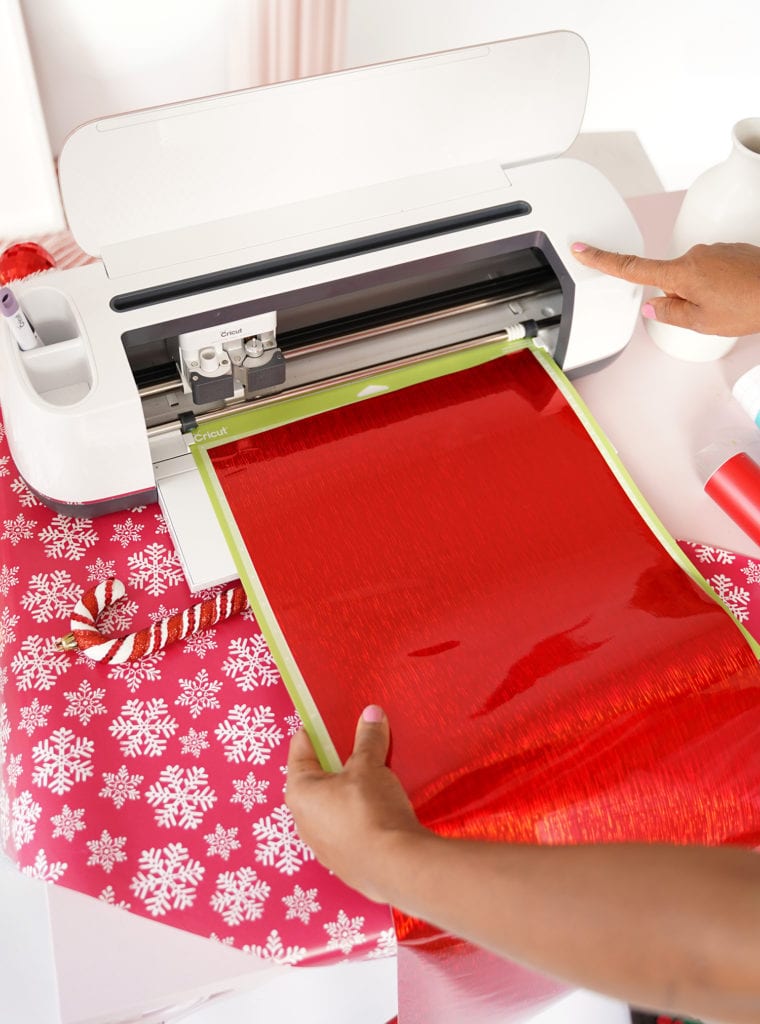
Place vinyl onto your Cricut cutting mat.
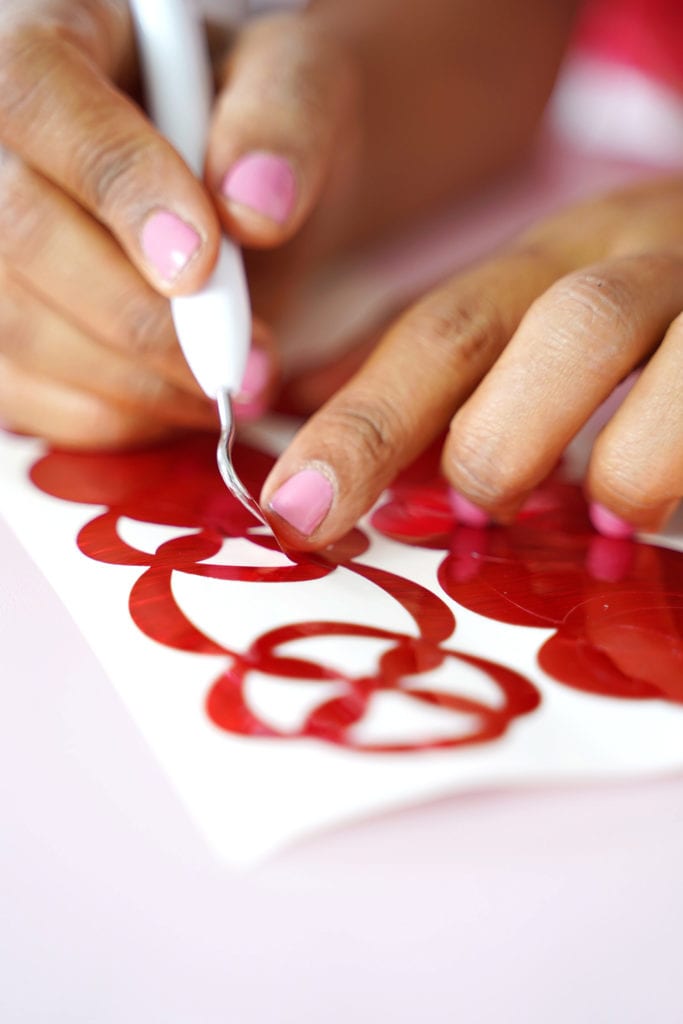
STEP 3:
Cut the design from vinyl then use a weeding tool to remove all the excess.
CLICK HERE FOR THE BORDER DESIGNS I USED FOR THIS PROJECT
STEP 4:
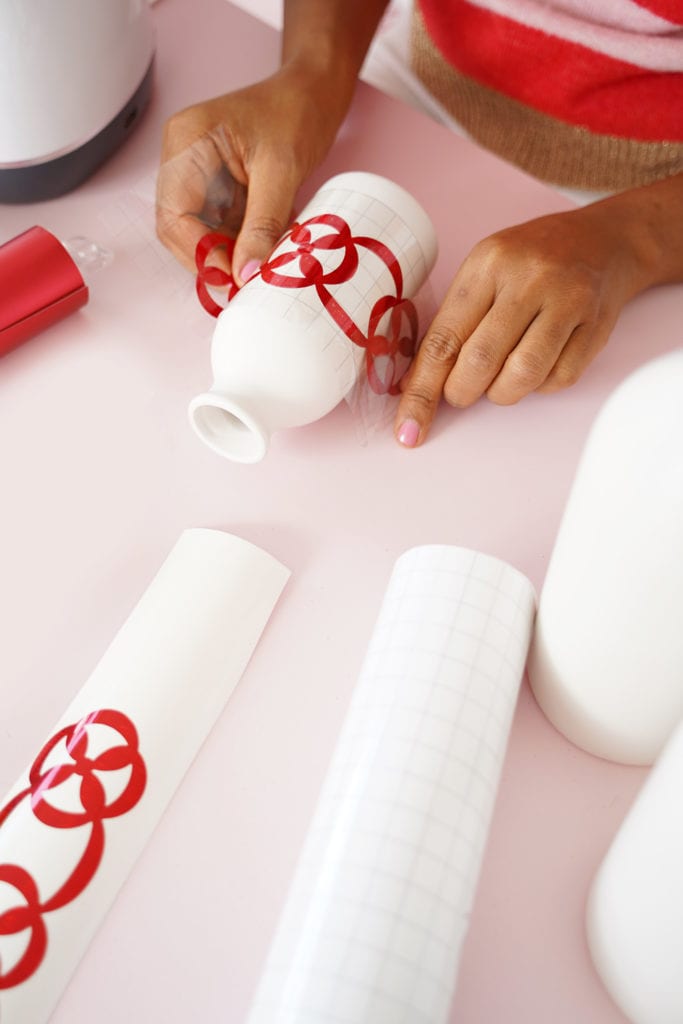
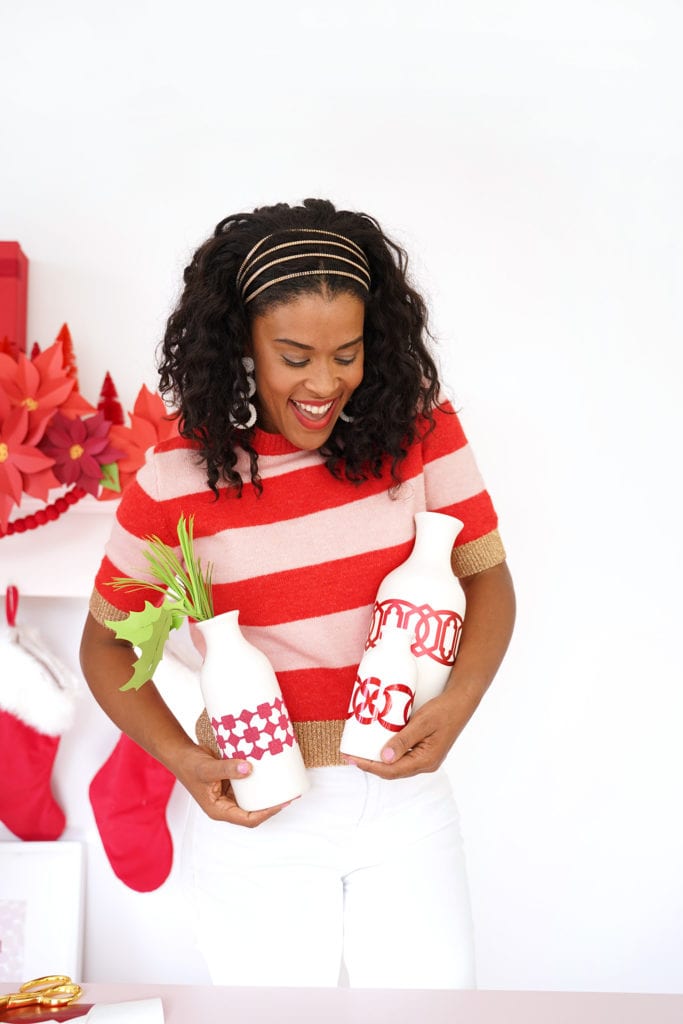
Now it’s time to apply the vinyl to your surface. For this project, I’m using some simple vases I grabbed from the JOANN floral department.
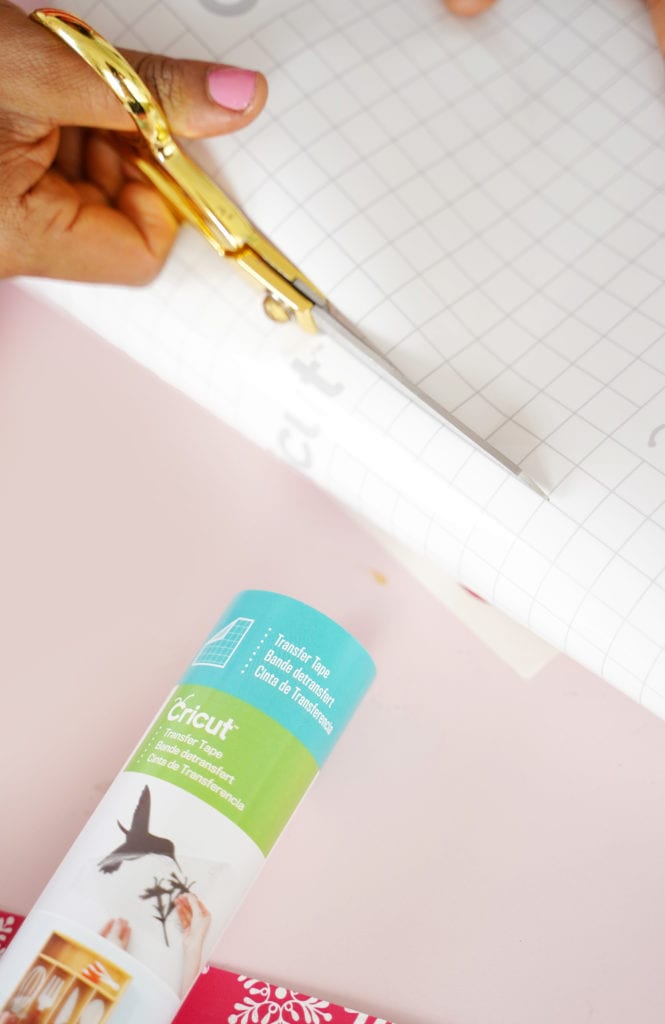
For the application, you’ll need some Cricut Transfer Tape.
![]()
Not all transfer tapes are created equal! Don’t grab the first one you see! You’ll want to make sure it works for the project you are doing.
![]()
Standard Transfer Tape: This stuff is going to be your go-to for MOST vinyl application.
Strong Grip Transfer Tape: I’ve found this is a must have when working with glittery vinyls. Since glitter vinyl has a texture to it, you’ll need a little extra adhesive on your transfer tape for the glitter vinyl to properly stick into place.
STEP 5:
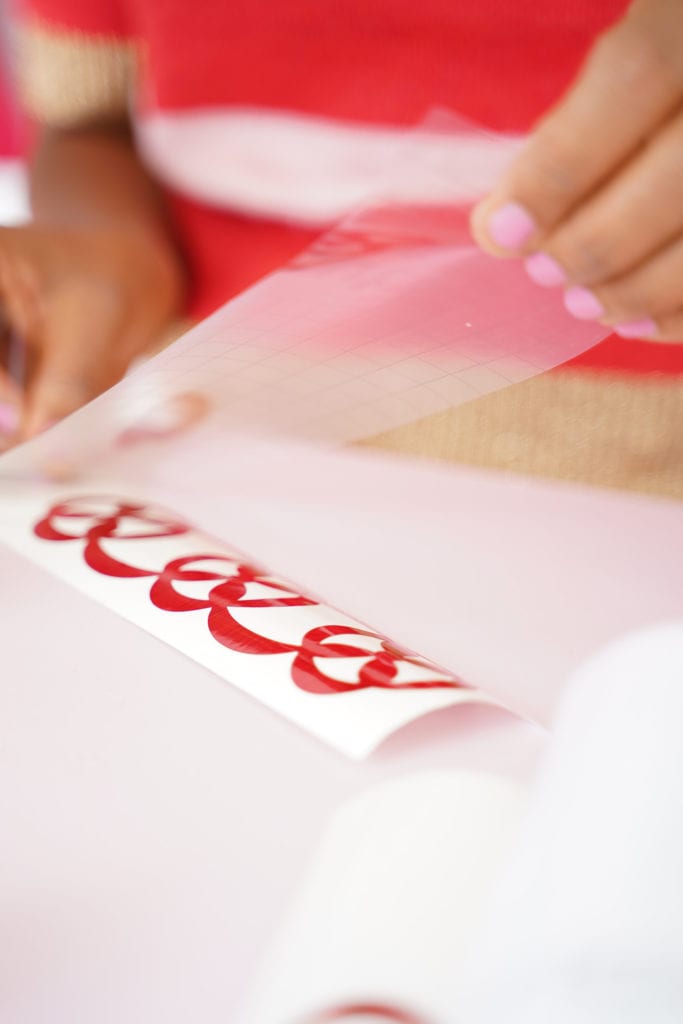
Place the transfer tape directly onto your vinyl design and rub with a bone folder…your fingers also work find too!
CLICK HERE FOR THE BORDER DESIGNS I USED FOR THIS PROJECT
STEP 6:
Peel back the transfer tape and you’ll see that your design is stuck to it!

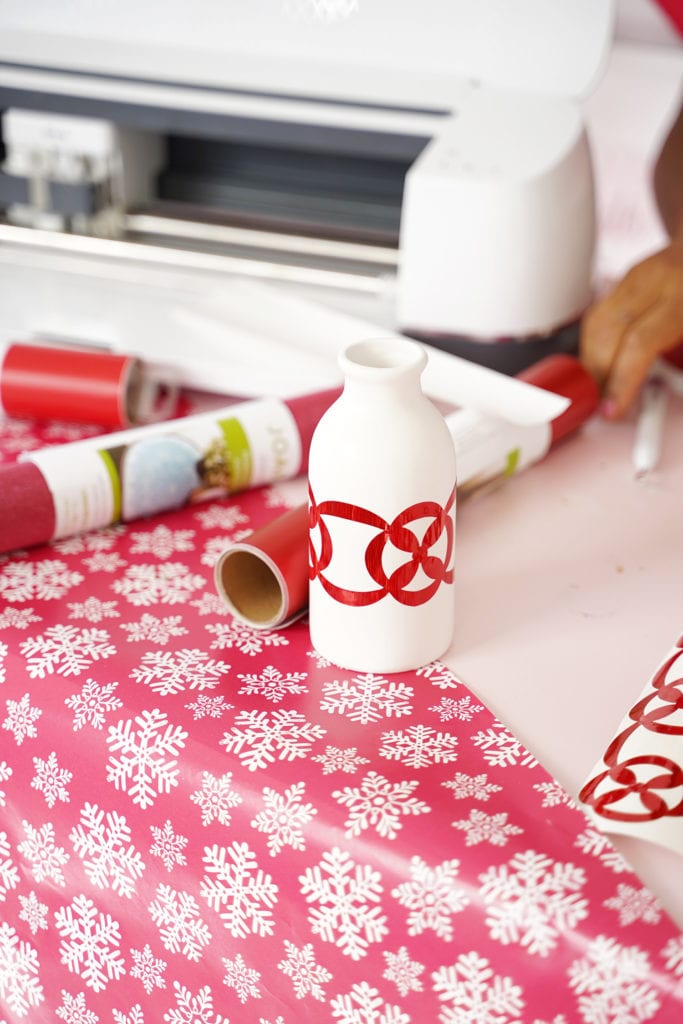
STEP 7:
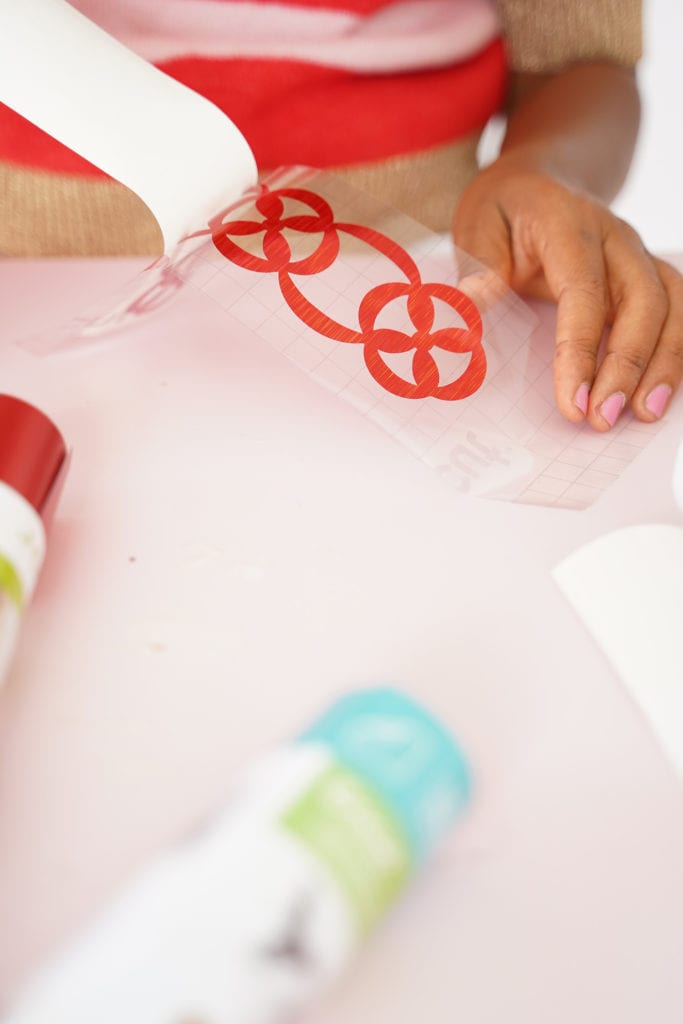
Place your vinyl design on to the surface and rub into place. Peel back the transfer tape and you’ll see that the vinyl is perfectly adhere to your pretty new vase!
Want to watch this happen live, head over to the JOANN Facebook Page and watch me demonstrate how easy vinyl application can be!
CLICK HERE FOR THE BORDER DESIGNS I USED FOR THIS PROJECT

I love these patterns! Could you share where to find the cut files?
I asked the same thing on the post two days ago. Never got an answer! Too bad. Amber used to be so responsive.
Thanks for your patience as I try to tackle all the madness of the holiday season! I’ve added a link to the post where you can find the borders I used for this project! Happy crafting!
Thanks for the tutorial Amber, I always wondered how it was done! I have a different cutting machine, but can see from your notes that this is absolutely doable! You’re a star!
This collection is so cute! Thanks for the inspiration!
io games list
Thanks for sharing this knowledgeable blog with us, truly a great informative site. It is very helpful for us. You have clarified the subject in very simple and step by step.
This article is really very interesting and effective.
Thanks about the vinyl.
CHeck Also:
STEP 1: Clean Your Surface. The first thing you will want to do is make sure the surface that you are planning on applying the vinyl to is clean and dry. …
Step 2: Cut Your Design. You can cut your design by hand or use a craft cutter. …
Step 3: Apply Your Transfer Tape. …
Step 4: Adhere Your Design.
Cut Your Design
Apply Your Transfer Tape
Adhere Your Design
Thanks
Vinyl is a great material to use for crafts. It’s easy to cut, you don’t have to worry about unsticking it from the mat of your craft, and it doesn’t curl up or tear like paper does. Plus, there are so many different colors and patterns that are available nowadays that your options are nearly limitless!
What is vinyl?
Honda PCX 150 ABS Specs – Guys!! Here in this article, I am going to share with you the 2022 Honda PCX 150 ABS Motorcycle
Thanks for the amazing post,
Thanks for this article, I am impressed!
You can also find a lot of important information on my official site https://www.canadacasinosites.com/.
Thank you very much for your ‘ Gifts And Collectibles ideas
Hello everyone!
If you need to download videos from TikTok without problems and quickly, then I can advise you a cool site https://savetiktok.org This great service was recommended to me by my friend. Now you don’t need to install additional applications and programs to save your favorite video, the whole process happens in seconds. You just need to copy the link from the browser bar of the Tik Tok service and paste it into a special form on our site, then select the desired quality and after a couple of seconds to save the file to your phone or computer.
I have old vases at home, one of which was a gift from a friend. I was pleasantly surprised when I found it, as I had been searching for such a vase for a long time. It’s been over 5 years now, and I’m eager to renovate it. Your article has provided valuable tips to make them look their best.