As promised, today’s post is part deux of yesterday’s Birthday Binder debut.
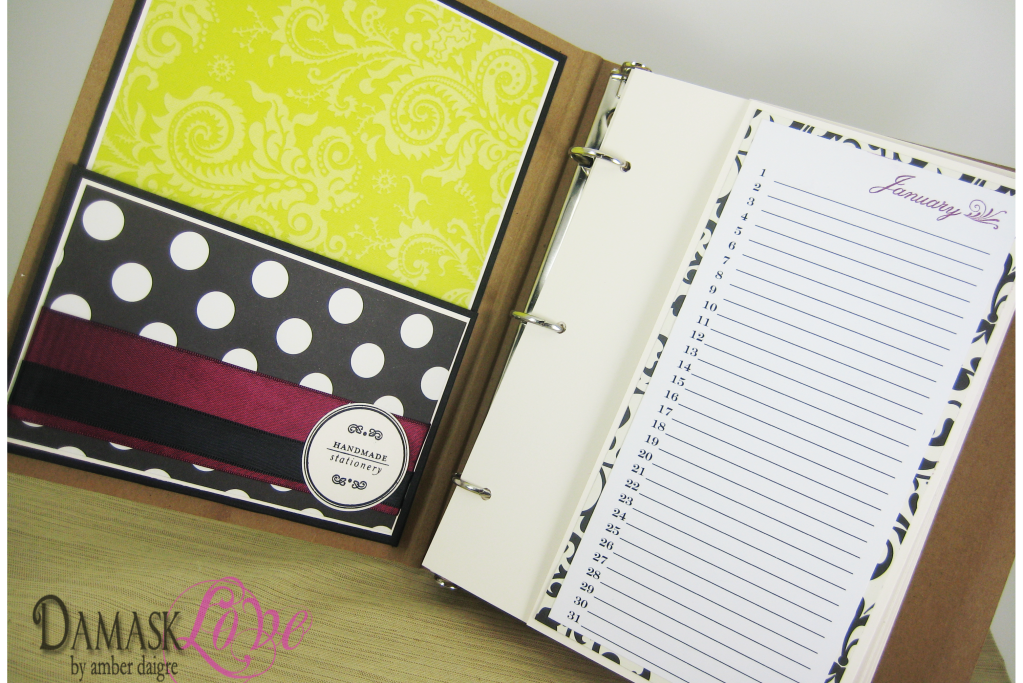
For the interior of the binder, I decided to use the same rich color scheme that I used on the front cover.
I started with a somewhat unnecessary step (necessary for me, because I’m crazy, unnecessary for the rest of the world, because they’re not).
For those who are familiar with Papertrey Ink, you know that they offer pre-made, pre-dated and pre-scored calendar pages that are specifically made to fit into the kraft binder.
For those who are not familiar with Papertrey Ink, they offer pre-made, pre-dated and pre-scored calendar pages that are specifically made to fit into the kraft binder.
These pre-made pages only come in white cardstock. I, however; did not want white cardstock for my pages. Why? Well, because, I’m crazy (as previously mentioned) and couldn’t compromise the vision I had for my birthday binder. Instead of white cardstock, I wanted my calendar pages to be cream…Vintage Cream to be exact. (I know, I know – it shouldn’t be that big of a deal – but it is to me).
So I began the following journey of creating my own calendar pages for my binder:
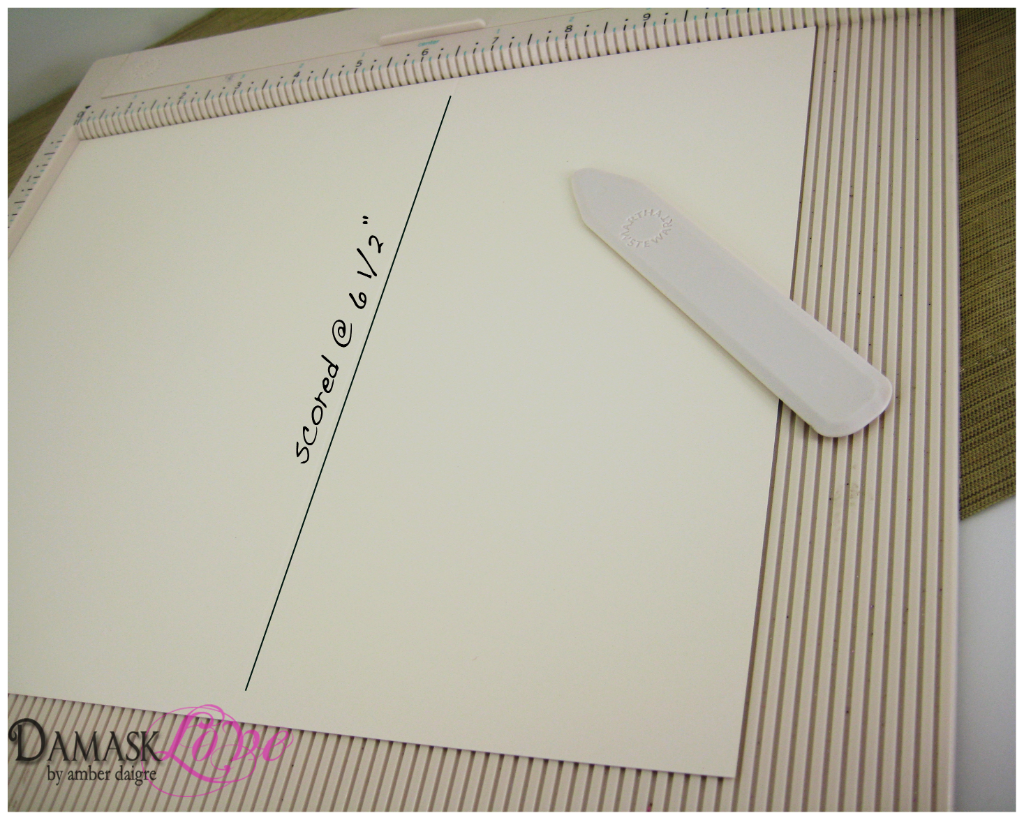
I started with 12 sheets of PTI Vintage Cream cardstock, which I scored at 6.5″.
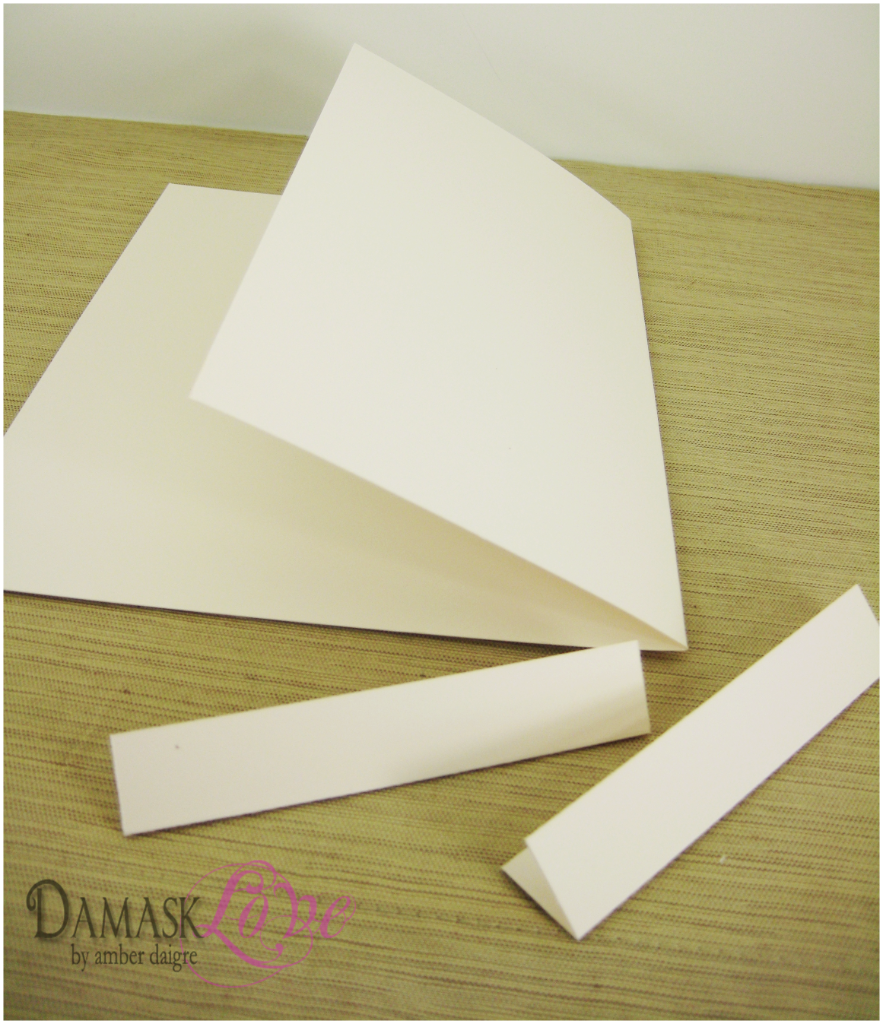
Then, with some scraps of Vintage Cream, I made 1.5 x 4″ strips of paper, which I scored down the middle.
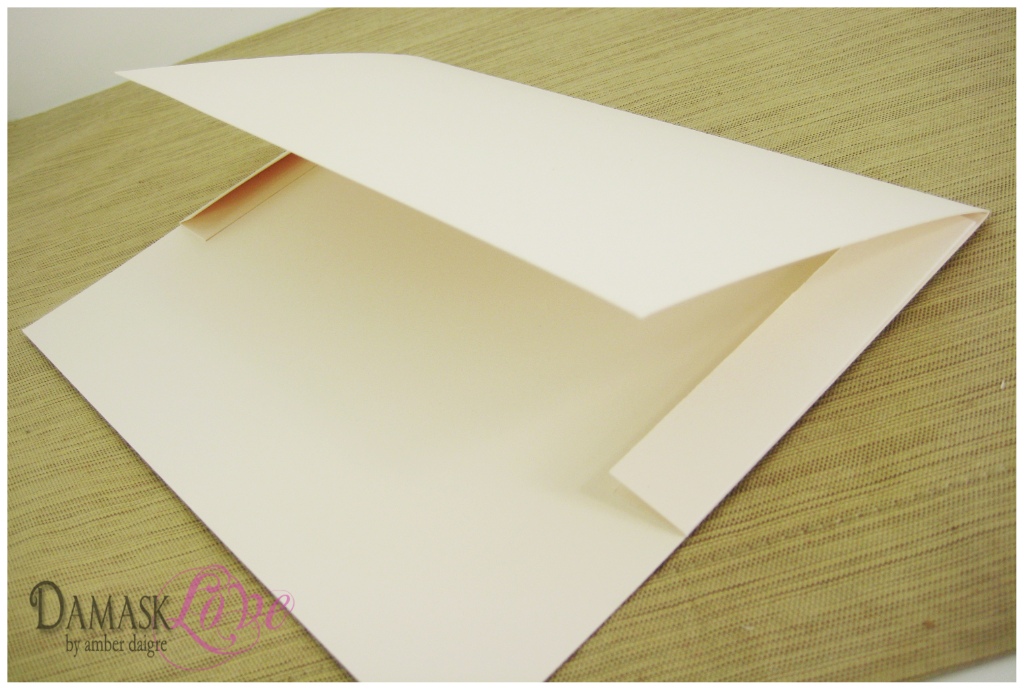
I adhered the strips to the top and bottom of the inside fold. The idea here was to give the folder a little more wiggle room than if I’d just adhered the inside edges directly to each other. Also, I think it will be less likely to rip when I stash cards inside.
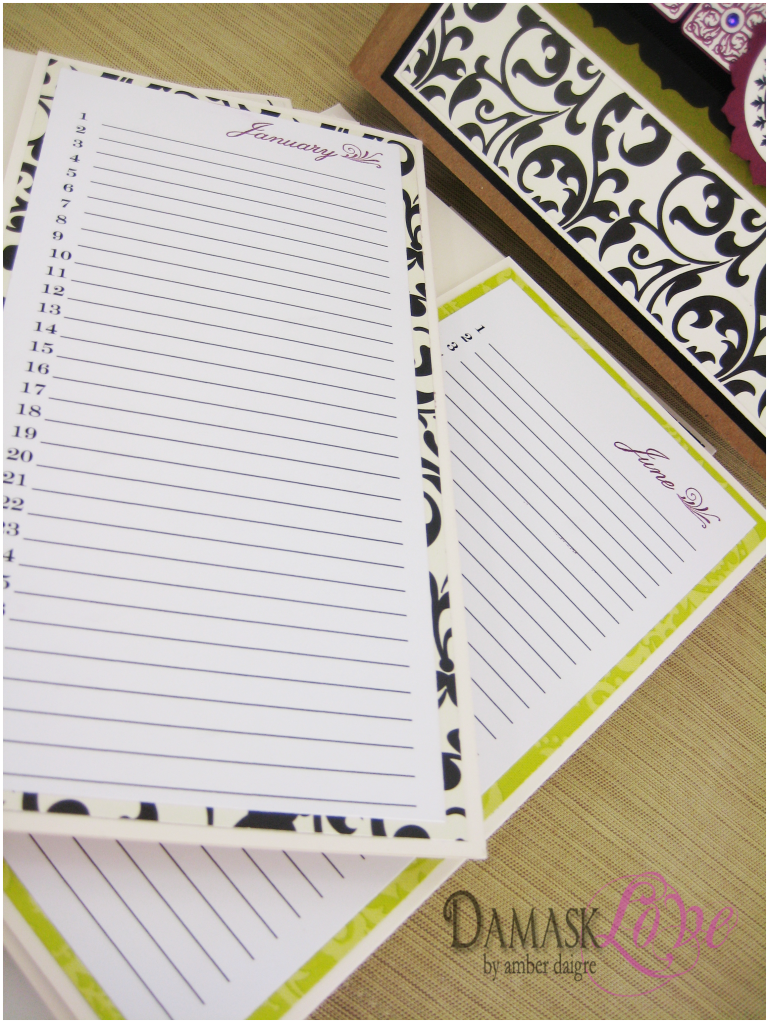
Once I completed each folder, I printed out the calendars, which I created in MS Word. It was pretty easy to do and I was able to customize each month according to the number of days (which I had to figure out by looking at another calender since I can never remember that whole “30 days has September, June, November rhyme so, better safe than sorry).
I matted the print-outs onto various sheets of patterned paper that matched the color scheme. I used PTI Calendar Basics to stamp each month at the top of the page.
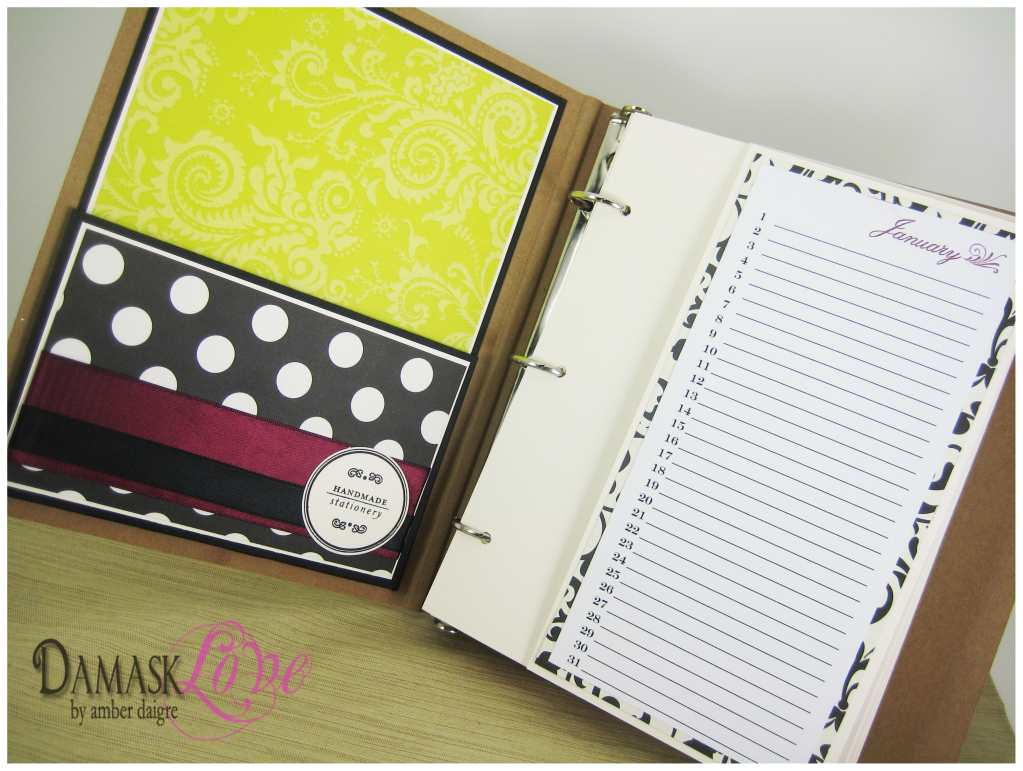
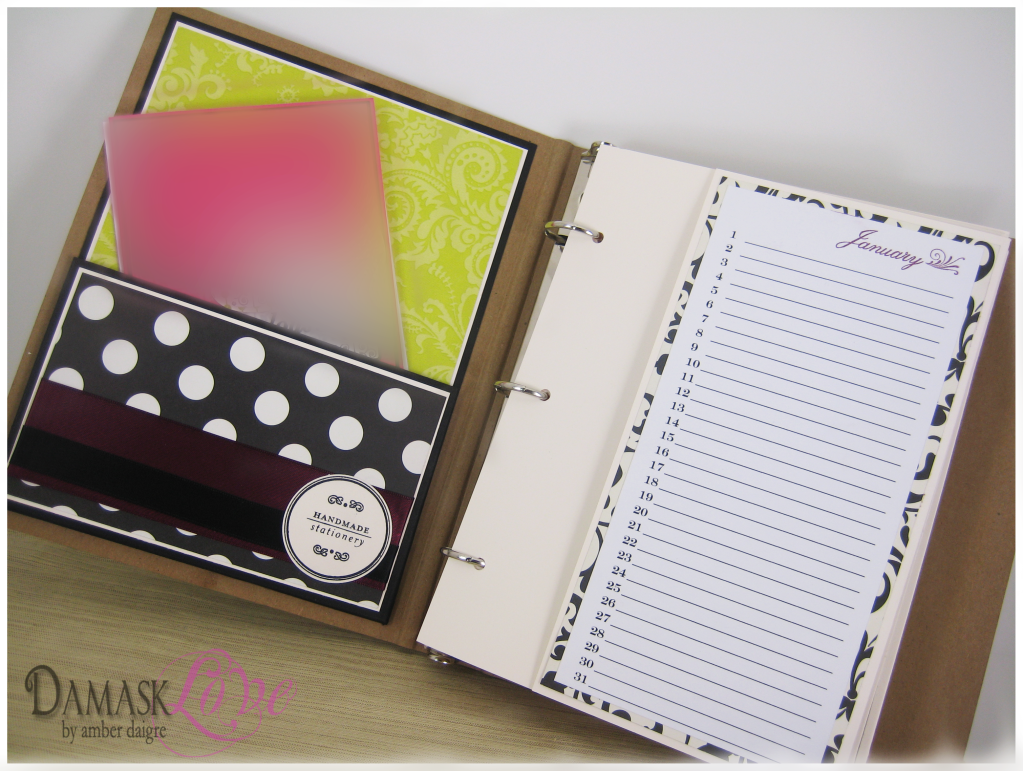
After punching holes in the folders, they moved into the binder! I also added a fun pocket on the inside of the binder for holding extra cards.
I’m so happy with it!!! The mixy-matchiness of the patterns is totally my style.
I love. Love. LOVE it!

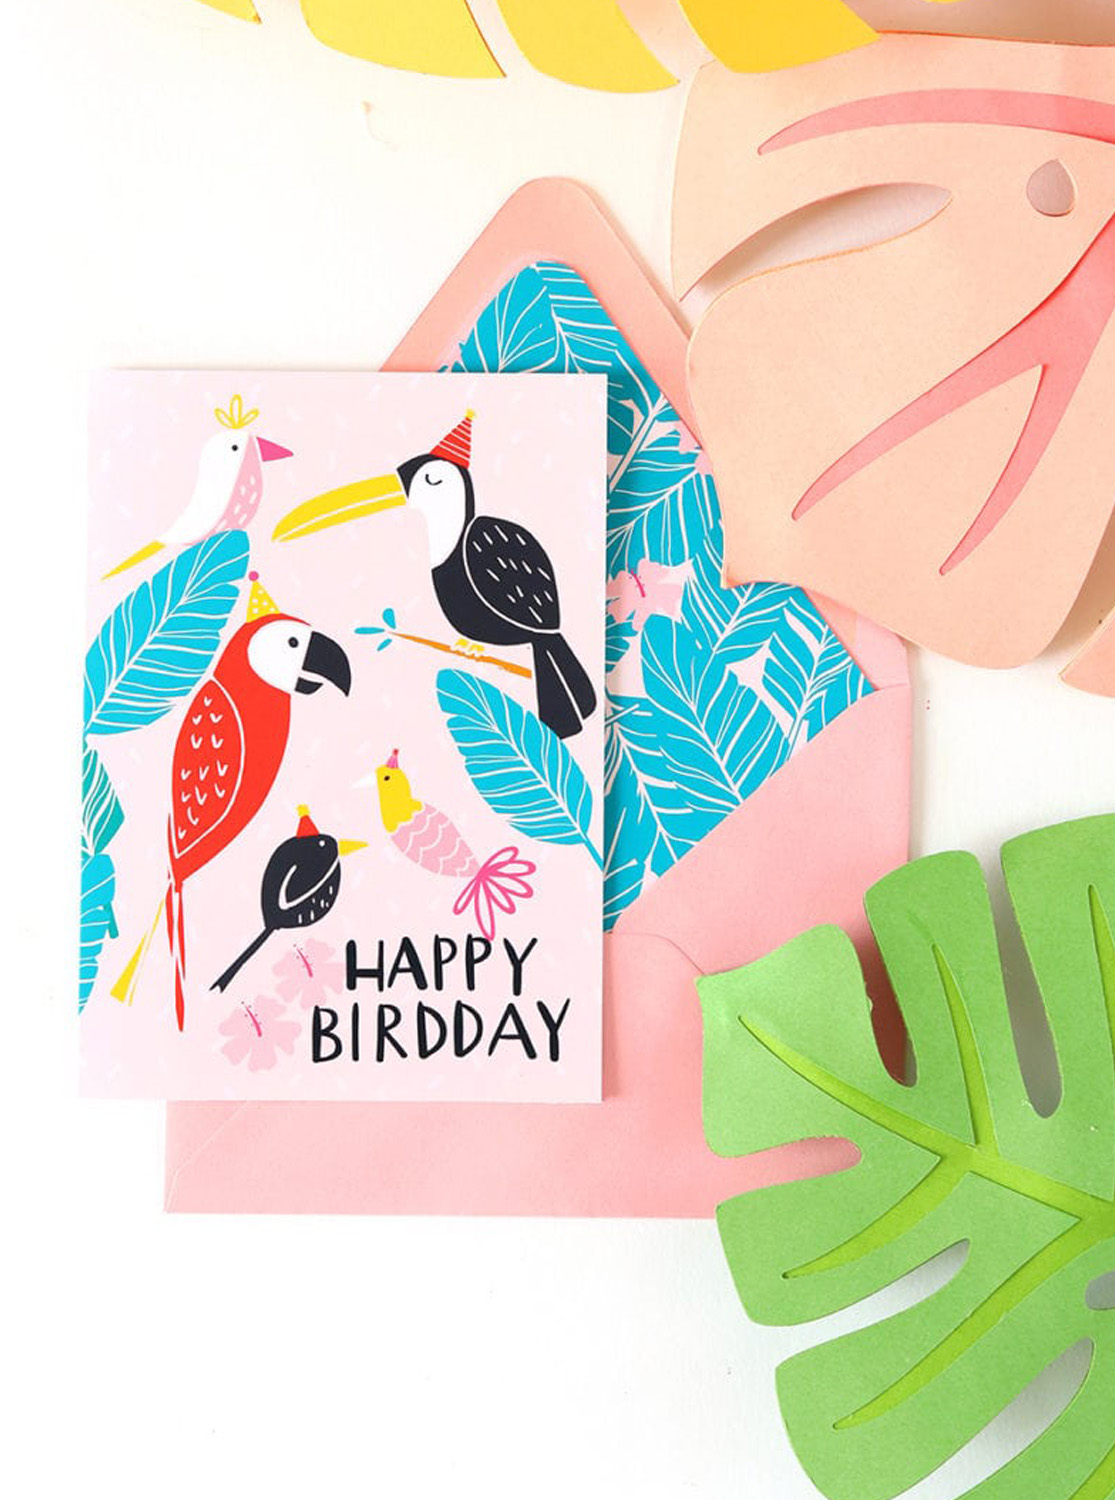
With the Birthday Binder complete, it was time to make a birthday card!
I’ll be showcasing my card tomorrow, but until then – here’s a lil’ sneek peek of my card in it’s new Birthday Binder home:-)
Supplies: (All Papertrey Ink unless otherwise noted)
Paper: K&Company Black and Ivory Fusion Designer Paper Pad, Vintage Cream cardstock, Stamper’s Select White cardstock
Stamps: Calendar Basics, Everyday Treats, Faux Ribbon, Simply Stationary
Ink: True Black, Stampin’ Up Rich Razzleberry
Other: Kraft binder, MS Word
Beautiful! I love the color combo and the mix of patterns.
Nice job! The binder looks fab. Your pictures where so helpful. You’re on fire!
I love the Vintage Cream paper–it goes perfectly with your rich color theme!
Love this!! The colors you used are fabulous!!
Beautiful! I love the color combo and the mix of patterns.